Irrespective of the fact whether it’s a small or a large industry – flooring is always important. Just take a look at that poor thing, it takes the load of every single object of your industry – from those gigantic equipments to the petite raw materials.
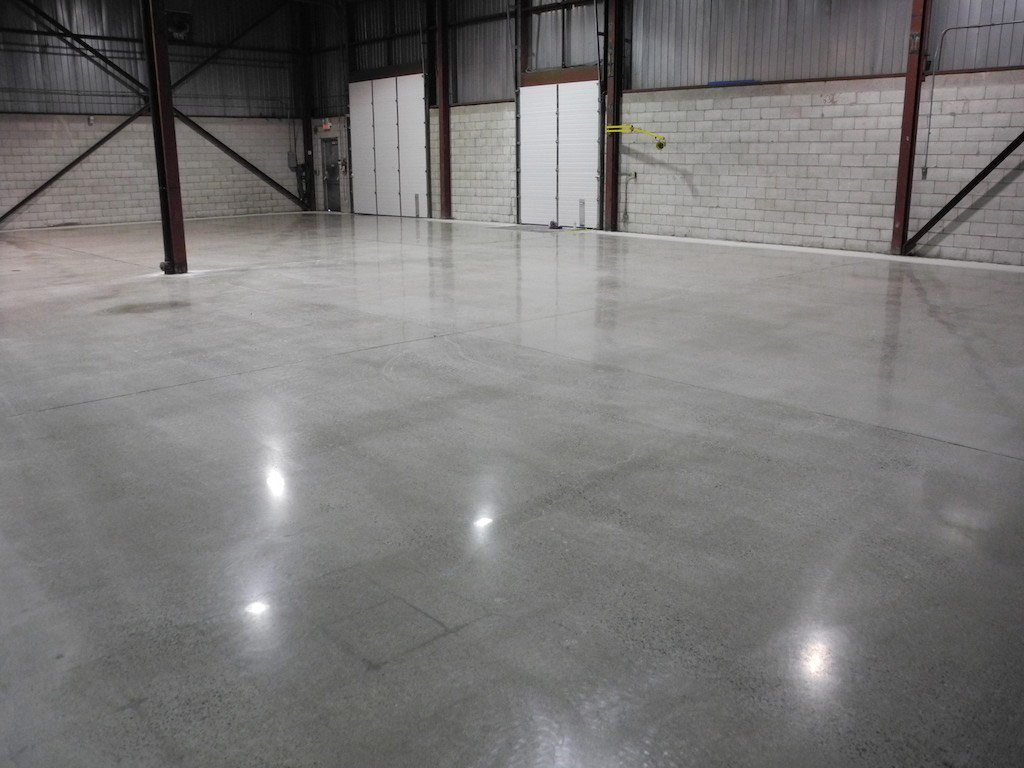
That’s why good concrete flooring is crucial. It doesn’t just make the corporation look aesthetic and presentable, but also makes its base tough and durable enough to take the load.
Yes, we know, beautification of any industry is not amongst the most prime concerns. But well, it’s absurd to even imagine a full-fledged industry functioning in the absence of a strong base, i.e., a sturdy flooring. This is the reason why around 71.5% of people choose concrete floors for their business over any other kind!
But hey, let’s get this straight – one should also be aware of its ins and outs. And how to repair it if it ever gets damaged. So, here’s presenting a list of 6 steps of industrial concrete repairing you must know. Check these out:
1. Start with cleaning the damaged area
A concrete floor can get damaged due to a lot of reasons. Change in temperature or dropped-down objects are amongst them. So, if you’ve located a spot on the floor that has a crack or a hole because of this, the first thing you must do is clean the area.
Take a broom and sweep out all the dust and little chunks of concrete. Make sure no debris is left as it will prevent the bonding agent from sealing the area properly.
2. Scrub the affected area with lots of water
Now that you’ve removed all the little-big pieces of concrete from the damaged area, it’s time to double clean it. Spill in some water, take a brush, and scrub the spot. It will make sure the area is all clean.
This allows the bonding agent to settle firmly and lets it get a better hold of the mortar. So, carefully clean the affected spot with water and a brush. Make sure to not leave the edges and the sides.
3. Brush a layer of concrete bonding agent in the hole
Next up, it’s time to put your bonding agent to use. For those unaware, a bonding agent is a chemical, generally liquid, which helps the concrete to stick better. So, take your paintbrush, dip it in the bonding agent, and stroke the area with the brush.
Make sure the whole area has been brushed with the chemical. But be wary – every bonding agent comes with a different application direction. So, see that you follow the directions properly. Finally, allow it to dry for at least an hour.

4. Put the mortar mix in the damaged area
Time to get our hands a little dirty! Now that the bonding agent has completely dried off, let’s not waste time and prepare the mortar mix. Take a bucket, pour in the dry mortar mix, and add in water to form a thick consistency.
Now, scoop out the mortar mix and fill the area with it. Generally, a good quality mortar like that from Bayset doesn’t take much time to dry. So, pace up and fill the whole area with mortar mix and then dab it to ensure no space is remaining.
5. Level the surface
Next up, take the trowel and press the mix against the edges – it’s very important to ensure the bond is firm. The mortar mix starts to harden really quickly, so take the shovel and start to level the surface.
Scrape off the excess material and keep running the trowel over the mix until it gets all smooth and leveled.
6. Allow the mortar to dry in sunlight
Lastly, it’s the toughest step in the whole process – waiting patiently until the mortar has fully dried up. If the mortar is exposed to too much direct heat, it will dry up quickly, which makes it weak.
Hence, cover it up with a cardboard or a blanket and let it dry in sunlight for at least a day or two. Tadaa, you’re done!
Over to you…
Needless to say, concrete floors are sturdy. But they are prone to damage too. Here, we listed 6 steps to repair industrial concrete flooring. This guide is sure to help you.