Discovering and learning a new hobby could be a life-changing experience, especially when you have the right tools and equipment to pursue it. For instance, learning how to play an instrument could be difficult if you neither have the actual instrument nor the space for your playing sessions.
Drumming is one of the most demanding hobbies out there as it requires a complete drumming set and an ample practice space. Choosing the best drumming set alone is already a tedious task, so if you’re looking for the best, take a look at this list of gift ideas for drummers that offers numerous options.
After having acquired the instrument and other relevant devices and equipment, it’s time to set them all up in your home properly. Since organizing them can be pretty specific and difficult, here are a few tips for setting up your home for drumming:
Choose A Drum Room
Picking the right room for drumming makes a big difference to your overall drumming experience. Before setting up your drum set, choose that one room that you think can comfortably accommodate you and your equipment. Ideally, a soundproof room is your best option, but you’ll be required to put a lot of money and effort into creating it as you might have to remodel the whole room.

The best room for drumming is always the one farthest from all the noise, so choose one that is not anywhere near places where unnecessary sounds might originate. For instance, try not to choose a room with shared walls, such as a basement or stock room that is connected to, say, a relative’s room. Take note that your primary goal is to minimize the sound that gets in and out of your room, so pick the one with the necessary walls, doors, and windows. Also, make sure that the size of the room is wide enough as you’re using an instrument that produces large volumes.
That room should also be far from areas where noise is pretty much unwelcome, such as rooms that can cause disturbance to your family and neighbors. If you specifically find a room like that, then it will be easier for you to add soundproofing solutions. If not, you have to take extra measures in lessening the disturbance that you might cause.
Declutter and Reorganize
Once you’ve chosen the perfect room for drumming, it’s time to declutter and reorganize things inside that room. Decorations, pieces of furniture, and other objects that could possibly distract you while playing the drums should be immediately removed. However, it’s up to you if you want to retain some of them, such as a small sofa and a coffee table where you can relax before and after practicing. But, make sure to put it a good distance from your drum set. You can also put up some shelves where you can keep your music books and sheets, as well as books you might be interested to read during breaks.
Enclose the Drum Set
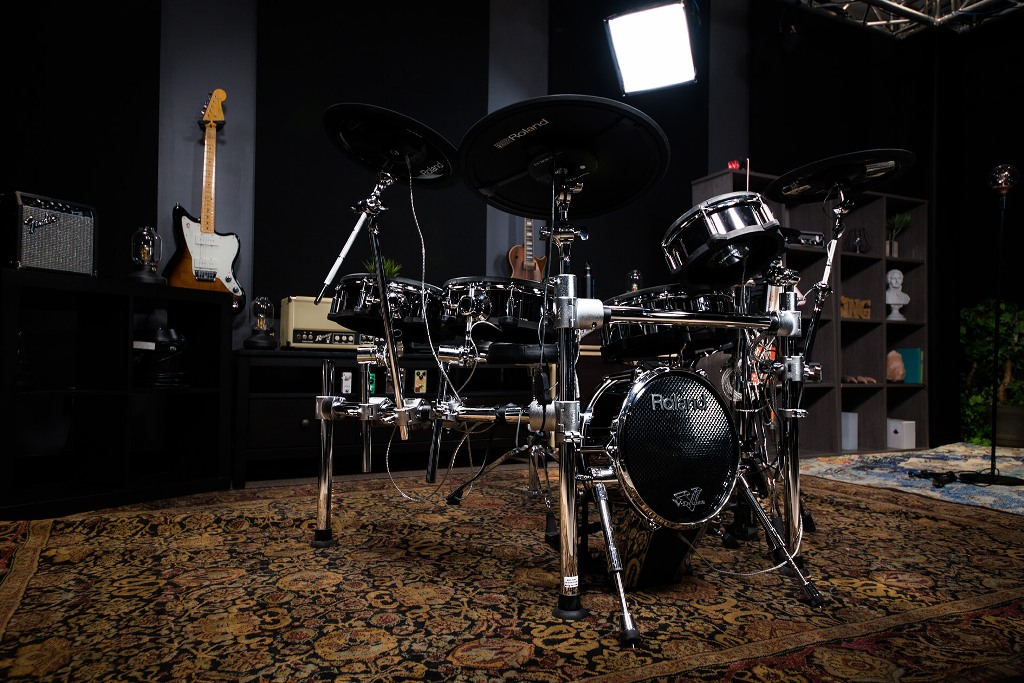
Choosing the best spot to put your drum kit also creates a big impact on the sound quality of your playing. To ensure top-notch quality, allow a space in the corner of the room to place your drum kit, facing outwards for even sound distribution. Since you’ve chosen a room with no shared walls, placing the drum set at the corner will contribute to pushing and distributing sound into the room, instead of directly into the walls. Once you’ve finished this step, it’ll be a lot easier for you to enclose the drum kit to create a barrier.
Shielding or enclosing your drum set is another optional matter. If you’re still into the drumming basics and want to feel how your drum kit works, you can start without enclosing the kit at all. As you develop coordination with your drum set as well as the desire for more intensive drumming, enclose your drum set into a booth complete with sound absorption panels or sheets, a carpet, and an air system. Surrounding the booth with sound absorption panels will contribute to weakening the sound right before it gets distributed to the open space of the room.
Seal Possible Sound Leaks
Another essential step that most drummers have a misconception is not properly sealing sound leaks around their drum rooms. Most of the time, they’re mistaken by sealing all holes that they can find inside the room, as it will immediately cause a sound leak. However, enclosing yourself completely in the room, with an energetic instrument, will make the temperature really high and make you feel stuffy while playing. Thus, it is a big no-no. Instead, prioritize in sealing the big leaks as it will leak out more sound, and leave the small leaks alone.
To seal your door properly, here are some tips:
- Replace the door: If you have more to spare, replace your door with a solid wood door to strengthen the sound blocking ability of the room.
- Add some panels to your door: Don’t have enough budget for a new door? Add density on your door by attaching fiberglass panels on the inside. This way, you can lessen the sound and vibration that goes through the door. If you can’t afford the fiberglass type, you can add a medium-density fiber (MDF) board on the outside of the door.
- Weatherstripping: Just like how you protect your doors and windows from harsh winds and storms, you may also do weather stripping as a means to soundproof your drum room. Since it stops air from leaking through small to moderate gaps, it can also stop sound from leaking in and out of your room.
Improve Your Walls
When sound bounces off your ceiling and walls, it tends to get more amplified, thus creating a ricochet effect. You can improve your drum room’s sound absorption capacity by adding some acoustic foam on your walls and ceiling. Also, acoustic foams diminish air resistance to reduce the amplitude of sound waves given off while playing.
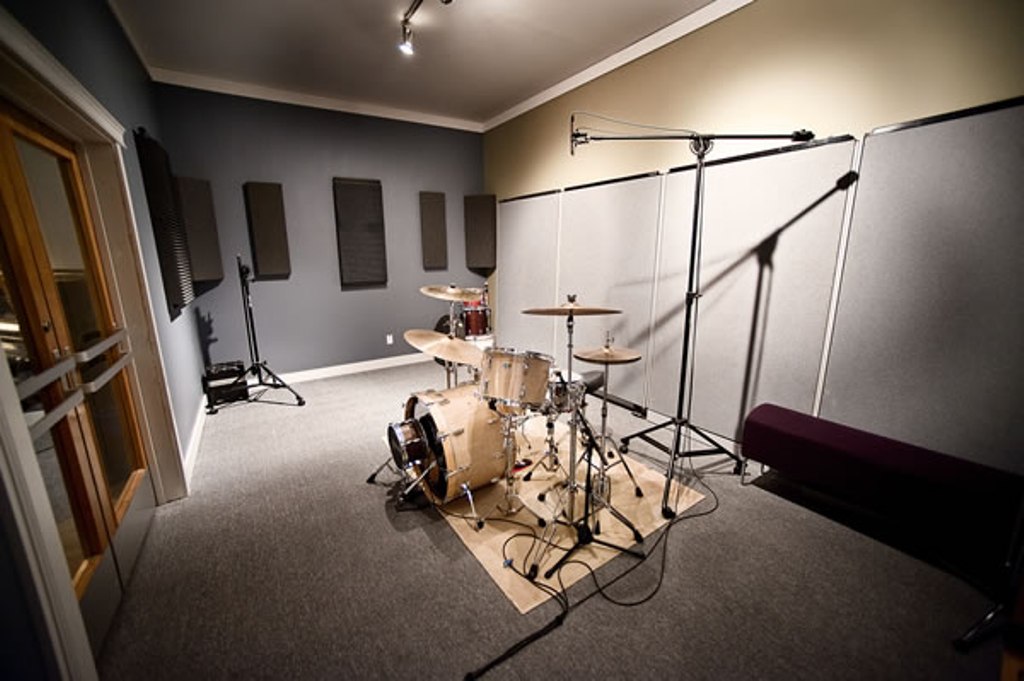
Acoustic foam panels are usually bought in packs, so you can attach them all together to cover a bigger surface. If you want to save more money, covering at least one-fourth of your walls and ceiling could still make a huge difference. Take note: the more foam, the better. Furthermore, acoustic foam panels are present in varying colors, thickness, and sizes (two-inch panels are considered the industry standard).
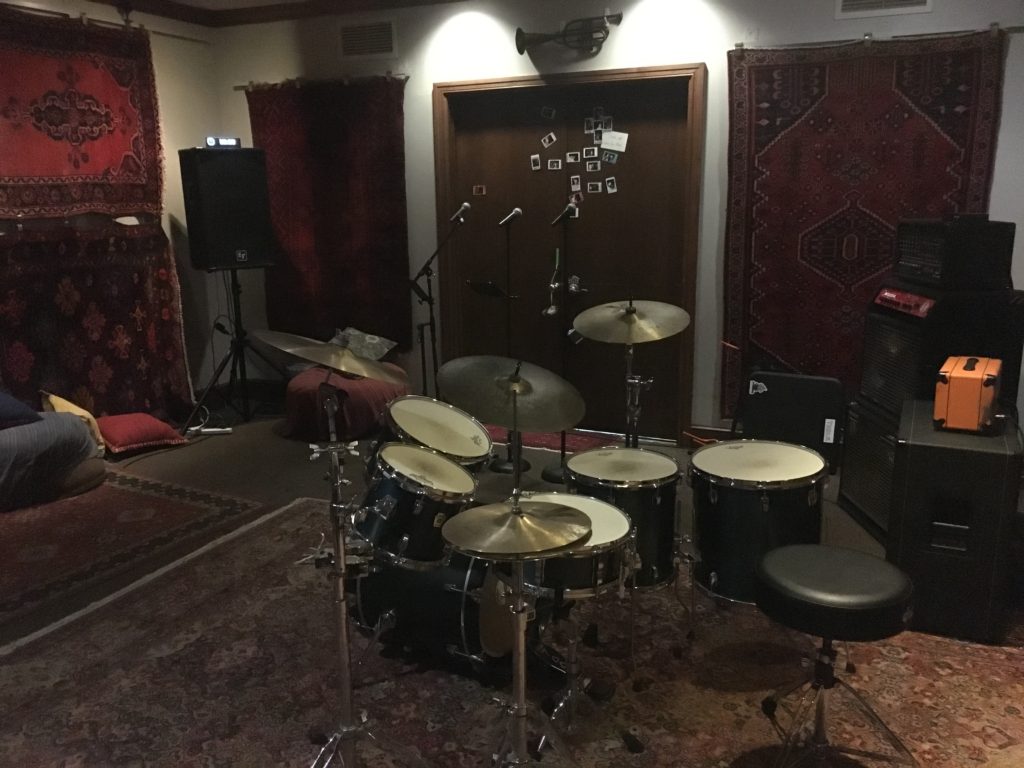
Cover the Windows With Thick Curtains
If you live in a neighborhood with small distances between houses, adding an extra soundproofing method will prevent you from disturbing your neighbors. Sound leaks also happen in the presence of vulnerable windows, so you may cover them with thick drapes or curtains to prevent sound from further leaking out of your room. More specifically, there are drapes or blackout curtains that have a noise-reducing thermal insulation property.
Conclusion
Once you’ve chosen the perfect drumming room, reorganized it, and employed your soundproofing methods – then you’re all set for placing your drum set. Take note that one of your priorities is to minimize the sound that can disturb others while you’re playing, but you shouldn’t put your drumming experience into a compromise. Instead, find a balance between improving your sound quality inside the drum room while minimizing the noise that can cause inconvenience to other people.