If you are looking for a unique way to add more living space to your home, an attic conversion may just be something that is right up your alley. In fact, many homes around Australia can attribute up to 30% of their floor area in the roof cavity alone, making the attic one of the most underused spaces in a home. In today’s article, we have a look at how you can easily convert your attic into a stylish loft, so grab some plywood and read on to find out more!
Attic Conversion: The Benefits
First up – it is important to note the benefits that an attic conversion offers. One of the biggest plus points is that an attic conversion often costs considerably less than extending your home, with renovations that are less intrusive and and often a lot easier to take on. A loft conversion is also a fantastic way to increase your property value and will make your home just that bit easier to sell.
Of course, the benefits don’t just end there. A converted attic is the perfect way to create some extra room that will fit your family’s needs — whether it’s a teenager has been begging for their own space, a spouse who needs a home office or even as a spare room for guests and friends who visit.
Investigating The Space
The first step that you need to complete is your attic inspection. This is the stage where you will be able to fully assess your options. Using a dust mask when you are doing this is always advised in order to protect yourself. Some things to look for include:
- Pests such as possums or rats
- Existing wiring and pipes (do be mindful to turn your electricity supply off)
- Asbestos
- Potential structural or electrical issues.
Attic Conversion Options
In order for your attic space to be converted, it will have to have a minimum head height of 2.4 metres in at least 60% of the floor area. A common question we often get asked is if DIY attic conversion is something that the average joe can undertake, and the quick answer to this is yes. However, considering a conversion is a rather hefty task to undertake, it is important that you do as much research as possible before embarking on your DIY project.
If you are looking to transform your roof cavity into a usable or habitable room, you’ll definitely need council approval, so be sure to do your due diligence prior to embarking on your DIY project. Once you have received approval, you may choose one of the following options:
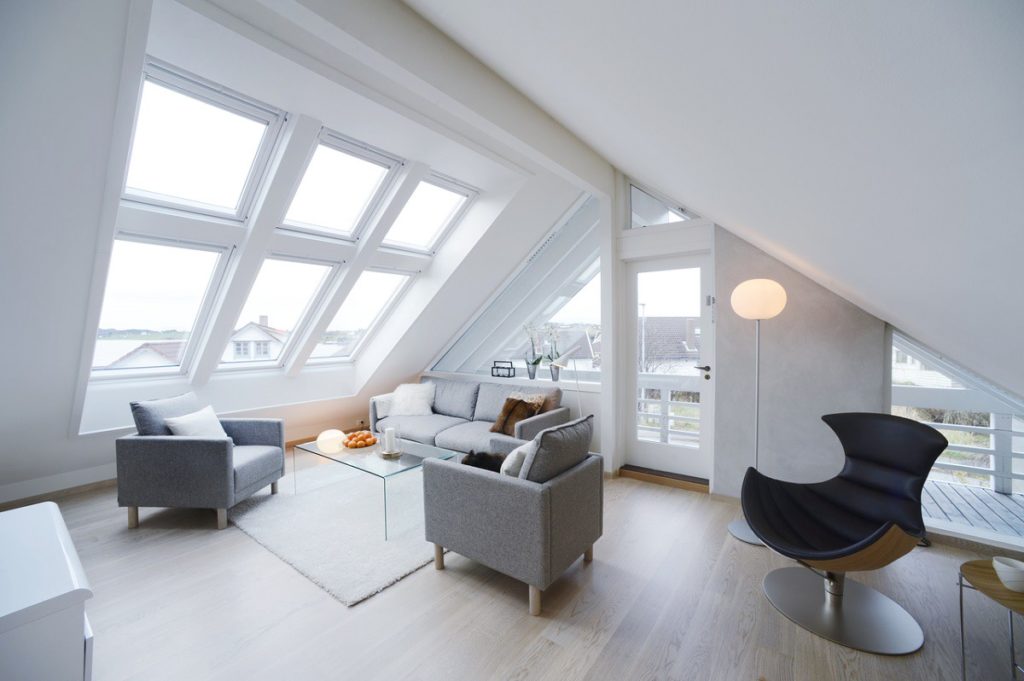
Light Loft Conversion – This is the most basic of conversions and does not involve any kind of structural alterations. Most of the time, all you will need to do is add a window or two to the space to introduce more natural light.
Dormer Conversion – A typical dormer loft conversion is a box-shaped extension of your existing roof which creates additional floor space and headspace inside the loft area. Dormers work best for small lofts as they create much needed additional space.
Mansard Conversion – If you want to dramatically transform your home and budget is not an issue, then a Mansard conversion is a great option. This loft conversion essentially adds another storey to your home and will span the entire width of your house.
Hip to Gable Conversion – Lastly, the Hip to Gable conversion works for detached or semi-detached homes by utilising the space between the edge of the hipped roof and the gable end of your home A brand new loft is created by extending both the height of the gable wall and the hipped roof to meet the new wall.
Essential Steps of Attic Conversion
Now that you’ve decided on the type of conversion you would like to embark on, the fun part can begin!
- Clean Up – ensuring that you remove any junk items or rubbish from your attic is the first step in the conversion process. Assuming you are going to add new insulation before installing your drywall, it is essential that you also remove old insulation.
- Wire It Up – As soon as you have obtained a permit from your council, it is important that you hire a professional electrician to ensure that all your wiring meets safety standards. Your electrical will be able to install electrical wiring across the walls and ceiling, allowing you to bypass common problems DIY homeowners tend to come across.
- Insulate Your Attic – The best DIY insulation for an attic is batt insulation with a vapour-retardant facing. This is an incredibly flexible and easy to install option and that can even be layered for additional coverage. Before installing the batts, caulk any spaces or leaks where air may be able to pass to the rooms below.
- Install Ceiling and Drywall – Next up is to install the ceiling and drywall. Paint your drywall in a light colour especially if your attic has little natural light. Do note that brand new drywall will need to be primed prior to painting. We always recommend two coats of paint to give the drywall a finished appearance.
- Install Flooring – You’re almost finished with your DIY attic remodel, and the last step is to choose and install the flooring of your preference. Carpeted flooring is a great option as it helps reduce sound and adds additional insulation to your floor. Follow installation guidelines based on the flooring of your choice.
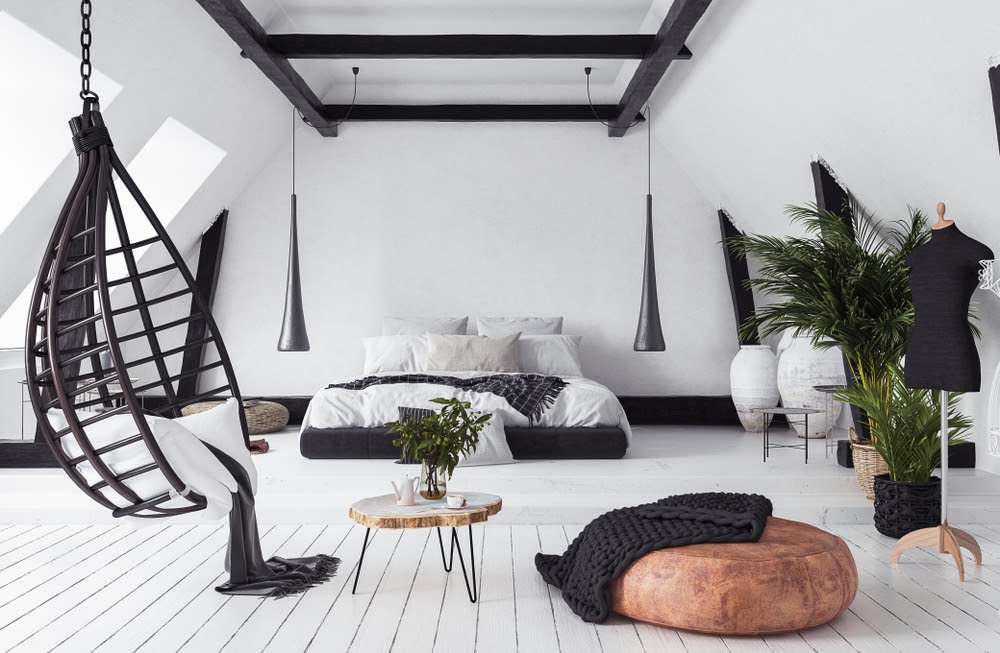
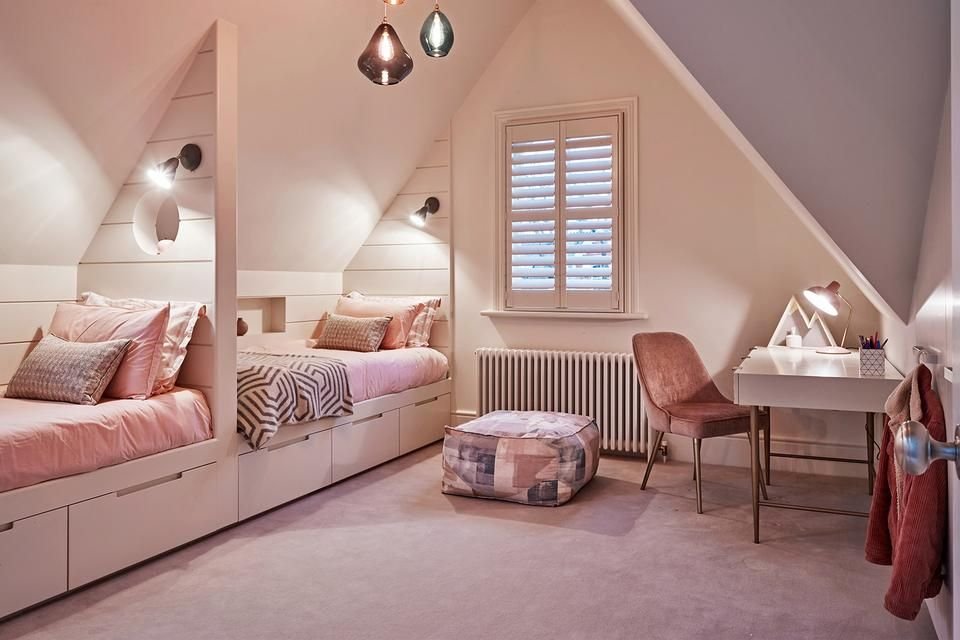
Exciting times! Once you have completed all the above steps, you can start to furnish and decorate your brand new loft space in accordance to your personal preference.
_________
And there you have it — everything you need to know about embarking on your very own DIY attic conversion. We hope that this article has given you all the insight you need to transform your attic into a highly functional room that the entire family can enjoy.