Decorating your baby’s room with beautiful and colorful items is fun. People having little one make DIY elements, including shelves, shelves for sneakers, wooden branches as curtain holders, creative wall arts, bed with old pallets, and so many similar items to look it adorable.
What you have to spend here are time and your creativity. To save money, you have to invest your time- this is simple. But some parents do not have much time to make them for their kids. If you do not want to build one yourself, read reviews of “baby floor seat” to get the best product out there.
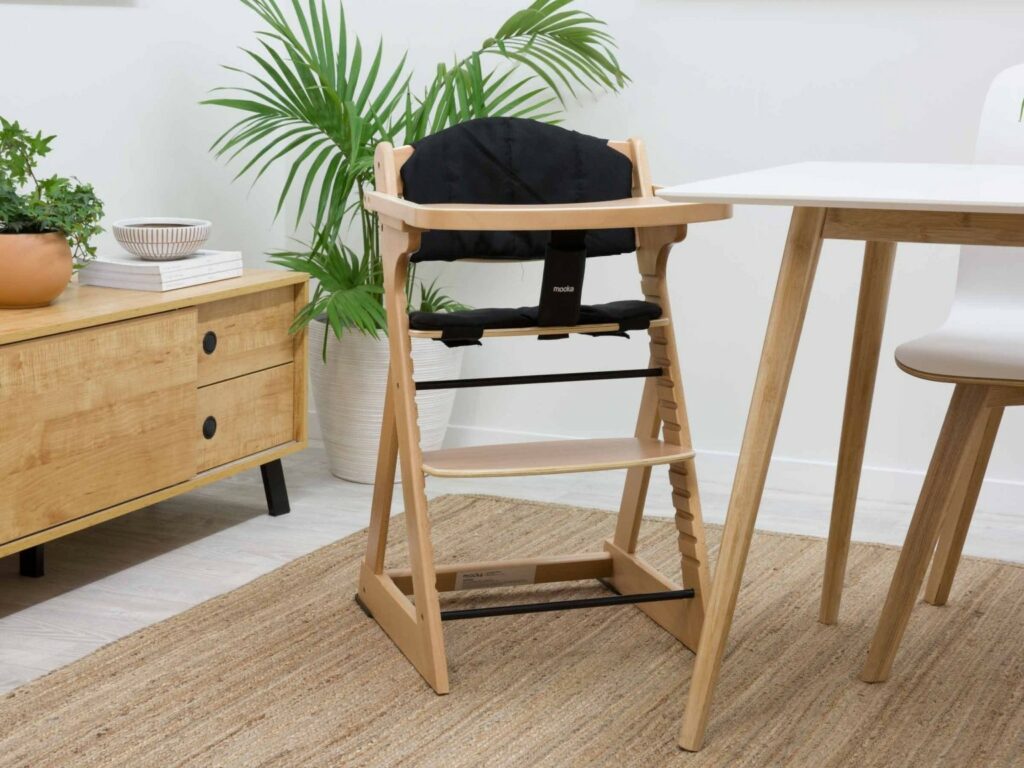
However, in this article, I will share my skills so that you can make a baby seat at home on your own. You will be thrilled after making a cute chair for your kid. Before you start your cute project for your little one, make sure you have arranged the following items. Making all the arrangements before starting is wise. Otherwise, you may need to stop your project by finding the missing things.
All you need to have are as follows:
You need different sizes of wood, plywood, pocket hole screws, miter saw or handsaw, sander, wood glue, and Kreg jig to go through the whole process. As you are going to make a chair for your kid, you have wooden legs and different shapes wood for the seat.
Step one: Cutting wood
You need to cut wood in different sizes according to your needs. A hardware store can do it for you, but you should not go them. Do it yourself with the miter saw because it is not as difficult as you are thinking.
Measure woods before you cut them. Cut three pieces and two pieces at 11.5 and 12 inches each. You will be needed three pieces of 15.75 inches wood. Also, you have to cut the other two parts at two feet each and another two pieces at one foot each.
Step Two: Assemble the wood you just cut
As you have cut your needed wood measuring them, it is time to assemble them in such a way that they make a proper align. You have four pieces of wood to make the chair’s leg. The longer wood should be attached to the back for making the back legs of the chair.
The other two pieces of wood should be backrest of the chair. There is one big 1×4 piece of wood that will work as the seat of the chair. As you need to make two pocket holes on every end of the wood, you Kreg jig should come into the action.
Step Three: Screw them up
Now it is time to screw all the wood up so that they can appear as the frame of the chair. All you need to do is to lay both of the back legs with one big wood to attach them measuring correctly. And, screw them up well so that they attached nicely.
Make sure that pockets are facing upward so that they can be hidden when the seat will sit on the place. Attach every leg with the seat so that they appear steady.
Step Four: Screwing up is not finished yet
In this step, you need the shorter legs and other two longer pieces of wood to install in the holes. Now attach both ends with screw tightly. The seat should sit on the legs in such a way that the holes are invisible.
That’s why: the holes should keep upward facing. Repeat the same method for the back legs, as well. Also, be sure that the seat or board can rest on the legs.
Step Five: Shorter pieces need to be attached
Taking the shorter pieces of wood, you have to attach them to the top of the backrest wood. Now screw them to make sure that they are now strong enough. Here you should use pocket holes to attach them. Finally, screw them up.
Step Six: Screw up the last shorter pieces of wood
Placing pocket holes at the end of the shorter piece screw them up. You need to screw the previous shorter legs with the already attached pocket holes. Now, it is time to place the seat on them and screw.
Step Seven: Sand for smoothness
As you are almost finished, sand papers should come into the game. Sand well the whole chair so that it feels smooth when you touch. If there is any area left, it will be an abrasive part for your little one.
Step Eight: Decorate your chair
All your hard work is now finished. You have made your kid’s chair at home alone. At this point, for its better appearance, paint the chair with different colors so that it looks funky. Kids like to have fun. After painting with your desired color, it is the final moment to place the chair in your baby’s room.
Place it in your kid’s room when he or she is away from the room to give him or her surprise. Kids also like gifts!
Final Thought
If you can follow all the steps shown here, you will end up making a beautiful chair for your baby at home. It will save you a lot of money. Also, you feel exciting making it yourself! I hope this article helps you with the making of a DIY wooden seat at home.