One apparent reason why you want to rear chickens is to harvest organic eggs. However, as a beginner, you are unsure where to begin because you have never built a chicken coop before. So you can go to My Chicken Coop and get best options.
As you are going to find out shortly, building a chicken coop is no rocket science once you learn the ropes. If you have the necessary carpentry skills, you are good to go. You only need the weekend, and you are through with your standard chicken coop. You can watch a YouTube video for inspiration before you begin.
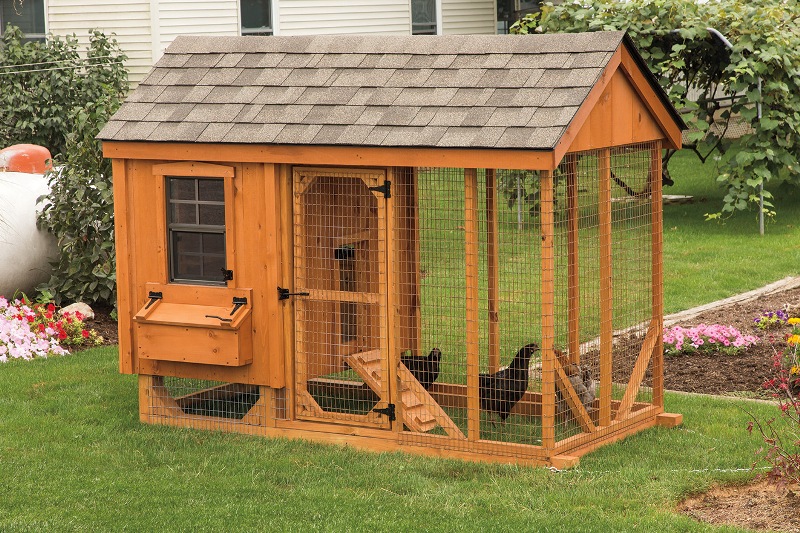
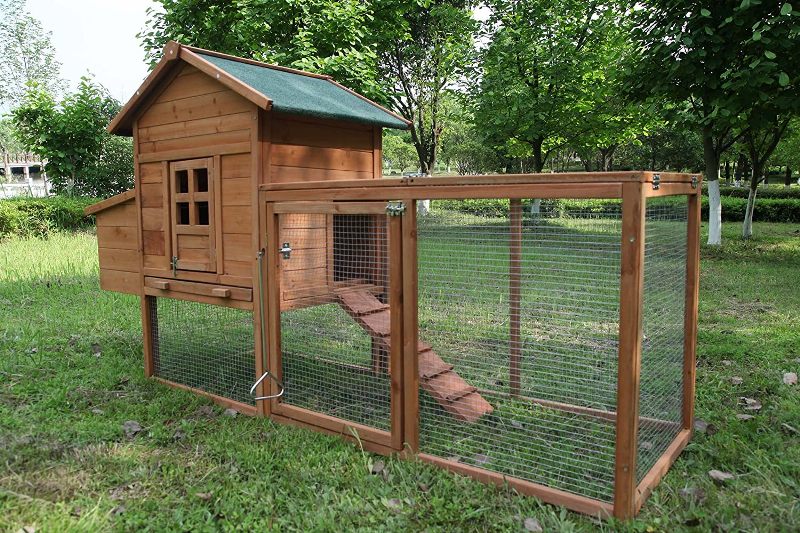
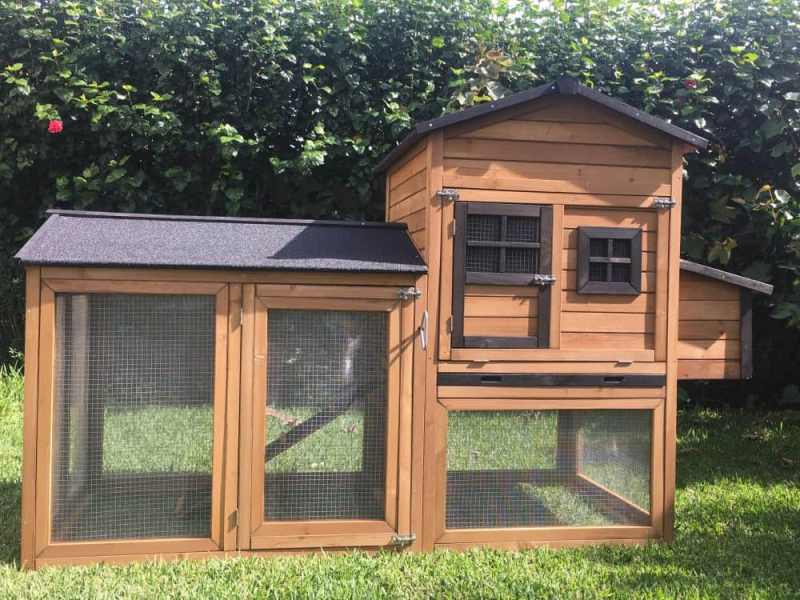
Coops come in different models, but they have two main wings: the ‘chicken run’ wing, which is an open space for the chickens to roam about, and the enclosed sleeping wing, which also doubles up as the egg-laying wing.
The enclosed wing opens straight to the roaming wing but should be raised above the latter by at least two feet to create the space for collecting the poops that drop through the floor.
With that out of the way below is the guide from mrchickencoop.com/ you should follow as a beginner building his first chicken coop:
Have a Plan: You can achieve some things without a plan, though a chicken coop is not one of them. It would help if you considered what coop size you require, depending on the number of chickens you plan to raise.
Through such a plan, you would be able to know if you have sufficient space, capital, and time to build a coop. For size, it is recommended that each chicken occupy a space not less than 2-3 square feet in the open space/chicken run wing. For your chickens to co-habit peacefully with no pecking, give each ample space.
When you take measurements, scratch the layout on the construction site if possible. It is best to be practical.
Chickens are better off in the shade when the heat of the day peaks, hence it helps if you locate the coop under some sizeable deciduous tree. This way, the chicken will be cool in the hot summer and still be able to bask in the sun in winter when the tree has shed its leaves.
Should you have no such tree or no tree at all, cover the run section with a cloth to act as shade on a sunny day.
1. Construct the Frame
Most structures take shape from a frame, and that’s where you should start your chicken coop. Formulate a frame and then build from it the other necessary components. The frame is typically rectangular, built from woods that do not rot easily. Redwood or cedar are some lumber you can consider.
Do not go for the pressure-treated lumber; they contain harmful, heavy metals that may harm your chickens.
You should cover all sides of the open-air or the run section with metal mesh to keep predators at bay.
Below is the detailed procedure:
- Erect four Poles — 4 vertical posts in concrete to form a rectangle. The size should depend on your needs. You can make it 8 by 16 feet or 8 by 6 feet, for instance. The back posts should be lower than the front poles; set the front poles at 8 feet and the back ones at 6 feet so that you can put up a slanted roof for easy rainwater drain.
- Erect one more Pole — 4 post of 8 feet at the right side of the front and 2 feet from the corner. It will support the gate the chickens use to access the run.
- Screw/nail — 4 horizontally between the erected posts on the right side of the front corner. It should be 6 feet in height.
- Now you construct the gate frame for the gateway to the run. It should be 2 by 6. Use 2 lumber. The frame should be rectangular. It would be best if you prevented it from sagging by installing an anti-sag gate kit. Use galvanized gate hinges to attach the gate frame to the post you previously erected in the right front corner.
- Add two — 4 posts at about one-third of the space from the left side of the rectangle. The two poles should run parallel and are meant to support the frame that will form the enclosed section of the coop.
- For extra strength, attach a horizontal frame using 2Á—4s on the front and back sides between the tops of the posts.
- Attach another horizontal frame of 4s to the erected four posts on the left of the rectangle. They should be 24 inches past the ground level and are meant to support the enclosed area’s floor.
- Use decking screws or galvanized nails to add floor planks over the 4 frame. The planks should cover 2/3s of the coop.
- You then cover the backside of the floor (1/3 of it) with the wire mesh. It is the floor section above which the chickens will roost. The wire mesh allows the chicken poops to fall below for easy collection.
- You then dig a trench around the run. It should be 12 inches.
2. Work On the Inner Parts
As you work on the interior, remember that the chickens need a cool shelter in the summer and a warm one in the winter. The way out is ventilation to keep them happy, whatever the weather.
It would help if you had openings around the ceilings for smooth air circulation. Fortunately, the chickens have feathers to keep them warm in the cold winter. All you need to do is ensure the coop has a temperature of about 55°F.
3. Complete the Outer Parts
With the interior finished, use weatherproof materials for the roofing and walls that enclose the roosting and nesting area. You can use tin for the roofing and wood for the walling. You should leave enough space for doing the cleaning and the most important part of chicken keeping: collecting eggs.
Conclusion
You should not needlessly complicate a chicken coop; just design something cute but simple. The chickens want to be comfortable and happy, that’s all. Again, get your measurements right by measuring twice. Simple shouldn’t mean out of shape.