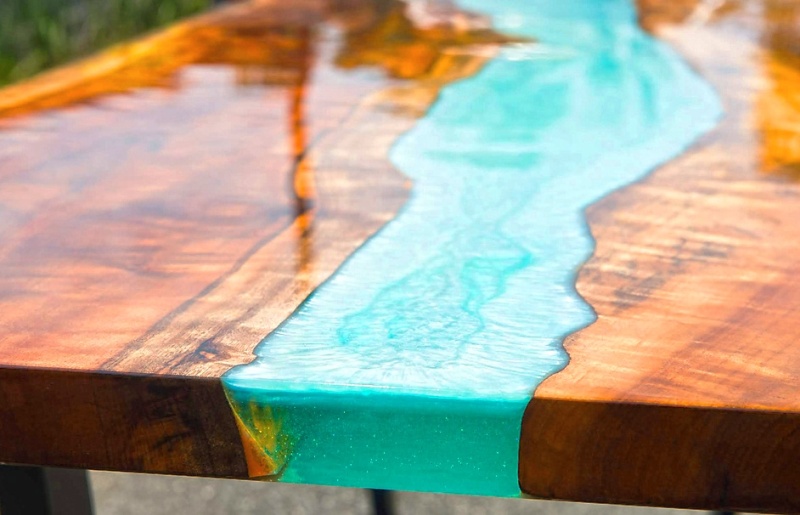
Have you ever heard of epoxy resin, or have you even come into contact with the material which is currently in great demand? Then you certainly know how much you can do with epoxy resin yourself.
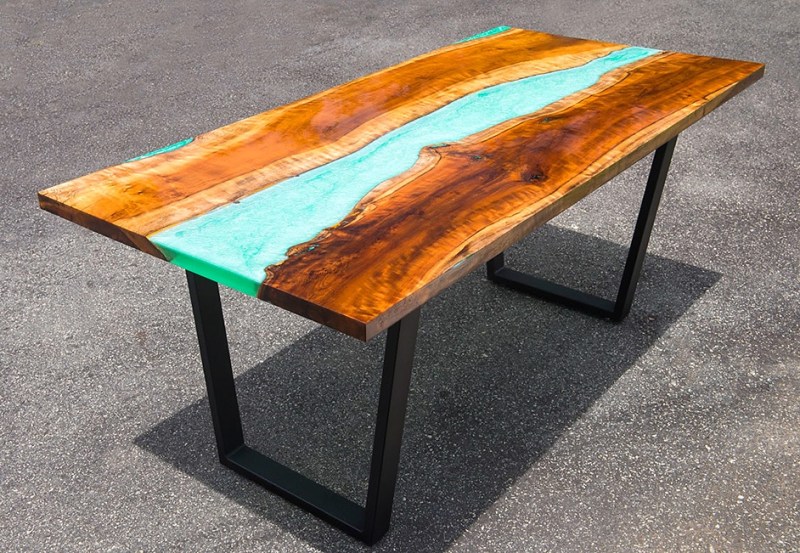
After all, it is impossible to imagine the “DIY” sector without epoxy resin at the moment. Below you will find instructions on how to build your very own wooden table with a tree trunk in combination with epoxy resin.
From computer desk to coffee table over desk
Many people have already made their own dining table in DIY according to instructions, which of course not only has a positive effect on the cost of a table. With epoxy resin you can even build a coffee table for yourself or a special table for gaming.
Use the following instructions to build your own individual designer piece from wood. But first of all, get an idea of what epoxy resin actually is.
Epoxy resin – what’s this?
Epoxy resins are artificially produced resins which are mouldable and cast. It consists of two components, one is the resin and the other the hardener, similar to a two-component adhesive.
The “do-it-yourself”, i.e. DIY, is not so difficult with epoxy resin. If you follow exactly these instructions to build your table yourself, you will get a table in no time at all that will cause a lot of admiration. If you would like to learn more about building your own Resin table, follow the guide on fluid-painting.com
What you should pay attention to when building yourself with epoxy resin:
the protective clothing, as there should be no skin contact during casting
the mixing ratio of resin and hardener must always be observed according to the instructions on the outer packaging
the temperature in the environment must not be less than 20 degrees Celsius when handling epoxy resin
Respiratory protection must be provided so that you do not inhale the dust during grinding
airing, because despite the low odour, it is recommended to provide permanent fresh air when pouring
For mixing you will need two vessels, in which you can weigh the two components. The hardener is then poured into the epoxy resin and thoroughly mixed together. Then let the mixture rest to allow the air bubbles to rise to the surface.
The epoxy resin is coloured using colour concentrates. Alternatively, you can also use colour pigments, i.e. colouring agents in powder form. However, these should only then be dissolved with thinners.
DIY Resin Table Instructions
To be able to make your own wooden table from epoxy resin, you need the following materials:
- Epoxy resin with hardener
- a wooden disc made of oak or optionally other wood
- Colour pigments or liquid colour components
- Screws and Hairpinlegs
For the mould for casting:
- Release agent e.g. Teflon spray
- Screws
- Chipboard in a thickness of 22 mm, coated with melamine and smooth
- for sealing silicone
Additional materials:
- for possible cleaning Acetone
- Sandpaper in different grit sizes (240, 180, 140, 120, 80)
The tools:
- Work gloves
- Cordless screwdriver
- drilling machine
- Wire brush
- Bucket for mixing (4 pieces)
- Orbital sander (hand sander)
- Paint rollers (sealing)
- Hairdryer with hot air blower
- Hand circular saw incl. guide rail
- Hardwood wedges
The costs and the construction time of your self-built table depend on your own ideas, used materials and the time you can invest in one piece.
1st step – cutting the wooden disc
When building the table yourself, it is essential that you use a wooden disc that is completely dry. So over a period of two to three years. Therefore, pay attention to this important feature when buying. In addition, the tree disc must not have so much resin. If there are any cracks, this is not quite so dramatic, because you can remove them during cutting.
Step 2 – Creating the mould
To make the mould you need the smooth and melamine coated chipboard in 22 mm thickness. You can then pour the epoxy resin into this special mould. When making the mould and sealing it, please remember that the resin is very fluid and can run into any leaking cracks.
The boards from the chipboard as frames must be screwed butt together. If the chipboards are warped, they are less suitable, as this increases the risk of leaks.
3 Step – mixing the epoxy resin
Based on the dimensions of the wooden disc and the circumference of the table top, you must mix the appropriate amount of resin. Note that the wood is absorbent and you will probably need a little more than calculated. As mentioned above, please ensure that the mixing ratio is correct.
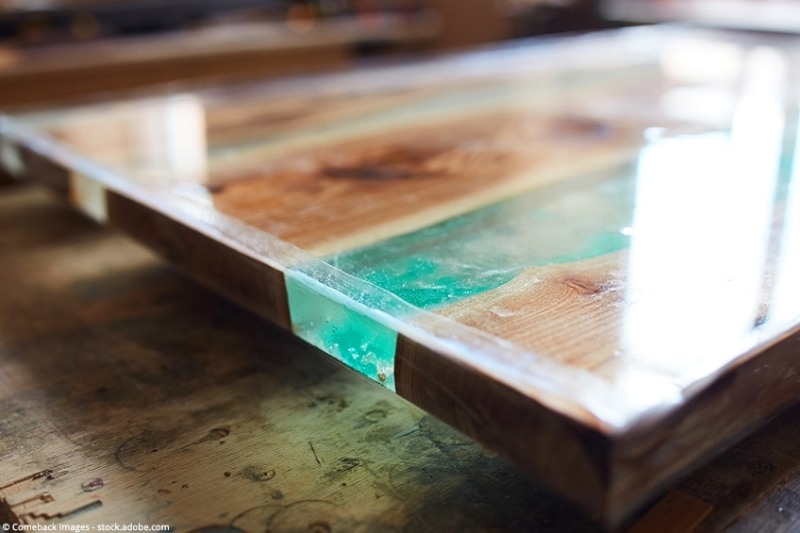
Step 4 – Pouring the table top
To make your own table you must always keep an eye on the room temperature. It must not be colder than 20 degrees Celsius, even when curing from your table. Air bubbles and splashes should be avoided when pouring.
The epoxy resin must then be poured into the mould from four different sides in parallel. As we know that humans only have two hands, you will need help for this step.
5th step – reworking from your table
Do not start reworking the table top until at least three days after the curing process has been completed. By the way, the material is only finally hardened after one week. The table top can be taken out of your self-built mould and reworked. The table top can be separated from the base plate using a hardwood wedge and chisel.