As we all know that the garage door plays a vital role in your daily life. It continually protects your cars or other vehicles from thieves and other environmental conditions.
Yet after period garages have issues of their own such as garage door entry won’t open, decline to lock and twist. As I find garage door spring replacement cost is very high, but here in this article, I will share some simple tips and steps to save money and time by repairing the garage door on your own.
Like a couple of years ago, I had extension spring damage. As a result, the garage door was closed, and the door was launched like a rocket.
Today, I will reveal the very important information regarding how to spot and replace damaged extension spring without hurting anyone in the entire process.
This is very important for you to know when is your springs are unsafe, even if you are not planning for garage door spring repair.
Before starting with the process, here is a list of essential supply for the process:
- Two C-Clamps
- Lineman’s Pliers
- Socket Wrench
- Crescent Wrench
- Duck Tape
- Step Stool
- 6 Foot Ladder
- New Garage Door Extension Springs
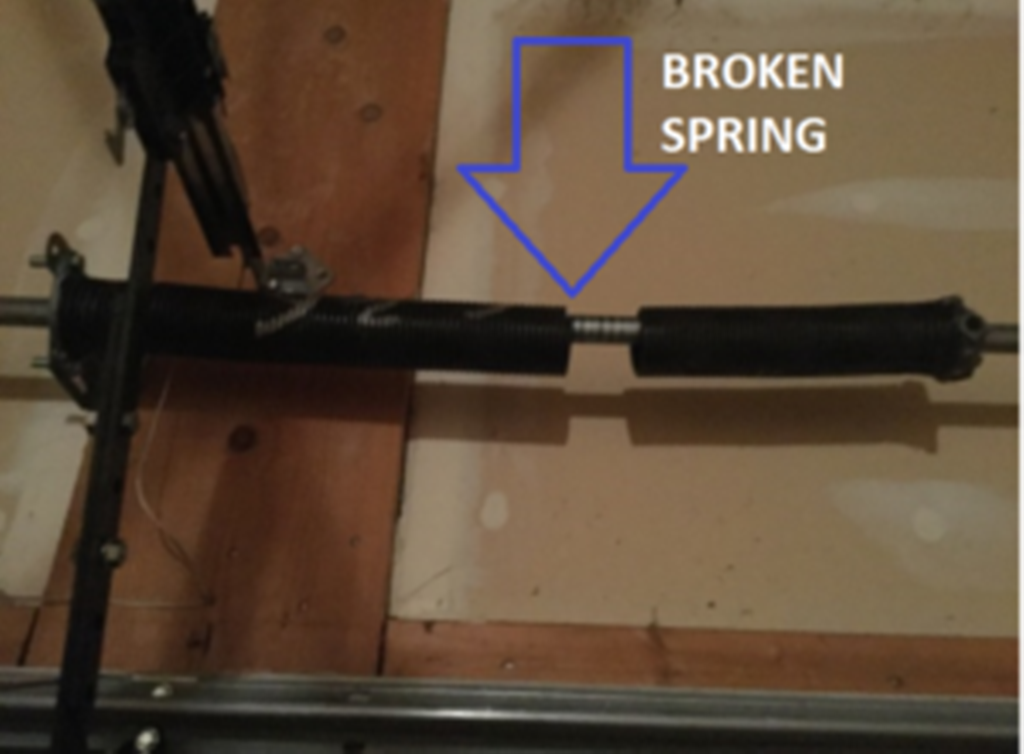
Let’s have a look at how damaged spring looks like!
SAFETY IS FIRST PRIORITY….
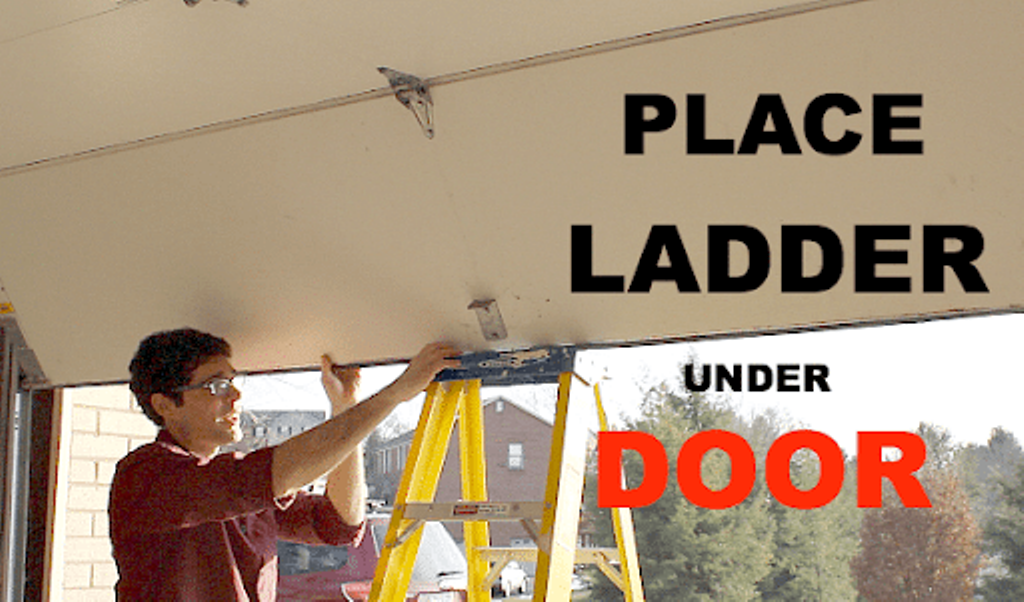
First, remove your car or other expensive garage stuff then open your garage door and place ladder directly underneath the garage door opening.
Make sure that the door can rest on top of the ladder placed.
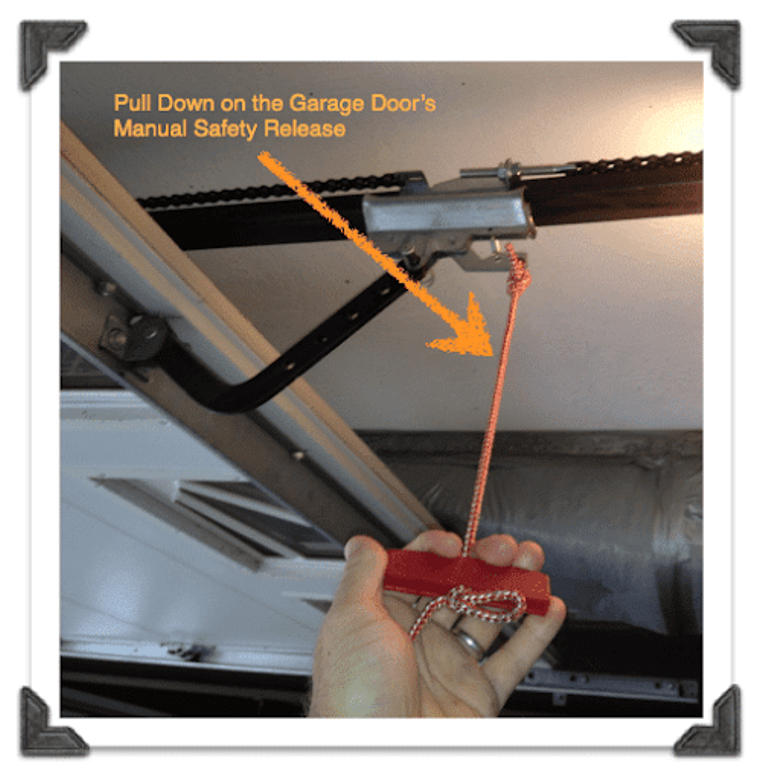
Then, unplug the garage door opener carefully.
Clear the passage to close the door –that would bring some BAD NEWS!!
Now pull down the garage door’s manually, now the door is ready to move freely.
-
Place C-Clamps On Track
Place C-clamps on both sides (left & right) of the garage door tracks. Make sure that C-clamps must rest underneath the end roller in the track.
Because prevention is better than cure, right!!!
REPLACING A BAD GARAGE DOOR SPRING
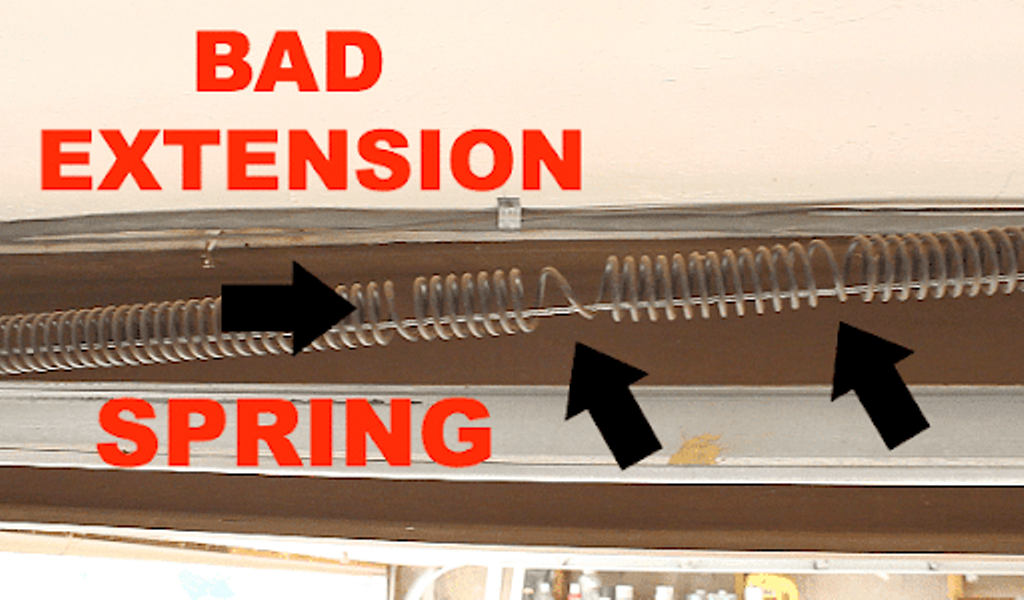
Before replacing, we need to spot the bad garage door extension spring. Don’t worry, It an easy task!
Check, if the spring coils are irregular & distended due to which spring extended then it’s the time to replace the extension spring before any damage.
-
Remove the spring
You can see the spring in closed garage door position since extension springs are connected to a pulley and I-bolt. Further I-bolt is connected to a bracket (vertical)
There should also be a steel safety cable that a tied to a vertical bracket and runs through inside the extension spring.
Next, you remove the safety cable that runs through inside the extension spring and adjusts the pulley to replace the old spring
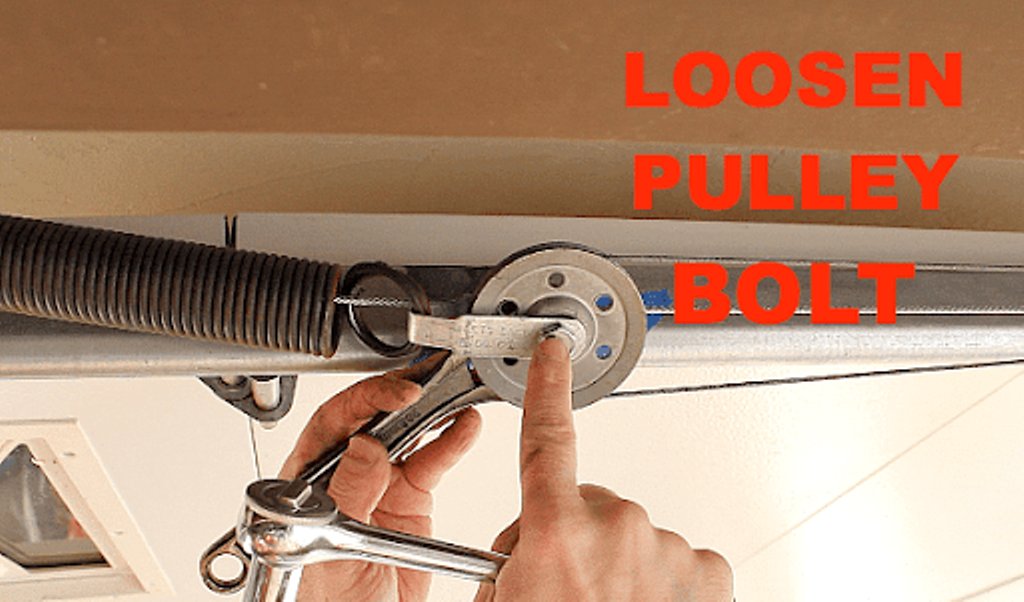
Use the wrenches, and loosen the I-bolt that holds the pulley.
Now tape the pulley wheel to steel cable because the wheel has a special relationship with the steel cable that it pulls. So tapping it will allow you to attach it with new extension spring easily.
As shown in the image of how it tied to the vertical bracket. Then untie the cable from the vertical bracket & pull it through the old spring.
Now, it is time to remove the pulley clip carefully from the end of the old extension spring & remove the old extension spring.
-
Choose right matching spring replacement
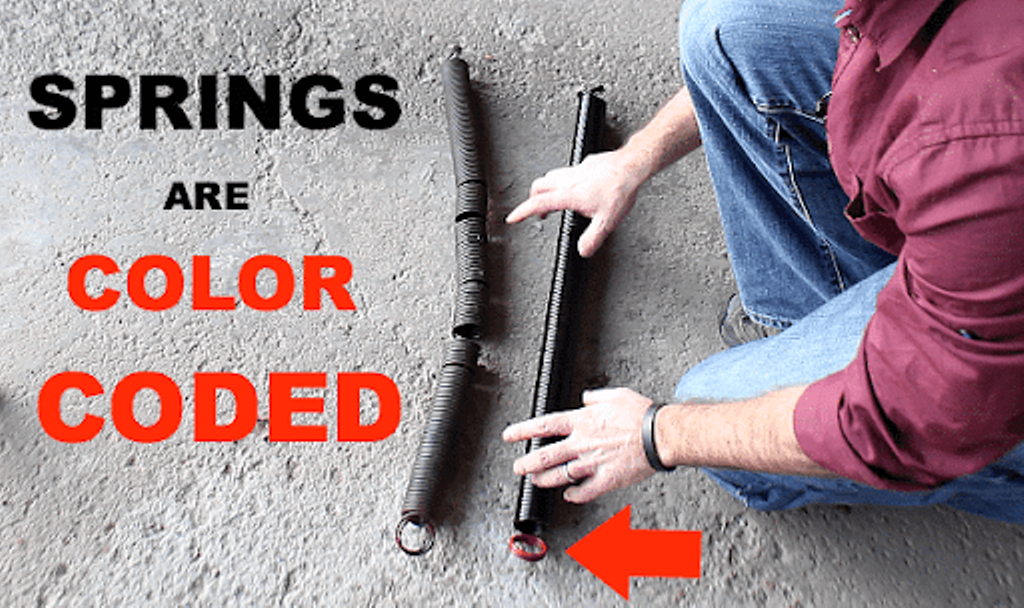
As we know that the garage door springs are colour-coded this pattern will help you to go to the hardware shop and choose the best garage door extension spring cost in just about 5 minutes as shown in below image:
This is very important to note that you should replace both springs (left & right) at the same time because if one spring is replaced then your garage door will not open or close properly due to more tension on one side.
-
Install new extension spring
Now you should place the cable onto the end of the new extension spring and tie it to the vertical bracket. Tight the cable to lineman’s pliers as tight as possible then place the safety cable clip and I-bolt back together using your wrenches. If it is required slack in steel cable, then remove the S-hook that holds the cable to the door bracket.
In the end, make sure to check all cables carefully and smug on the pulley wheel. It should have enough tension to open and close the door.
If more tension is required, then adjust the position of S-hook on the door support bracket. At the end untie the cable from the 3 holes clip & tight it with lineman’s pliers.
Double-check all the changes are perfectly done!!
Wrapping things up!!!
Carefully remove all safety precautions and take the C-clamps off the garage door track and remove the ladder.
Connect the opener in the garage door outlet and switch on the button to make sure the movement of the door is correct. If you feel comfortable, then you can do it yourself otherwise call professionals and save time & money from extra damage.