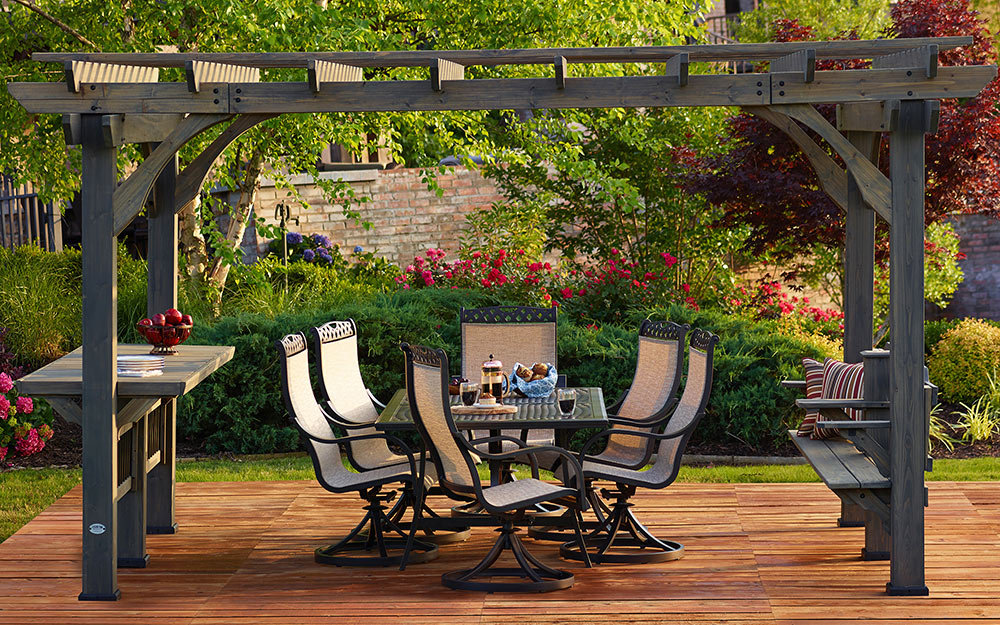
Over time, beneath the Florida sun, any concrete patio or deck can become cracked and faded. Textures can be worn smooth, and stains from weekend parties can leave the surface discolored. In the rarest of instances, weeds can push upward through cracks, giving your once backyard gathering place a disheveled or abandoned look. In these cases, rejuvenating the concrete surface will return the patio to its original beauty, and it will also help prevent the patio from deteriorating even more. Because a broken or faded patio can detract from a home’s value or even become an insurance liability if someone trips and falls, you need to understand the steps involved to save your investment.
Tools you will need
- broom or leaf blower
- pressure washer
- concrete filler
- cement trowel
- spreader
- handheld scarifier tool
- buffer pad
- painter’s tape
- UV sealant
- brush or paint sprayer
1. Sweeping
Of course, the first thing you want to do is to clean the surface of the patio and remove all the leaves and debris as well as any furniture. As you are doing this, you should gather any broken pieces of concrete and note the location of divots or cracks throughout the surface.
If large cracks or holes exist, you should remove any broken sections and leave the gaps to be filled by fresh concrete. However, you can also opt to fill the gap using original pieces that are several inches in size. You should not attempt to fill the gap with old pieces of concrete. Instead, these should be discarded.
2. Washing
Using a power washer, you should spray the surface of the concrete. Doing so will remove any lichen, mildew, or mold. As you spray the surface, you should keep the pressure set to low, which will be approximately 800 to 1,000 pounds per square inch (PSI). If you have cracked concrete and use a power washer on high power, you could end up chipping even more concrete out of the patio.
As you wash the concrete, you should hold the nozzle approximately a couple inches above the surface, moving it steadily back and forth. You will notice that the cleaned concrete looks bright and gray compared to the dirty surface, and you should continue until the entire surface is uniform in color.
When you clean the concrete, you should pay special attention to any bolts, posts, or rails that were installed within the concrete. The concrete around these sections could easily have pooled water over the years and created more cracks. Clean out the debris as good as you can.
3. Basic Sanding
Before sanding, you should cover your pool. Using a handheld scarifier tool is the best way to sand the surface and smoothen any rough edges. Additionally, you can fit the tool with a grinding wheel for shaping. For the purpose of re-working your patio, you can think of the scarifier tool as a hand sander for concrete.
For areas that you could not clean properly, you can sand these with the scarifier tool. As you sand, you should ensure to do so lightly. You should carefully move the tool back and forth while you are careful to not hold the spinning disc in one spot for too long. If you do not maintain a steady back-and-forth technique, you could end up creating divots within the concrete. For areas of concrete around railings, you can use the tool to smoothen the concrete.
4. Sanding Engraved Or Patterned Concrete
Any handheld scarifier tool is the go-to tool to rejuvenate engraved or patterned concrete because the scarifier’s edge can get down into the crevices and eliminate dull or stained concrete. Of course, you will want to proceed slowly as you give your patio a facelift as it is easier to remove material than it is to replace it.

5. Re-Filling
With the entire patio clean and scrubbed, you can now fill in gaps, divots, or cracks. In order to get the exact shade of concrete, you should use the exact brand of concrete that was used to lay the original patio or pool deck. For the best results, you should use a cement trowel to flatten the concrete, making sure to keep it even with the surrounding surface. As the concrete might settle somewhat as it dries, you need to ensure to add some extra concrete as necessary and scrape it smooth until it is perfectly level with the surrounding surface.
6. Buffing
Once you have the divots and cracks filled, you should use the scarifier tool once again to buff the surfaces. Again, you should proceed with patience.
7. Power Washing
Once you have sanded the entire surface, you should ensure it is washed prior to applying sealant. If you do not, the granules of sanded concrete will collect in the sealant, giving your patio rough patches that you can feel with your bare feet.
As you wash the patio, you should use a low-power setting in order to not crack or chip the concrete. Before applying tape or sealant, you should allow the entire patio to dry.
8. Final Inspection
Prior to sealing the patio, you should give your patio a final inspection to ensure you have not missed any areas. As you inspect, you should pay very close attention to any portions of the concrete that make contact with posts or rails. Additionally, you should ensure the surface is smooth and even.

9. Taping
With the hard part of the job behind you, it is now time to tape the edges that brush up against your home or any posts or rails. Taping allows you to protect any surfaces from coming into contact with the UV sealant that you will need to apply to the concrete to keep it protected from the sun.
When you apply the painter’s tape, you should ensure that the edge of the tape fits smoothly and evenly along the concrete. It should not bunch up or wrinkle because any imperfections in the tape can leave bare spots where the UV sealant will not be able to reach.
10. Finishing
Using a brush or paint sprayer, you should apply a coat of UV sealant to the patio. The UV sealant is a finish that will cause the concrete to appear slightly darker and a little more moist than it appears naturally. This appearance will enable your patio to always look fresh and new.
The sealant is important to help keep out moisture from rain or your pool. If moisture reaches the concrete, cracks can result as the concrete expands and contracts as it dries. To prevent this, you should apply at least three or four coats of sealant to the concrete, paying very close attention to the following areas.
- thresholds
- rails
- outdoor appliances
- gates
As you apply the sealant, you should begin near a far wall and work your way back and forth very carefully toward steps that lead away from the patio or toward the door into your house. Obviously, you do not want to work in a path that backs you into a corner, which will cause you to have to step across the newly sprayed sealant.
Because the sealant needs to dry, you should begin spraying in the middle of the morning. Doing so will allow the first coat to dry during the afternoon. Depending on the temperature and your sealant, you might need 48 to 72 hours to complete the entire process.


