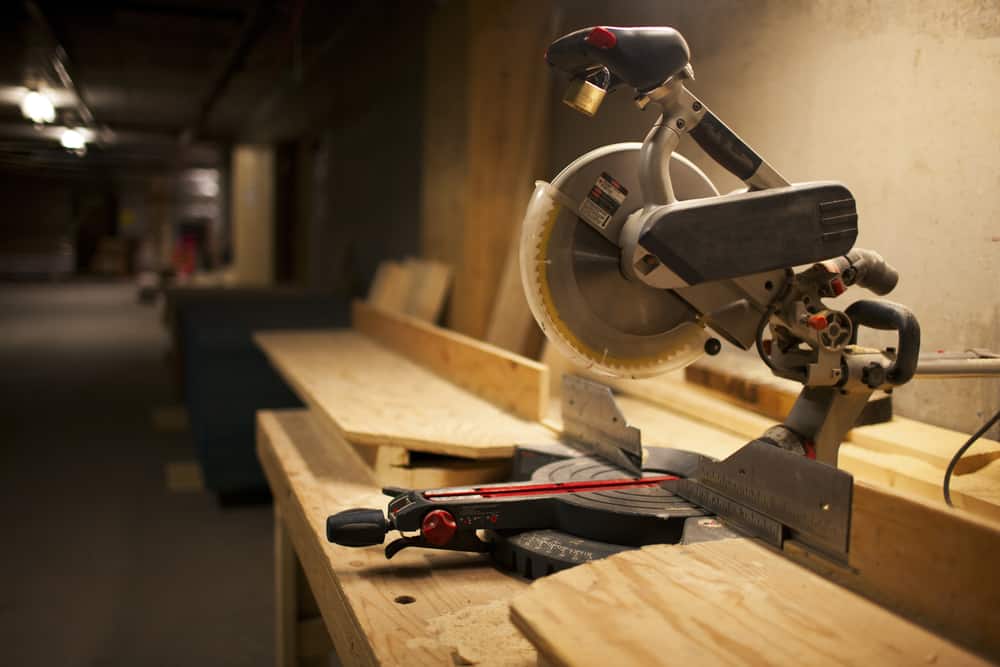
One of the most commonly-used tools when building DIY furniture projects is a miter saw. This tool is so handy for doing any project. To make the most of this versatile tool, here are a few tricks of the trade to keep in mind so that you can have the best miter saw possible.
Must-Know Miter Saw Tips
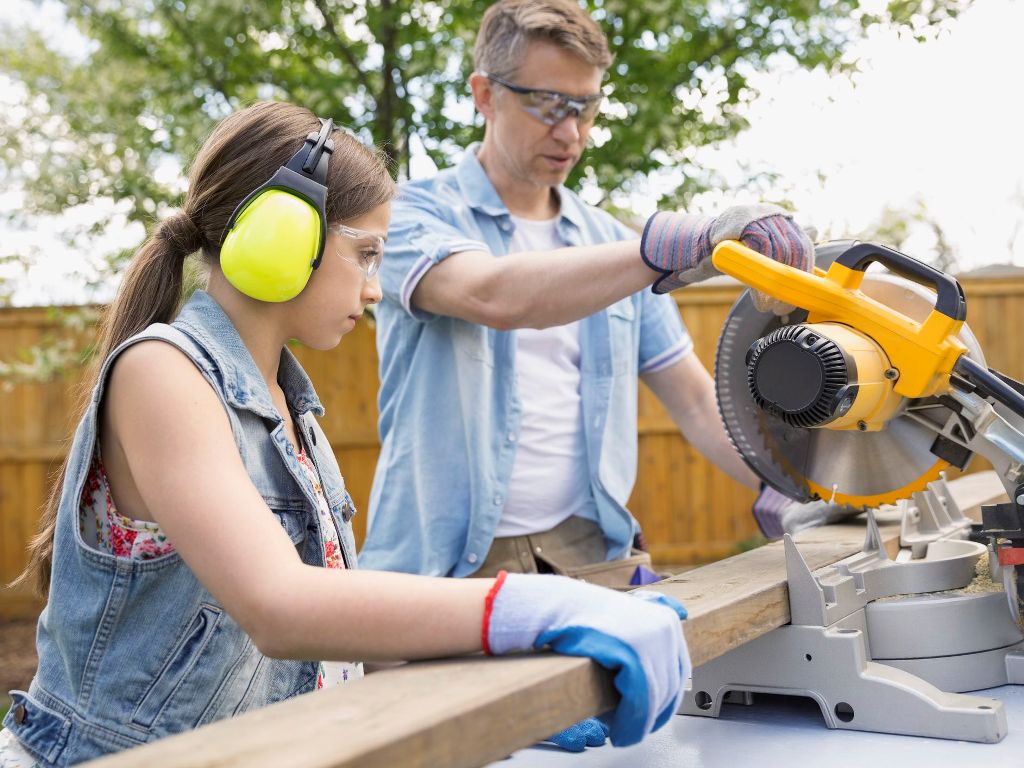
Before grabbing any tools or plugging in your miter saw, the first thing you want to consider is safety. Make sure that you check your miter saw for any safety instructions, read them, and follow them correctly.
If there is something that you do not understand about your saw and you cannot figure it out yourself, call the manufacturer or ask someone you know who is proficient in operating miter saws. You should also wear safety glasses to protect your eyes, hearing protection for your ears, and a high-quality respirator to protect your lungs.
Give Your Saw a Tune-Up
One important rule to remember is that the saw blade should always be square to the table. The fence should also be square to the edge. The blade settings are already done for you at the factory. However, the saw blade can come out of adjustment for several reasons to include mishandling or shipping.
When miter saws get frequent use or when they get moved around a lot, there is a chance the saw blade will come loose. For example, sometimes you will get an unexpected kickback when there are knots in the wood when the saw blade hits the knot.
Stock Saw Blade Replacement
Saw blades produce cuts based on the number of teeth it has. More teeth on edge will provide a cleaner cut, whereas fewer teeth make uneven, rough cuts. For DIY furniture projects, blades with more teeth are preferable for cutting measured pieces.
Most miter saws come with factory saw blades designed to cut studs. For DIY projects, make sure that you have an edge with more teeth that can cause clean and smooth cuts.
Check Saw Blade for Dirt and Excessive Buildup
Some people who work with miter saws may tell you that residue left on a saw blade can cause corrosion. While there is some truth to this, excessive buildup on blades is usually not corrosion nor the result of a dull blade. Instead, all you must do is clean the saw blades.
By doing regular cleaning on your miter saw blades, you will:
- Extend the life of the blade
- Help prevent it from getting dull or cutting poorly
- Keep your miter saw running at peak performance
- Reduce corrosion
Cleaning your miter saw blade is easy to do with a cleaning solution like a Blade and Bit Cleaner, which you can find at most hardware stores.
Square Ends
When wood comes from the mill, it is usually not perfectly square. This inaccuracy can be measured across the end of your board using a speed square. To get the best quality out of your DIY projects, make a rule to always square the board’s end by only cutting at the end of the board. You should not make a large cut, but just enough off the end to ensure that it is squared. Always do this before cutting your pieces to length.
Leave the Line
Don’t cut the line. Wherever you made your pencil mark to cut your line, always cut behind it. Do not cut past the line because you cannot replace what already got cut off. Leaving the line when making cuts will allow you to make fine-tuned adjustments later.
Blade Comes to a Full Stop
As a safety rule, you must always allow the blade to come to a complete stop after cutting. After cutting, do not raise or lower the blade again while the saw blade is still turning. Allow it to come to a complete stop, then adjust before continuing.
Set Up a Cutting Stop
If you are doing DIY projects like a coffee table, dog gate, outdoor cabinet, or beverage cart, you will be making repetitive cuts. If so, you need to set up a stop. A stop is a piece of scrap wood clamped to the miter saw stand, which allows you to cut multiple wood pieces at the same length.
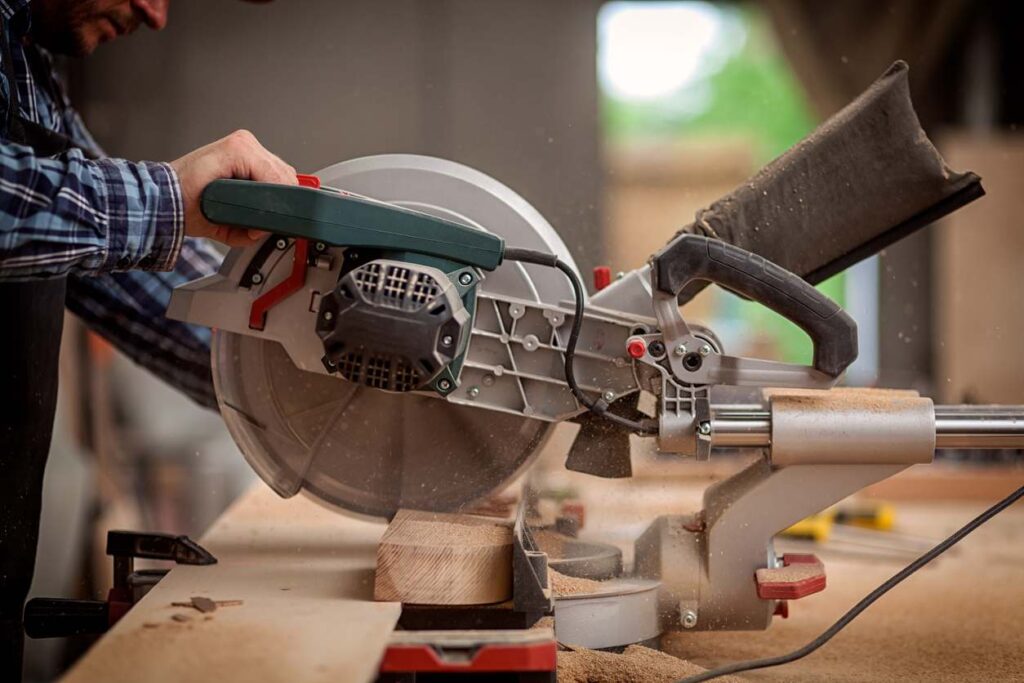
Accurate Cuts Using the Miter Saw Blade
Follow these steps for accurate cuts:
- Trim Board
- Measure the workpiece and make a pencil mark
- Set a stop and leave a pencil line
- Position the workpiece, so the pencil line is left when making the cut
- Make the precision-cut
Make Cleaner Cuts
If cuts are coming out rough and jagged, there are ways to use old scrap wood to reduce this problem and make cuts cleaner. This is a DIY project, but if you search online, there are several methods of using scrap wood to reduce “tear-out.”
Miter Saw Stands
Nobody likes to be bent over cutting on the floor. Also, your cuts will be more accurate when your miter saw is elevated off the ground. If you move around with your miter saw a lot, you should invest in a durable miter saw stand.
Final Thoughts
Following these tips will ensure that you get the best quality work possible from your miter saw. You can always study further and learn more to get the most out of this versatile and handy piece of equipment.