Drip, drip, drip…it’s the sound of a leaky faucet, and the sound alone is enough to drive most people over the edge. But it’s more than just an annoyance. The water that drips out of your leaky faucet quickly adds up, and it can mean paying hundreds a year for wasted water.
But there’s good news. You don’t need to lay out a couple hundred on a plumber to get your leaking faucet — or faucets — fixed. It’s an easy job to do yourself, especially if you have newer, cartridge faucets. Just follow these steps.
Get the Right Tools
You may have to go to the hardware store mid-repair in order to buy more parts, as we’ll discuss further below. But, ideally, you want to get through this experience without having to go to the hardware store more times than you have to. In that spirit, get together the following tools and materials before you begin:
- Allen wrenches
- Adjustable wrench
- Phillips and flat-head screwdrivers
- Channel lock pliers
- Scouring pad
- Penetrating oil spray
- Cleaning vinegar
- Replacement faucet cartridge
- Washers and seals
When it comes to replacement parts for your faucet, the best course of action may be to disassemble your faucet first, then take the parts with you to the hardware store so you can be sure of buying the same thing. If you’re just learning how to fix a leaky faucet for the first time, you can get someone in the store to help you identify the right parts.
Shut Off the Water to the Faucet
Before you start working on your faucet, locate the water shutoff valves under the sink and turn the knobs clockwise to shut off the water to the fixture. Open the tab to empty it of any water and make sure that the water is shut off. If you don’t have shutoff valves on your sink, turn off the water to the whole house. Cover the drain in the sink you’re working on so you don’t lose any small pieces in it.
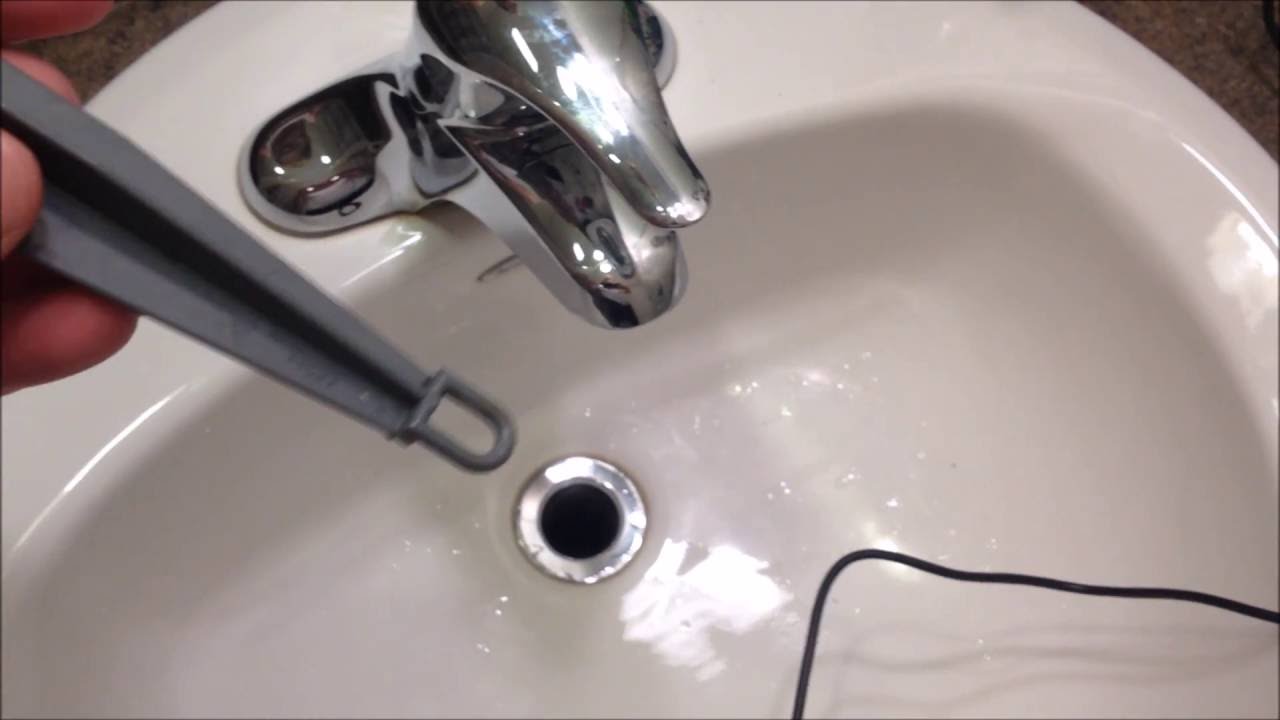
Take Off the Faucet Handles
If you have a faucet with decorative caps on the knobs, you can usually pop those caps off with a flathead screwdriver to reveal the screws you need to loosen to remove the handles. If you have a single-handle faucet, there’s probably a hex screw in the handle that you can loosen before lifting the handle straight up. Use spray oil to lubricate any screws or other parts that are hard to loosen or corroded.
Take Out the Valve Stem or Cartridge
Older faucets typically have a brass valve stem that will need to be extracted from the valve body and cleaned or replaced. Newer faucets have a brass or plastic cartridge inside the faucet body. There might be a clip or a nut holding the cartridge in place. Remove any seals and washers or other removable parts from the inside of the faucet body.
Check the Whole Assembly for Damage
You can usually fix a leaky cartridge faucet by replacing the cartridge, but it’s not a bad idea to replace all of the moving parts inside a faucet — cartridges, valve stems, nuts, bolts, washers, and seals. At the very least, you should take everything out and carefully inspect the whole faucet and all of its inner parts for signs of corrosion or damage. Take pictures as you disassemble the faucet, so you’ll have something to refer to as you put it back together again. Definitely replace any parts that look damaged. Use the cleaning vinegar and scouring pad to clean up any parts you’re keeping.Clean the Valve Body
The valve body is brass and holds the valve stem or cartridge inside the faucet body. If the brass looks pitted, it’s probably the result of mineral build-up. Soak the valve body in the cleaning vinegar for several minutes and then scrub it clean with the scouring pad.
Replace Any Damaged or Corroded Parts
Take any parts you’re replacing to the hardware store, so you can get exact matches. If you know your faucet’s model and manufacturer, you can probably buy a tune-up kit for it that includes all the parts you need to replace everything inside your faucet. Generic repair kits are also available for cartridge faucets.
Put the Faucet Back Together
Put your faucet back together in the reverse order of how you took it apart. Use the pictures you took when disassembling it to help you remember how it goes together. If you forgot to take pictures, you can probably find instructions online for assembling your model of faucet. Once everything’s back together, turn the water back on and test for leaks.
A leaky faucet can let hundreds of gallons of water drip away slowly each year — but you can stop the waste. For a couple of hours of your time and the cost of some replacement parts, you can fix your own leaky faucet.