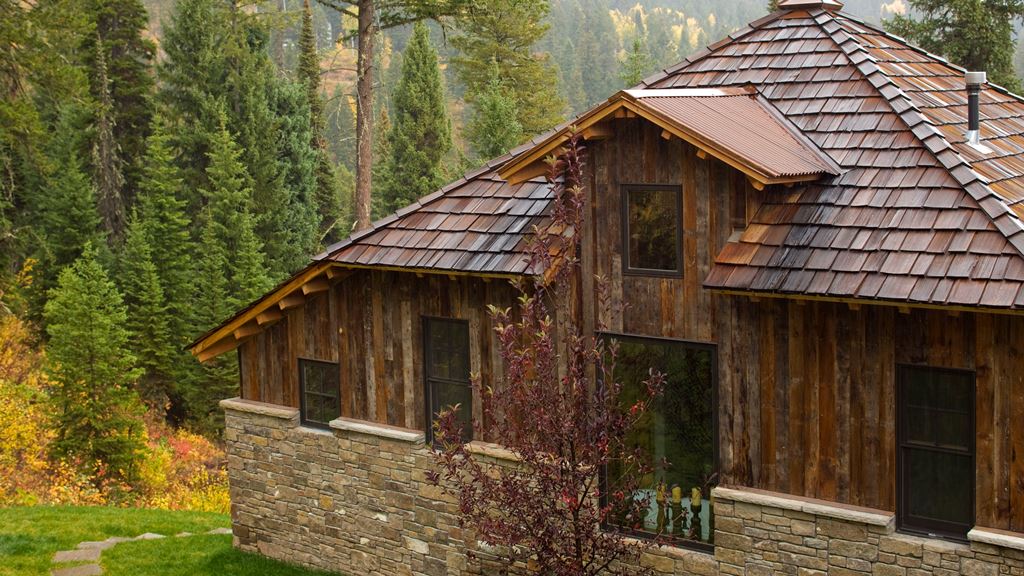
The exterior of your home is subject to a wide variety of environmental factors, day in and day out. During seasonal transitions from the moisture of the rainy season into the dryness of the summer, the wood may expand, contract and then warp, resulting in the peeling of paint. These changes are natural as your home ages, so it is important to be familiar with the best methods of maintaining and repairing the wood on the exterior of your home. Here are a few tips on how to do just that.
When to Repair the Wood in Your Home
Homeowners in New England are far too familiar with humidity and its potential to damage the wooden exterior of their houses. This is especially true of historic or generally older homes, as the wood ages over the years and needs special care and attention to maximize its longevity. To ensure the best care for the wooden structure of your home, it’s important to identify the appropriate time to repair it. If you observe any of the following, then it may be time to fix some imperfections:
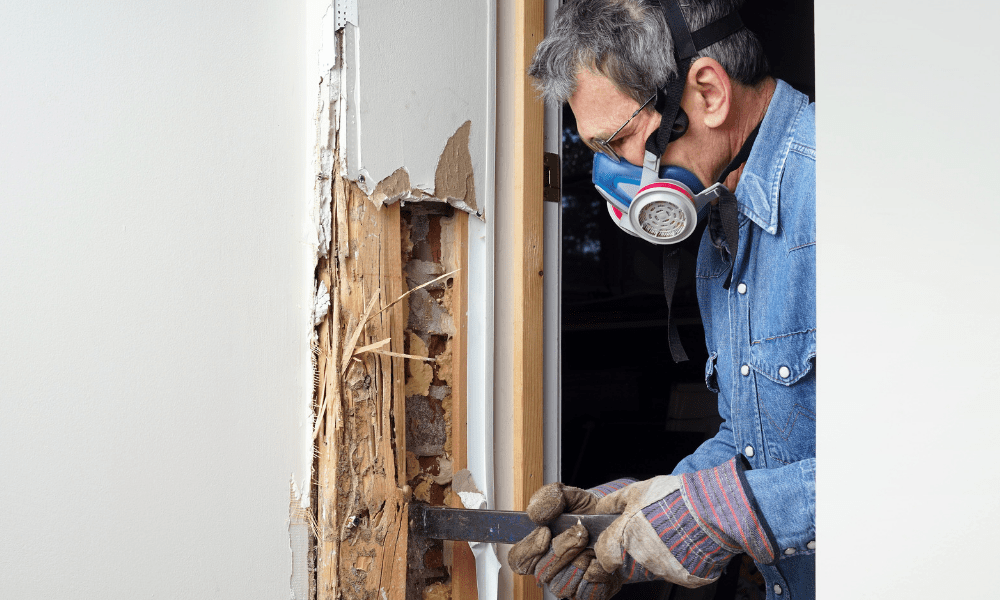
- Your front door becomes drafty. Once you have confirmed that this is not due to aging weather stripping, consider the possibility that the door may have warped or that the door may be hung inadequately.
- Your wood walls become dull. Without a regular maintenance and repair routine, the wood is subject to losing its sheen and smoothness.
There are many different methods that can be used to repair these issues. Your choice will depend on the extent of damage or, rather, how worn down the wood is. The method you choose for repair also depends on the type of damage. For instance, if a piece of wood is warped, you may need to sand it to reshape or level it or replace it altogether. If the wood is cracked or you find a hole, you’ll need to fill it instead. Check the exterior of your home every few years to locate any imperfections, as this is about the time (between 3-7 years) that a new layer of paint should be applied.
How to Maintain and Repair the Wood in Your Home
One of the most essential things to remain aware of is how to care for the wood on the exterior of your home preventatively. Moisture is one of your biggest foes in terms of the structural integrity and longevity of the wood. To avoid extensive damage, do not allow water to settle on horizontal surfaces or collect in the crevices of decorative features. The best way to protect against water collecting and settling on wood is to provide the proper drainage.
The features that need special focus in your repair and maintenance include:
- Brackets
- Doorway pediments
- Cornices
- Siding
- Paints and finishes
These elements all work together to enhance your home’s historic character. Note that to maintain these features, you must periodically restore the surface of the wood. Though many people tend to believe that power-washing is the appropriate method of restoration, in this case, a more careful cleaning technique may best. (It is especially important that you hire a professional experienced in cleaning your home’s exterior properly since power washing alone can force water into the building and may cause deterioration that you cannot immediately see.)
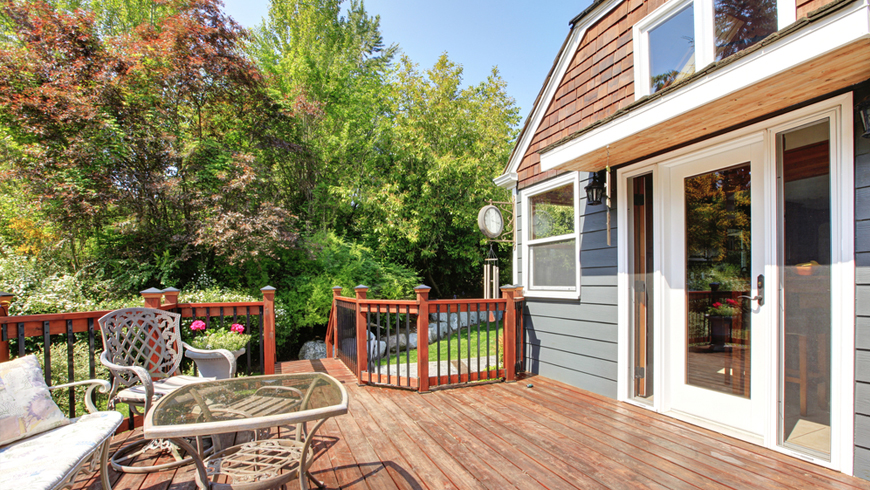
On the exterior wood of your home, specifically, check often for the following imperfections:
- Cracks
- Holes
- Splitting
- Unstable, structurally weak joints
- Moisture damage
- Deteriorating paint
- Warping
As you review the physical condition of your home, keep an eye out for attachments that are loosely installed or that are missing altogether. Wherever you spot cracks and holes, follow the guidelines below to fill them:
Method 1:
- Fill with sawdust. To make your filling, pour a small amount of adhesive on scrapwood. Add a bit of sawdust to this adhesive and mix it into a putty. Be sure to use sawdust that has a fine texture. (Make sure the sawdust you use for filling is the same type of wood as the piece you’re filling.) Mix this combination until it is uniform in color and close to a color that is identical to the section you’re filling.
- Place the mixture into the crack or hole. Push the mixture into the hole that needs filling and immediately wipe off the excess. Do not allow the excess filling to sit for too long, or it will dry.
- Allow the piece to sit for 3-4 hours.
- Flatten it out. Once the piece of wood and the filling dries, you can level the surface. For this, you can use a paring chisel or a shaving blade. (Note: The adhesive can be difficult to shave off since it is partially made up of plastic. This is why it is so vital to shave off all the excess.)
- Polish the area using sandpaper.
Method 2:
- Fill using a wood filler. Using a wood filler after the initial repair with the sawdust mixture is especially beneficial for pieces of wood that you plan to paint. Make sure your wood filler matches the natural coloring of the wood.
- Mix the wood filler according to the instructions, making sure it is mixed with sawdust as well. You can apply this to both holes and cracks, again, making sure to wipe off the excess.
- Add a layer of sawdust on top of the wood filler before drying.
- Once dry, wipe off the excess sawdust with a plane blade iron.
- Plane the piece of wood to level the surface.
This only scratches the surface of the various methods used to repair the wood in your Historic New England home. Proper repairs take close attention to detail and consistency to give your home as clean and uniform of a look as possible. If you’ve noticed signs of wear and tear on the wooden features of your home, have the experts at Catchlight Painting come and evaluate it. Along with rejuvenating the exterior wood and defining the historic character of your home, Catchlight offers light carpentry services to ensure the highest quality home renovation. If you are in need of wood repair and painting in Boston, contact Catchlight Painting today.
