Modern shower heads come fitted with a flow restrictor in order to save water. As per regulations, a shower head should not dispense more than 2.5 gallons of water per minute.
A flow restrictor can be good for the energy bills, but it might not be best for a soothing showering experience. If you think that the shower head should dispense more water, it is the time to remove the flow restrictor.
Merely taking the flow restrictor out of the shower head will solve the problem.
Steps to Remove a Flow Restrictor from a Shower Head
Before I explain the steps, it is essential to have all the necessary tools in place. You need the following things to remove a flow restrictor.
- A rag
- Adjustable pipe wrench
- Teflon tape
- Needle nose pliers
- Paper clips
Step 1: Disconnect the Shower Head from the Shower Arm
To remove the shower head, you should locate the nut connecting the head with the arm. Wrap a rag or towel on the showerhead to protect it from scratches and dents.
Now unscrew the nut using a pipe wrench, and you’ll be able to loosen the shower head if you rotate the wrench clockwise. After removal, place the shower head securely inside a box.
Step 2: Remove the Shower Screen
Many modern shower heads come with a shower screen attached to the head. The purpose of this screen is to filter the impurities and sediments.
Use nose pliers to remove the screen, and be gentle with it so that it doesn’t tear apart. After dislocating the screen from its place, tap the shower head gently, and you’ll be able to remove the screen.
Step 3: Take out the Gasket or O-ring
The gasket or O-ring secures the flow restrictor. So, remove it first to extract the restricting device from the shower head.
Use paper clips to unbend the gasket and remove it securely. The O-ring is the most delicate part of a shower head, and it is responsible for keeping leakages at bay, so make sure to remove it securely.
In case if you damage the O-ring accidentally, consider replacing it with a new one.
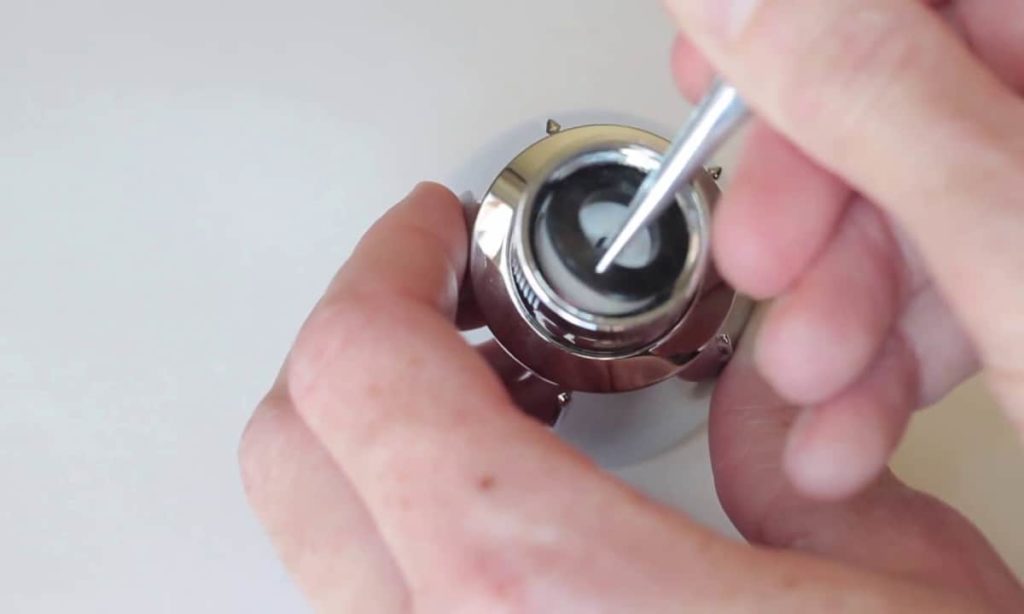
Step 4: Remove the Flow Restrictor
Now you’ll be able to see the flow restrictor inside the shower head. The flow restrictor is a big star-shaped device that filters the water and lowers its flow. To extract the restrictor, remove the plastic ring using needle nose pliers.
Now pull the flow restrictor out of the shower head by twisting it gently. Do not pull it with too much force, as the restrictor can get damaged, and you cannot install it in the future, if required.
Still not able to extract the flow restrictor out of the shower head? Here’s a video that’ll help.
Step 5: Install the Shower Screen and Other Components
After removing the shower restrictor, install everything you took out from the shower head. Place the O-ring back in its place, and then put the shower screen back.
Ensure that the screen and the gasket fit perfectly so that there are no hassles of leaks afterward. Furthermore, if you can service the shower head once, it’d be great to enhance its lifespan.
Use a soft-bristle brush and clean all the sediments and minerals sticking inside the shower head.
Step 6: Put the Shower Head on the Shower Arm
Your shower head is ready to dispense more water to reward you with a mesmerizing bath. Remove the old Teflon tape, and replace it with new to ensure a leak-free showering experience.
Now reattach it with the shower arm, using the nut that you unscrewed using a pipe wrench. Hold the shower head with a cloth, and tighten the nut properly, but don’t over tighten it.
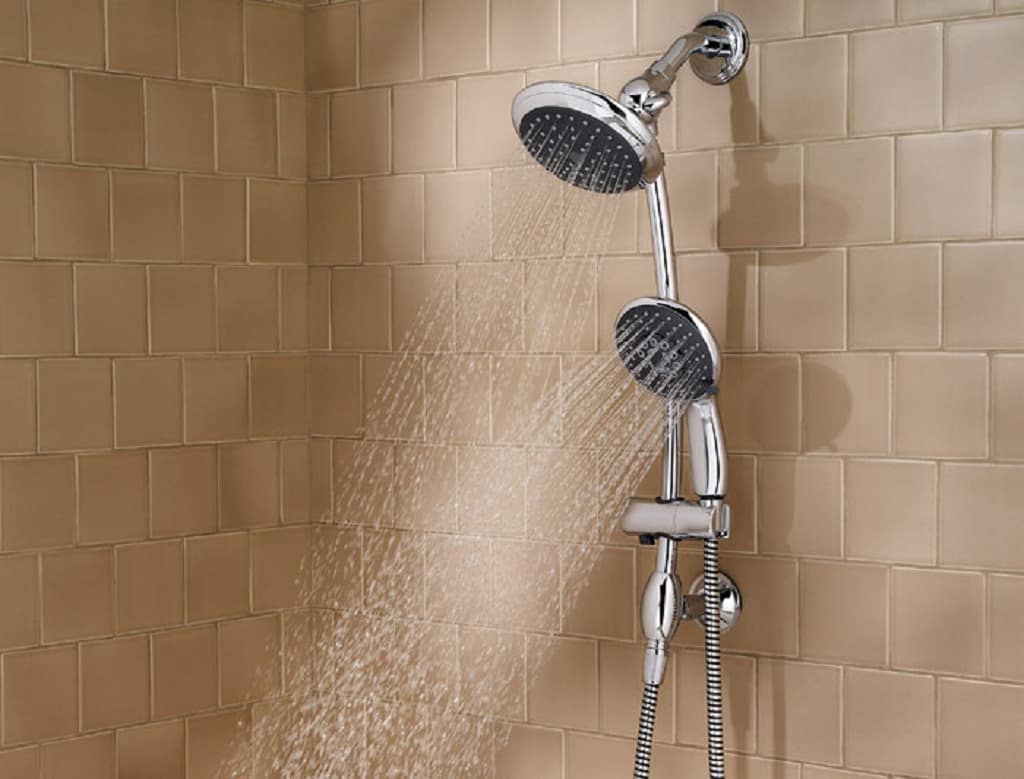
Step 7: Enjoy a Shower!
It’s time to test if the shower head is dispensing more water or not. Turn on the shower and enjoy taking a bath. Also, pay attention to the shower arm joint and check if there is any leakage or not.
Final Thoughts
With these easy steps, you can quickly remove the flow restrictor from a shower head.
If your shower head is too old and the restrictor is jammed inside, it’s better to go for a new shower head. Check out these Speakman shower head reviews, and find a modern shower head with great water pressure.
Lastly, clean the entire bathroom, as this process may result in the spilling of water on the shower door and shower pan.
Author Bio:
Hello, this is Richard, working as a Sr. Editor for BathAdvisors. I assist the writers in creating article outlines, structural edits, and proofreading. I also contribute to BathAdvisors through my blog posts. I spend my pastime reading books and gardening.