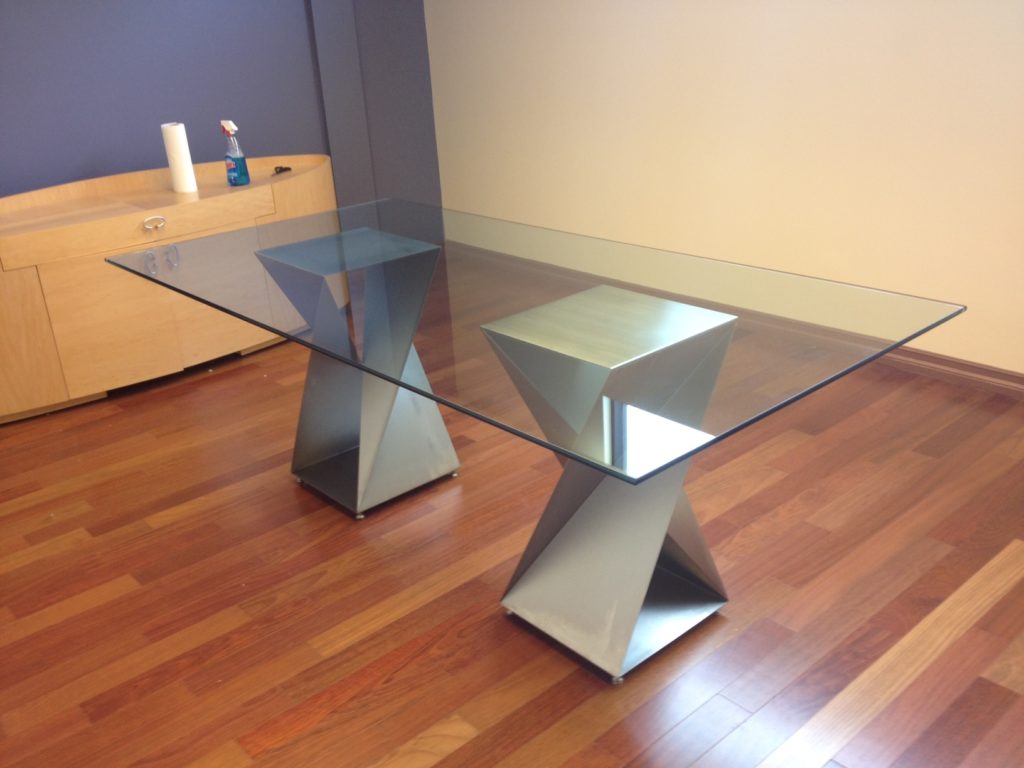
Do you need a new table for your kitchen or dining room? You can make one yourself without welding any metal parts! The process is actually really simple and will take up less than an hour of your time. If you have a drill, some clamps, epoxy, and wire brushes on hand then you are all set to start this project. We’ll show you how in the tutorial below!
Supplies You Need
To get started with our DIY Metal-Based Table, we first needed to purchase all of our supplies which included:
- A round wooden top (we got ours at Ikea)
- An iron pipe that would fit inside it as its base (also from Ikea)
- Wire brushes for cleaning (we got ours from Home Depot)
- Clamps to hold everything together while the epoxy dried (from Ikea as well!)
- Epoxy
Which epoxy is used to make tables
The type we used was Loctite’s Fast Grab which sets quickly, but does not dry clear like other brands so it worked best with our application (it kept the color showing through). Other options include: Gorilla 2 Part Epoxy, J-B Weld Steel Reinforced Epoxy, or other epoxy glues that work for metal and wood.
Nikon D800E
2019/1/10 16:39:16.30
Time Zone and Date: UTC, DST:OFF
RAW (14-bit)
Image Size: L (7360 x 4912), FX
Lens: 24-70mm f/2.8G
Artist:
Copyright:
Focal Length: 44mm
Exposure Mode: Manual
Metering: Center-Weighted
Shutter Speed: 1/1.3s
Aperture: f/11
Exposure Comp.: 0EV
Exposure Tuning:
ISO Sensitivity: ISO 100
Optimize Image:
White Balance: Color Temp. (5000K), 0, 0
Focus Mode: Manual
AF-Area Mode: Single
AF Fine Tune: OFF
VR:
Long Exposure NR: OFF
High ISO NR: ON (Normal)
Color Mode:
Color Space: sRGB
Tone Comp.:
Hue Adjustment:
Saturation:
Sharpening:
Active D-Lighting: Normal
Vignette Control: Normal
Auto Distortion Control: ON
Picture Control: [SD] STANDARD
Base: [SD] STANDARD
Quick Adjust: 0
Sharpening: 3
Contrast: 0
Brightness: 0
Saturation: 0
Hue: 0
Filter Effects:
Toning:
Map Datum:
Dust Removal:
[#End of Shooting Data Section]
DIY Metal-Based Table – Step by step instruction
Step One: Cut thin strips of metal mesh using tin snips so that they fit around the wooden posts inside the base frame. Make sure not to cut them too small because it’s to work with larger pieces when you actually start to build the table top.
Step Two: Apply epoxy along one edge of a strip and then press it against the post, keeping in mind that you will need less glue on the outer edges because they overlap with other metal pieces. Repeat this step until all posts are covered and let them cure for at least four hours (you can do more than one coat if needed). Make sure to wear safety gloves so your hands don’t get too messy!
This is what each post should look like after two coats have been applied. Notice how there isn’t any visible adhesive on them which means they aren’t going anywhere!
Step Three: Once cured begin building up layers around each wooden base by placing smaller strips over larger ones and gluing them down with more epoxy. You can use a ruler to measure and make sure each piece is the same length before gluing it in place.
Step Four: Continue this process until you have reached your desired thickness, making sure there are no gaps or breaks between any pieces along the way (this will also require multiple coats of glue). We used four layers for ours but depending on what kind of table top you need yours may vary!
Step Five: Once finished sand all surfaces lightly using fine-grit sandpaper so that they’re smooth and even then wipe away dust with a damp cloth. This step isn’t necessary if you don’t care about having an extremely smooth surface like glass, but if anyone ever bumps into your new table it will be less likely to chip or crack.
Step Six: Attach the metal base to your table top by drilling screws through each post and into the matching area on the frame (if you do not have a drill then ask someone who does). Then attach felt pads to the bottom of each leg so that they don’t scratch any surfaces when you place them down. Once everything is finished let us know how much fun you had building something from scratch!