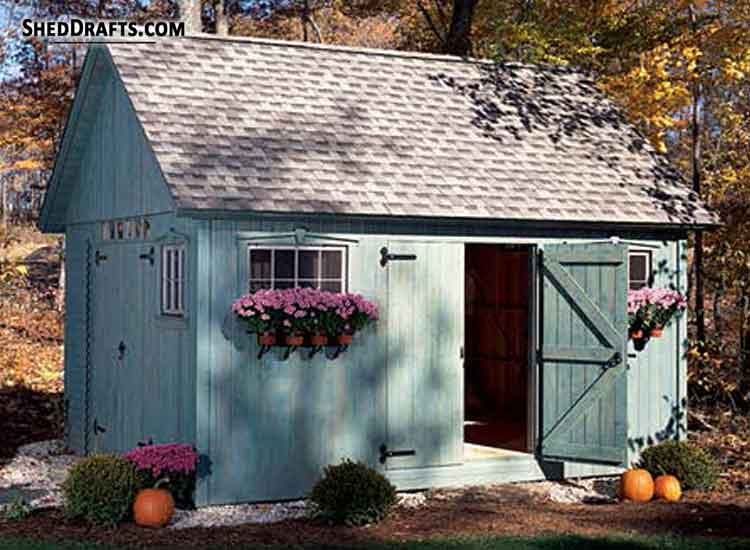
Building a shed can help spruce up your garden and provide valuable storage space. You can use some detailed 12×16 shed plans & blueprints to construct a spacious backyard shed. This will give you enough room to store all your lawn tools and also a place to set up a potting bench.
Follow these simple steps to assemble a functional storage shed within a few weekends.
Construct The Floor
Excavate the location where your shed will be situated and create a six-inch deep pit. Fill it with a four-inch-thick layer of gravel. Level and compact the gravel bed. Lay down pressure-treated skids on the bed.
Craft the joists using 2×6 lumber according to the measurements shown in the shed diagrams. Assemble the floor frame over the timber skids and fasten the joists with two-inch nails.
Nail plywood sheathing over the frame. Begin at the corners and work your way towards the center. Cut the outer sheathing at corners and make them parallel to the skid’s edges.

Build Wall Frames
Construct the front wall plates and studs from 2×4 lumber and fasten them together with 2.5-inch nails. Hoist the wall frame over the floor and secure it to the deck by nailing into the bottom wall plates.
While building the rear wall frame, use two boards for making the top plate. Nail the studs every 16 inches. Hoist and secure the back and side walls into place.
Create the door and window headers by combining two 2×4 timber boards over a half-inch strip of plywood. Attach the headers with deck screws. Check that the headers are flush with the wall frame.
Fasten OSB siding on the wall frame starting on the left side of the front wall. Rip the siding and set it parallel with the upper part of the top wall plate and the lower part of the floor joists. Align the sheathing such that the seams overlap the studs. Similarly, attach siding to the rear and side walls. Cover up the wall corners with trim boards.
Assemble The Shed Roof
Craft rafter templates using 2×6 pressure-treated lumber. Check that the rafter fits snugly over the wall plates and then craft the remaining rafters using the template. Toenail each rafter to the wall top plates using two-inch galvanized nails.
Create the rake walls similar to the front wall framing. Construct the top plate and fasten the studs at sixteen-inch intervals.
Build fascia boards using 2×6 lumber and fasten them parallel to the upper ends of the rafters.
Attach the roof sheathing by beginning at the lower-left corner and work your way upwards. Build the trim from 1×2 boards and create a drip edge beside the fascia and parallel to the sheathing.
Secure roofing paper over the sheathing and attach shingles. Fasten trim boards between the roof and wall frames to cover up all gaps.
Install Doors and Windows
Install the inner stops into the window opening and then attach each window using screws. Then install the stops on the outside. Seal all gaps around the window frame with caulk to keep out the water and snow.
Create the door panels and hang them on strap hinges. Secure trim boards around the door frame perimeter with one-inch nails. Attach a doorstop made from 1×4 lumber behind the door.
Add a skylight to your shed’s roof to allow a lot of sunlight that will help your potted plants grow. Make sure to install a vent or cupola in the shed to maintain a constant airflow throughout the building. This will prevent your 12×16 backyard shed from becoming stuffy and avoid mold growth.