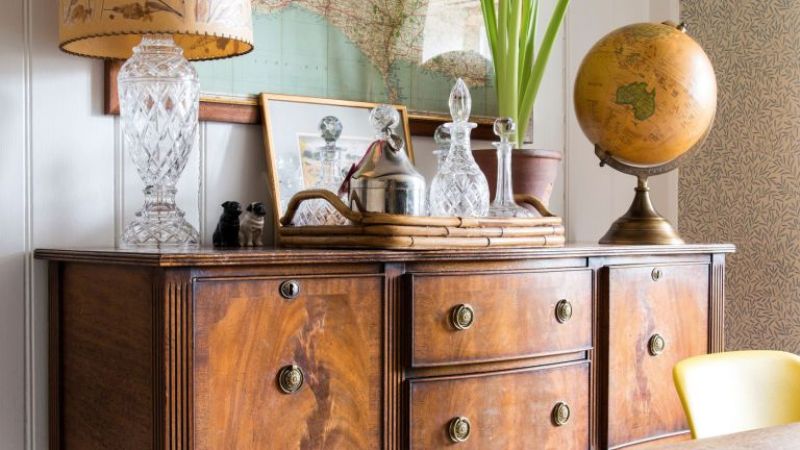
Restoring antique furniture might be time-consuming, but it is worth the effort. It does not have to be a complex if you keep to the right steps of the process. Having the right tools, products, and knowing the best methods to use will make the work easier. Below are six steps to follow when restoring your old pieces.
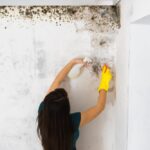
1. Safety First
The restoration will involve the use of chemicals and equipment that can be hazardous if you do not take the necessary precautions. You must use the right tools because they will not only make the work easier but also ensure that you are safe. Always wear protective gear like eyewear, rubber gloves, and long-sleeved shirts to keep you safe from chemical splatters that could damage your skin.
It would be best if you worked in a well-ventilated area to lower the risk of inhaling noxious vapors, preferably an open outdoor space. Follow the instructions given regarding the storage of oily rags so that you can protect your home from combustion and fumes. Lastly, always remember to handle older paint finishes with caution because they might contain lead. If you suspect your furniture has lead-based paint, consider letting a professional handle the stripping or make sure that you have a proper ventilator in place when doing the task.
2. Identifying Old Finishes
You need to figure out the type and status of the wood finish before you start the restoration. Lacquer, shellac, varnish, and other natural finishes are hard to determine at first glance; you often will need some experimentation to know what you have.
Your first step is applying denatured alcohol to test the surface. If the finish peels off with the alcohol, then your piece has a shellac coating. If you apply a thinner and notice the layer coming off with it, then it is a lacquer coating. If you use either alcohol or a thinner and the finish comes off, then it is a varnish coating.
Paint, enamel, and other pigmented finishes are less complicated to identify. Conversely, some finishes like wax, oil, or a penetrating sealer might be identified by a lack of sheen on the surface.
3. Cleaning
At times, the restoration of antique furniture might only entail a thorough cleaning. You can use the methods suggested here when scrubbing rattan, wicker, and wooden surfaces. Use an oil-based commercial wood cleaner; it will help cut through the layers of dirt.
If the cleaner does not bring back the furniture’s original luster, consider using liquid detergent and warm water. Use a piece of cloth, making sure you do not get the wood too wet. Rinse off the area and wipe it dry with a clean, soft cloth to prevent water damage. You can then wax the surface.
If none of these methods works, then consider using a solvent cleaning to restore your antique piece. The solving might be denatured alcohol, mineral spirits, or turpentine. Take your work outside or in a well-ventilated area. You can use a burlap bag or old towel to apply the solvent and have another clean cloth to wipe it away immediately. Cleaning the surface thoroughly, then apply a commercial cleaner then buff the surface with another clean cloth.
4. Reamalgamation
Cracks and scratches can appear on finishes making them look dull with a crackling effect. The solution for such damage is doing some repair work. The process is called reamalgamation. It entails the use of a solvent applied to the surfaces to help buff out the imperfections.
Start with cleaning the surface before applying the solvent, which can be a lacquer thinner or denatured alcohol. The latter will work best on a lacquer finish while the former is suited for shellac. Unfortunately, you cannot use the reamalgamation technique of varnish.
Apply the solvent using a natural bristle brush and do this in the shortest time possible, keeping the bristles from drying. As the solvent dries, it will develop a glossy look but then change to a slightly dull finish devoid of scratches and cracks. You can then buff the surface with steel wool as you apply light pressure while work while working along the grain of the timber in one direction. Use hard paste wax to give your restored piece an extra shine.
5. Stripping
By now, you know that the first step of the restoration process for your antique piece is stripping away the old finish. That is the only way you will make room for the new.
When it comes to painting, the more the layers, the tougher the stripping formula required. For example, you will need to apply a semi-paste and let it sit on the surface for some time to loosen the dated coats of paint, making the scraping easier. You should work from the top to the bottom when applying a copious amount of the stripper in a single direction. Pay some extra attention to the carved areas, which will need a bit more of the paste since that is where the finish is a bit tougher to remove.
Let the stripper sit for 20 minutes or so, depending on the how thick the finish is, you can start scraping the surface with a stripping tool or a putty knife. You might need a few more applications to remove all old finish sufficiently. You then will use a liquid stripper once you have removed nearly 95% of the finish; it will handle the remaining bit. Use a natural bristle paintbrush to apply the liquid stripper and let it sit for a few minutes. You then will use a piece of steel wool, or brass-bristled brush to get rid of the finish from the corners and carvings.
Lastly, you will rinse the surface with clean stripper using a putty knife wrapped in a paper towel to work the tight zones and a squeegee on the flat surfaces.
6. Refinishing
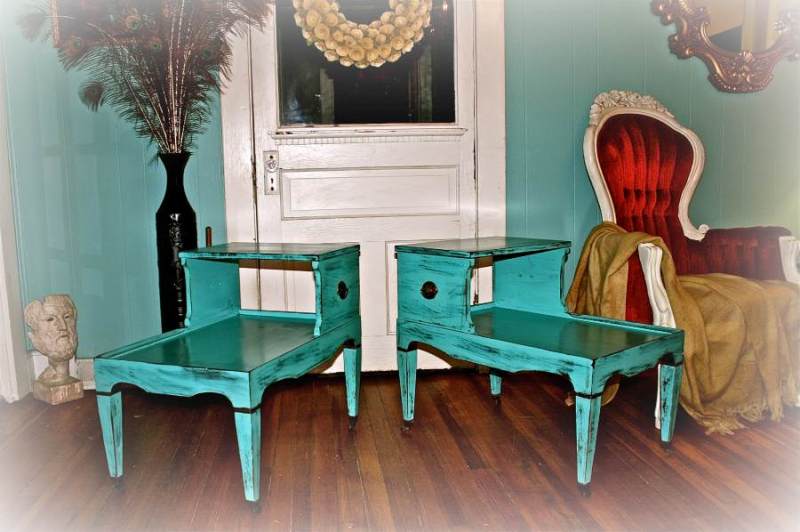
Now comes the fun part, doing the final touches that will give your antique furniture a new look. For this, you will apply a fresh coat of stain followed by the finish. You should check for any issues, such as cracks or broken seats that need fixing. You can then sand the piece with a 100-grit or 120-grit sandpaper before vacuuming and wiping the surface with a clean tack cloth.
You will apply the stain using a natural bristle paintbrush and allow it to sit for around five minutes before you wipe the excess off with a clean towel. The next step is the application of a sanding sealer then leave it overnight so that you can sand the surface the following day using 220-grit sandpaper. You can then apply the finish Once you are done with the sanding. The finish will help to preserve the stain and protect the wood. You can use varnish, polyurethane, or lacquer topping it all off with a nice sheen. You should then go all out and finish your piece with glass cabinet knobs. They really add something a little special.
From the above steps, it is evident that restoring your old furniture can be a gratifying process that can rejuvenate the look of your dated pieces. The process might require your time and patience, but it will be worth the effort. Hopefully, you can use these steps to restore items that are family heirlooms or furniture that picked you up in the local yard sale.