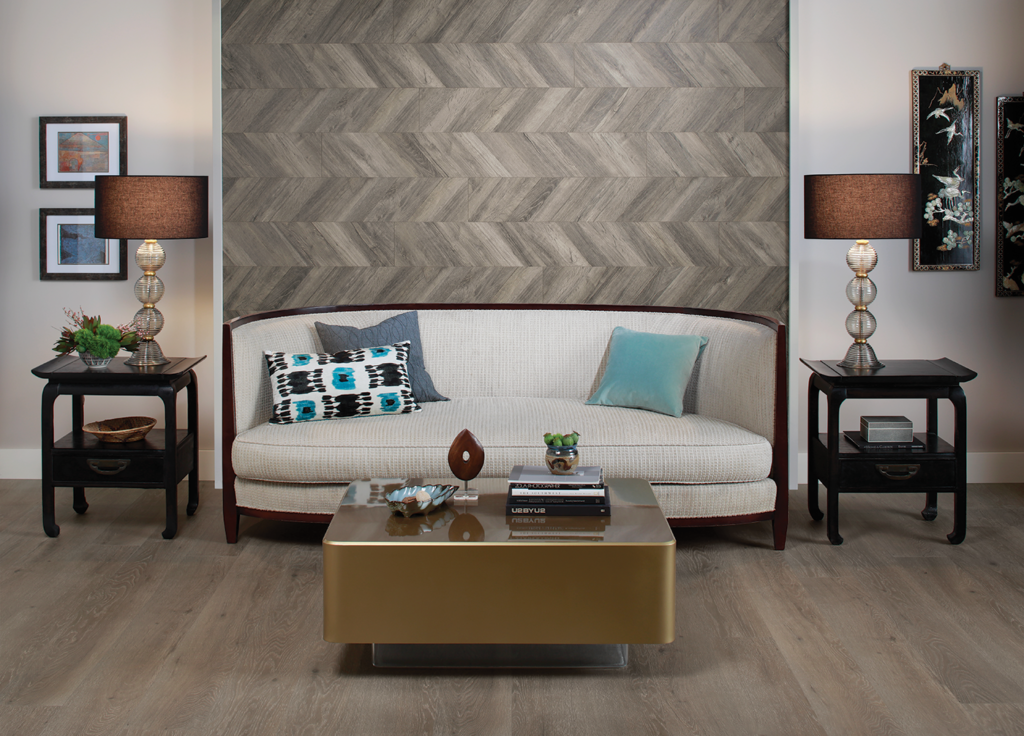
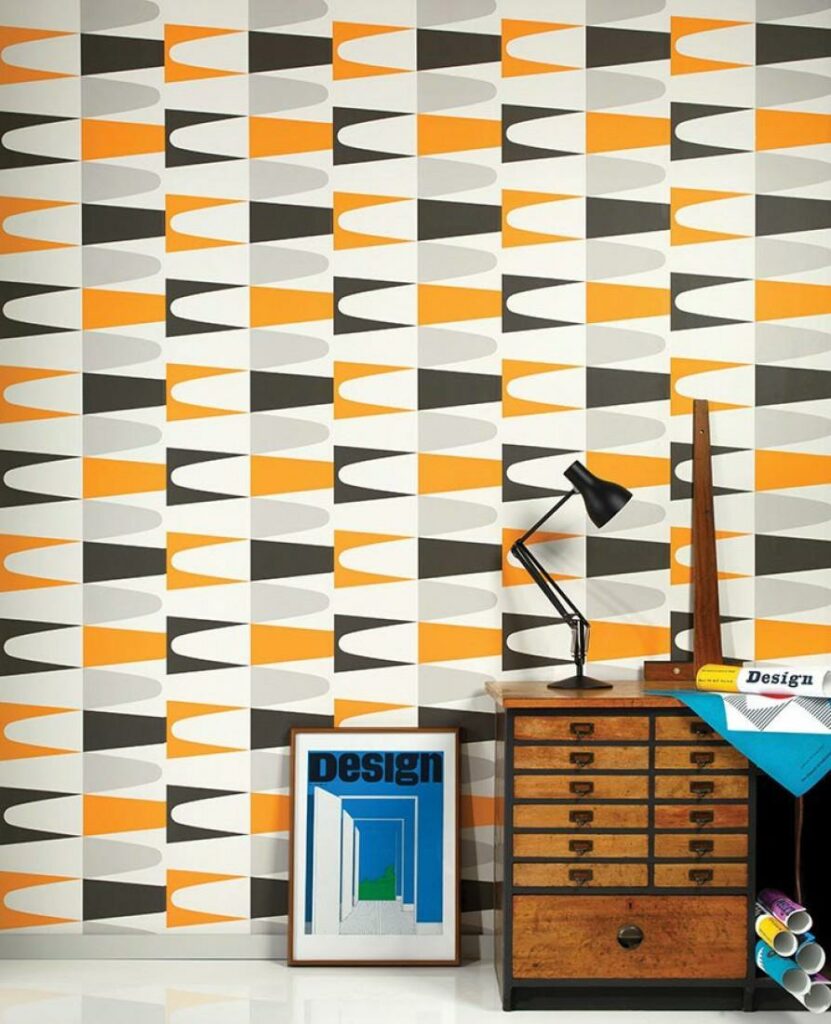
Summer is the perfect time to start your wallpapering project. Wallpaper is very trendy at the moment as it is versatile and a great way to freshen up any room in your home. Whether you prefer to wallpaper all four walls or choose to highlight one of them with a feature surface, the choice is up to you.
Of course, you could take the easy way out and call a professional installer, but where would the fun be? If you are reading this article, we know it is because you are DIY person at heart! After all, wallpapering yourself is just more fun and it gives you all the freedom to experiment. Whatever you do, whether you are an absolute beginner of a seasoned pro in wallpapering, always remember to follow the manufacturer’s installation instructions. Having said that here are a few “pro-tips” to consider before you embark upon your decoration project.
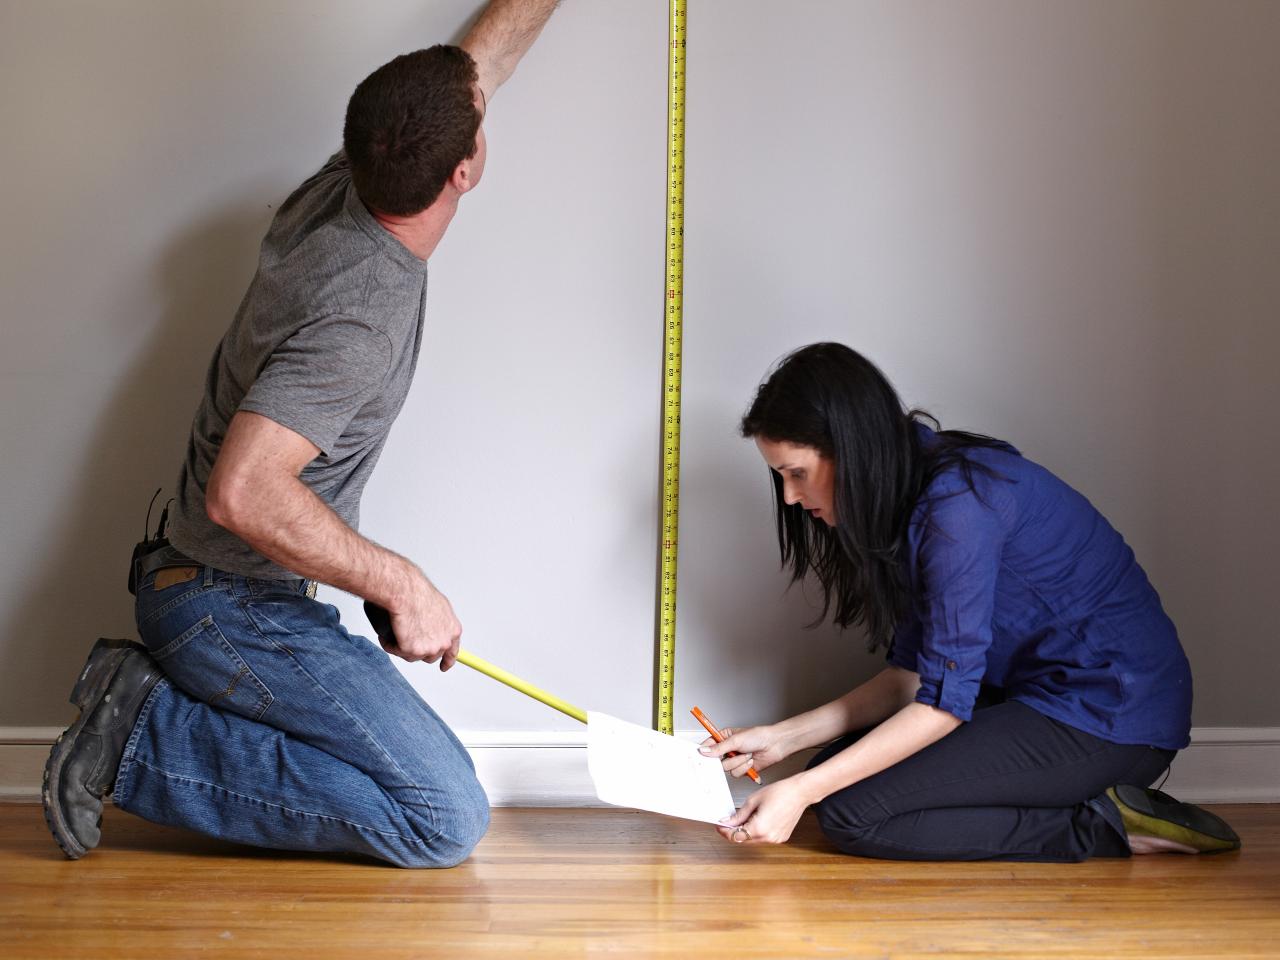
Measure your walls

Measure it one, measure it twice, make sure your measurements are absolutely accurate before you order the wallpaper model of your dreams. Remember to always round up so that you can trim the wallpaper where needed. If you picked a nice designer wallpaper model with large motives, it is always better to order a bit more in case you need it, as the excess paper will make it easier to match your pattern.
Move/remove furniture
Before you start your project, it is a good idea to start with moving or removing the furniture, since, ideally, the space you work in would be empty. You want after all space to manoeuvre around as you unfold your precious rolls and start wallpapering. If your house is to small and that isn’t possible, try to move smaller pieces of furniture to other rooms, whilst keeping larger objects (like a couch for example) in the middle of the room and covered with a protective sheet. Don’t forget to take off pieces of furniture or accessories that are mounted on the wall(s).
Cover the floors
Wallpapering requires glue and what you definitely don’t want is to have a wonderful wall décor and a stained floor. For this reason, the floor has to be covered safely, as, beside wallpaper paste, many other things can drop onto it while you work, for example the old, soaked wallpaper. Also, an unprotected floor can also be damaged by moving a ladder or by dropping wallpaper equipment, so you better be careful.

Have all your wallpapering equipment ready
Wallpapering can be a lot of fun, but you know what is not fun at all? When you are in the middle of your project and you realise that you are missing a tool you absolutely need in order to complete what you are doing. Here is a list of the basic tools you need to have at hand. Make sure you have all of the following ready before you start your DIY project:
- A step ladder
- Wallpaper scissors
- Cutter knife
- Tape Measurer
- A couple of sharpened pencils
- Plumb line
- Pasting brush
- Paste roller
- Paste bucket
- A sponge
- Wallpaper paste
- Seam roller
- Pressure roller
- Wallpapering brush
- Wallpapering spatula
And of course, sufficient wallpaper for the space you plan to decorate (but that you know already).
It is best to put a trestle table in the middle of the room, so you have sufficient space to move around and work without any obstacles getting in the way.
Now that your room is ready you can start. Happy wallpapering!


