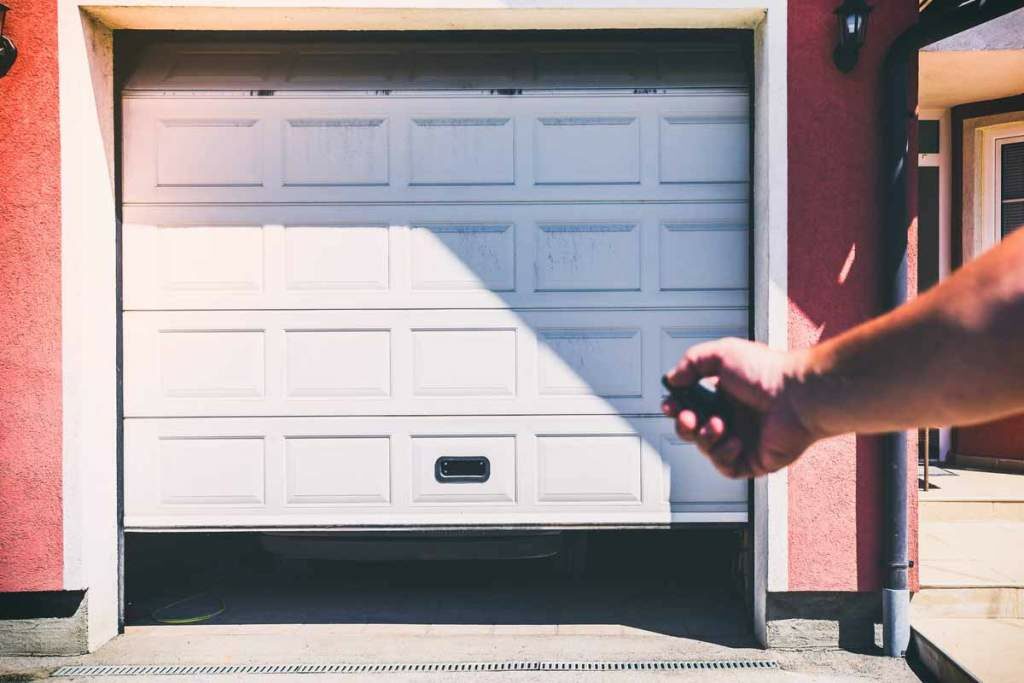
If you’re using an old garage door, you may consider replacing it with a new one, and that means you’ll need installation for the new door. While garage door installation isn’t that complicated, if you choose to do it yourself, the whole process can be overwhelming. Well, it isn’t a bad idea to do the job yourself, but an expert would do a better job by ensuring the door is safely and securely installed. However, you can still install the garage door safely on your own, but be sure to follow the manufacturer’s guidelines.
If you choose the DIY way, these basic steps should be on your fingertips.
Step 1: Measure the Garage Door Opening

This should be done before purchasing the panels. Use a tape measure to get the length and width of the door opening and order panels of this size. You should get panels that are slightly smaller than the opening, and that fit perfectly in the doorway.
Step 2: Lay Weather Stripping Over the Bottom Door Panel
When purchasing the materials, remember to bring along some weather rubber stripping. The stripping is shaped like a tube, so can just fit the edge of the door panel into the groove. Just place the panel on the workbench and do the necessary. This should be done for the lower panel, so whichever you choose to fit with the rubber stripping, ensure it comes at the bottom.
Step 3: Set the Bottom Piece Into Position
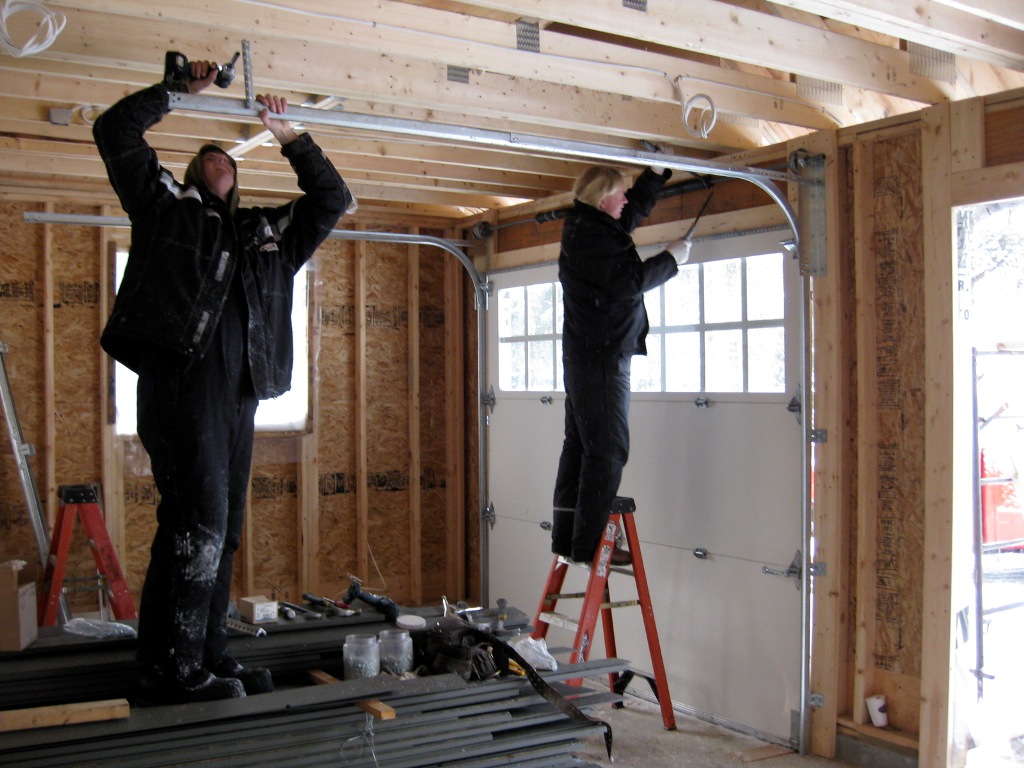
Once you fit the bottom panel with weather stripping, insert it into the door frame and use a level to properly set it. Having set the piece in place, tap nails partway into the jamb. Slightly bend the nails to secure them in place and use the manufacturer’s guidelines to assemble the vertical, horizontal and curved pieces of the track and set them aside.
Step 4: Install the Remaining Panels
Install the second piece on top of the bottom panel, hammering nails to hold it in place. Put the hinges in place and repeat the process for the remaining panels. Ensure each piece is well-anchored into the door jamb. With all the panels installed, the arrangement should look like a chest of drawers.
Step 5: Install the Rollers
Once all the sections are assembled, fit the rollers in section’s roller support. Having done this, put the rollers in the assembled track, as you secure the track’s bracket. Ensure the rollers aren’t squeezed on the track to prevent friction which can damage the door.
Step 6: Secure the Tracks and Attach the Springs
With the vertical tracks secured against the jambs, set the curved and horizontal pieces. As you install the horizontal pieces, ensure you use the initial measurements so that the tracks remain straight. Once you secure the tracks, it’s time to assemble the springs. Be sure to follow the manufacturer’s guidelines while putting the springs in place. With the help of a friend, now lift the door and attach the springs to the pulley system. All is set now, and you can start using your garage door.
For professional garage door installation, check garage door installations Perth.