If you are wondering how the plumbing works in a home, you should click here for a guide on the plumbing installation process.
When most of us think about our plumbing systems, all we know is that when we turn the faucet handles, the water comes on, and when we flush the toilet, the water goes away. We don’t really have a good grasp on how anything in that system works. That can make it hard to diagnose and address problems that arise with the plumbing system in your home.
One of the best ways to get an understanding of how a plumbing system works is to take a look at plumbing installation. Knowing how all the pieces fit together can help you understand what’s happening when something goes wrong. If you still not able get the actual problem then you can look for the Plumbers in Melbourne. Read on to learn more about the plumbing installation process.
When Plumbing Gets Installed
When you’re building a new house, the plumbing system is one of the first pieces that gets worked on. The sewer accommodation stubs are set before you ever pour the foundation of the house. But work on this system continues throughout the construction of the house.

The rough-in stage of plumbing installation, which we’ll talk more about in a moment, happens at the same time as the wiring and duct installations. Fixtures get installed before the walls go up, drainage systems go in at the same time, and traps and final details get added after the cabinetry is done and the finishing touches are being put on the house. This is got to be done by someone that provides professional plumbing services if you want get it done right.
Rough-In
The rough-in stage is where builders figure out exactly where every single plumbing line in the house is going to go. They all have to connect into the main drainage line, called the stack. This is when the real work of designing the plumbing system comes into play.
The rough-in happens after the walls are framed up but before the drywall is in. All the main drains get installed during this stage, though none of the fixtures are hooked up at this point. The water supply pipes and toilet flanges also get installed during this part of the process.
Large Fixtures
During the framing process but before the walls go in, plumbing contractors may go ahead and install the larger fixtures. These can include showers, tubs, whirlpools, and any other major structural plumbing fixtures.
The larger fixtures have to be set at this point because, often, the fixtures will be too big to go through the doors once they’re all framed up. The room must be built around them. To avoid damage to the fixtures during this stage, contractors will cover the fixtures with cardboard, drop cloths, or even old rugs.
Main Supply Line
With the large fixtures in place and the rough-in done, it’s time to start hooking up the main water supply line for the house. The main pressurized line will enter the house in the ground below the frost level to prevent burst pipes in the winter. From there, it will split into two lines: one that supplies cold water for the house, and the other that runs to the water heater.
In the case of most homes, smaller water lines will split out from the main supply to go to each fixture in the house. Some homes, however, will use a manifold supply that works something like the breaker panel in your home’s electric system. Instead of running directly to each fixture, the individual lines run to a control panel that allows you to turn off hot or cold water to each fixture without shutting off water to the entire house.
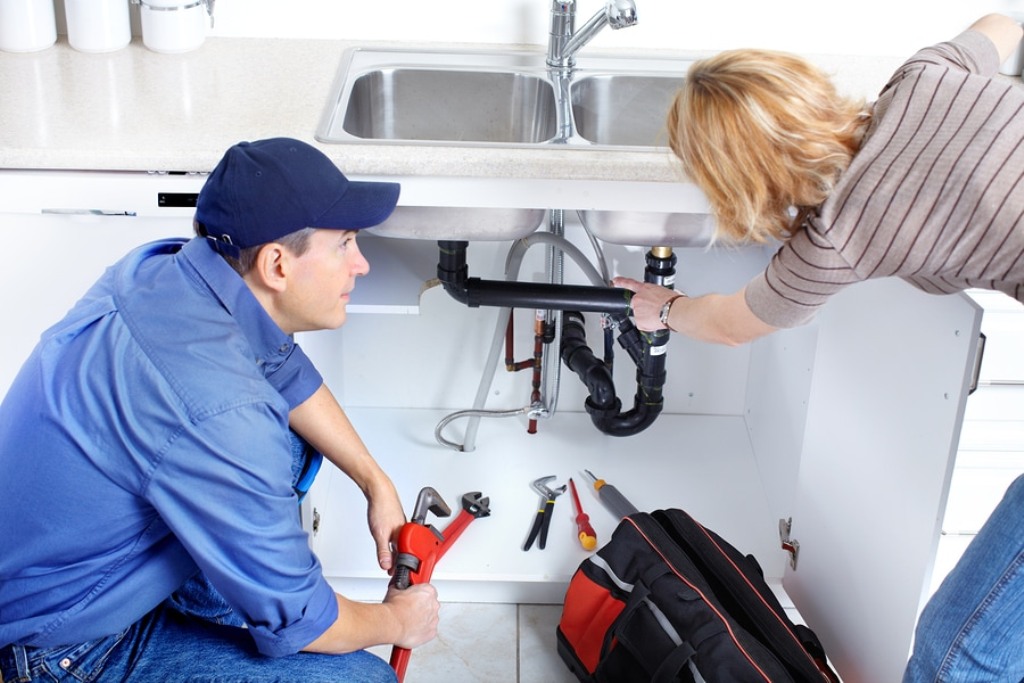
Drainage Pipes
While the main supply line brings water into the house, the drainage pipes take the water and other liquid waste back out of the house. The main drain, called the vent-and-soil stack, is usually four inches in diameter and runs from the ground floor to the roofline. Every waste drain in the house connects to this main vent-and-soil stack.
Once all the drain lines are hooked into the vent-and-soil stack, that stack directs waste down towards the primary sewer drain. This drain exists the house below the frost line, too, to avoid freezing. From there it ties into a septic system or the municipal sewer lines.
Vent Pipes
It may seem odd to think that a plumbing system needs a vent, but imagine this. You haven’t used your sink in several hours, so the drain is currently full of air. Then you dump a bucket of mop water down the sink, trapping that water in your drain line.
These locks can cause stoppages in a drainage system, so vent pipes are installed to release any trapped gas and keep your system flowing smoothly. They are usually two inches in diameter, and depending on the layout of your house, you may only need one. Sometimes additional vent pipes are installed in kitchens or other areas too far off the main vent line.
Traps and Small Fixtures
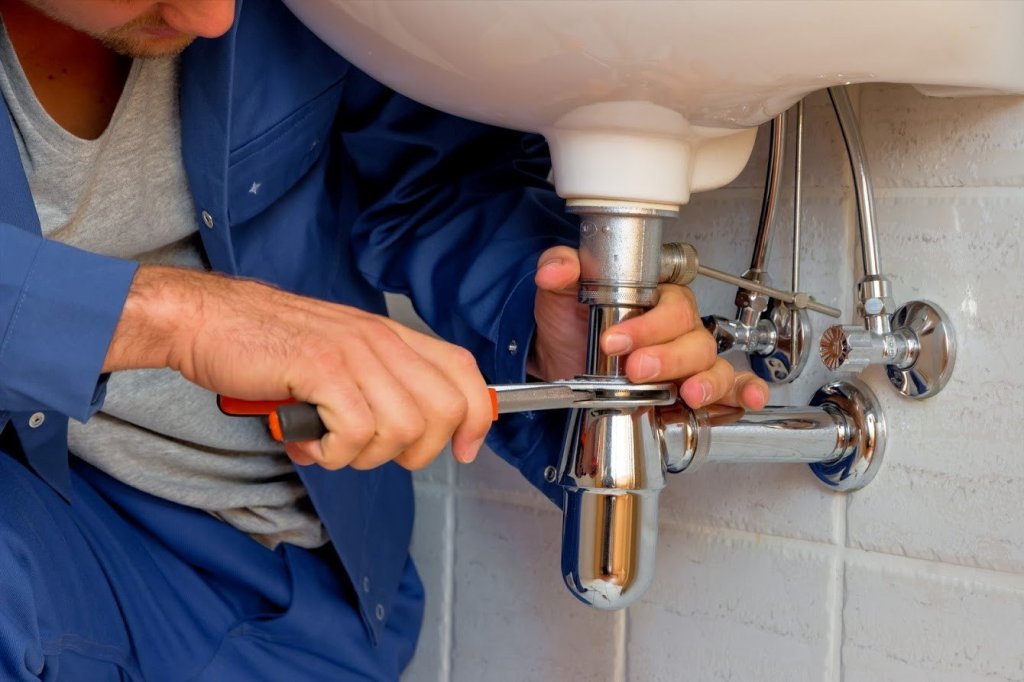
Once all the other components of the system are installed and the finishing work is in progress, it’s time to install the traps and other small fixtures. Traps are small U bends in pipes that retain a small amount of water at all times. This keeps sewer gases from backing up into the house, and it saves lost earrings when they go down the sink.
On the subject of sinks, installing sinks, toilets, and other small fixtures will be one of the last things your plumbing contractor does. They’ll add fixtures for washer and dryer hookups, a cold water line for your fridge, and outdoor fixtures for your hose.
Learn More About Plumbing Installation
From the outside, a plumbing system can seem complicated and impossible to understand. But knowing a little about how plumbing installation works can give you some insight into how the system operates.
If you’d like to read more articles about homeownership and improvement, check out the rest of our site. We have articles about indoor and outdoor home design to make your home look its best. Check out our articles about home improvement today.