A picture is worth a thousand words, but are those words good or bad? If you’ve ever gone e-shopping for secondhand merchandise, whether it’s a pair of vintage shoes, an out-of-print edition of your favorite novel, a musical instrument, an electronic gadget, or, well, a house, you probably gravitated toward listings featuring good photographs. As for the ones with bad photographs, you probably skipped them, at least the first time around.
When you’re renting or selling a home, photographs are key. According to Pete Evering of Utopia Management in Portland, “Just like with people, a good photograph can actually improve the way your property looks to a prospective renter or buyer. It is often the difference between someone just bookmarking your listing, and someone setting aside their valuable time to schedule and show up for a tour.” If you want to make sure your photos are the most effective they can be, don’t miss these valuable real estate photo tips.
Be Thorough
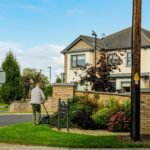
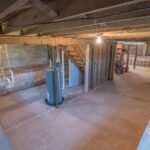
How many times have you browsed a property listing, only to be mystified that nobody bothered to include a shot of the bathroom, or the exterior of the home? You should be as thorough as possible when taking photographs of your property. Capture the bathroom, the bedrooms, the common spaces, the kitchen, and every part of the exterior. Any notable or attractive features of the structure, both inside and out, should receive special attention.
Quantity
It’s never a bad idea to take tons of pictures. Try out as many angles as you can, in every room and every exterior location. Even if you don’t use them all, you’ll be able to sort through them later and choose your favorites.

Proper Lighting
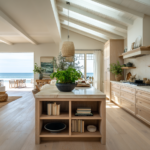
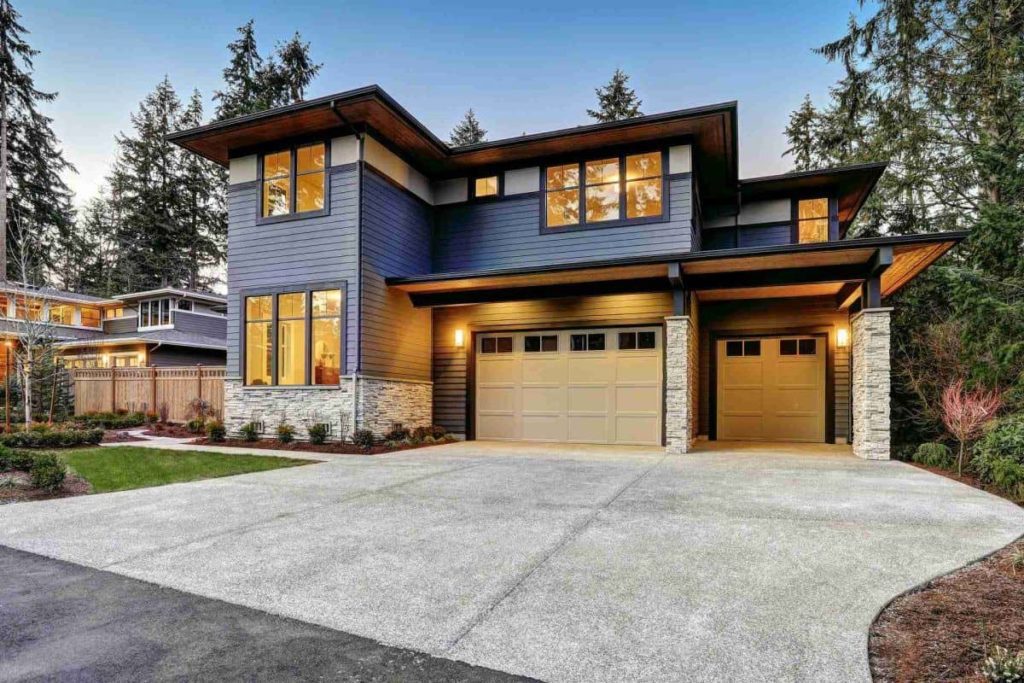
Lighting makes or breaks a photograph, but it’s not always easy to get the best lighting without pro equipment. Usually, it’s a game of timing. When photographing residential real estate interiors, it’s always best to use natural light when possible, instead of relying on artificial light. As for the exterior, always shoot on a bright and sunny day; no locale looks inviting under gloomy overcast. And if you can, shoot for golden hour, the period of time right before sunset or right after sunrise, if you want to get the best light.
Tripod
Speaking of light, you’ll want to use a tripod if you absolutely need to capture your property in low light conditions, like if you want to show off some impressive outdoor light fixtures or are dead-set on displaying the potential for cozy lighting in an indoor space. Low-light scenes are best shot with a slower shutter speed, so that more light information can reach the camera’s sensor. Tripods are important because they hold your camera perfectly still while it captures all the light needed for an accurate, sharp photo, preventing a blurry and useless shot.
ISO Settings
And another thing about light: get to know your ISO settings. As your shutter speed increases, your ISO sensitivity should be higher, but try to find a good balance. Too high, and you’ll introduce noise, or grain, into your picture, and that’s never a good look. As you prioritize natural lighting indoors, be mindful of windows, which might look distractingly bloomy if your ISO setting is too high.
RAW
If you’re new to photography, then make sure you shoot in RAW. Unlike .jpeg, RAW is an uncompressed, data-rich image format, perfect for post-shoot editing and manipulation. All professional and semiprofessional cameras will be able to shoot in RAW, and even many smart phones have this option.

Wide Angle Lens
It might be the oldest trick in the book, but it’s also the most essential. A wide angle lens will make any indoor space look twice as roomy and inviting. Lenses are one of the most important pieces in a photography arsenal, and if you can only get one specialty lens, this is the one. If you’re not using a real DSLR, see if your phone has a wide angle setting. Alternatively, the market for external smartphone lenses has exploded in recent years, and depending on your phone, you might be able to find an affordable wide angle lens that fits it.
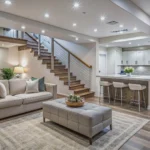
Empty Rooms
The ideal real estate photography situation involves empty rooms and sparse exterior embellishments. It may be tempting to show off furnished rooms so potential renters or buyers get a sense for the room’s possibilities, but this can work against you, especially if you’re trying to exaggerate the size of interior spaces. Just like your wide angle lens, an absence of furniture and decor will make your rooms appear more spacious. It’s also good to remember that shots of empty rooms will make it easier for viewers to imagine what they could do with the room — to insert their own style. Use that imagination to your advantage!
Good Staging
However, if for some reason you can’t clear out your property for photographs — maybe you have a tenant living there, or your own things are being kept onsite — at least make an attempt at good staging. Nobody wants to see a mess. It’s just not attractive. Clean up a little, and move some things around to suit your photo ideas. See if you can get some fresh flowers to bring some life into your rooms, and don’t worry about spending too much money, because you can just use the same ones for every shot. Other props can be used to add action and character, but don’t overthink it.
Pro Photographer
Last, but certainly not least, you may simply want to invest in a professional real estate photographer. Real estate is all about investments, and this one will surely pay off. At the end of the day, your best effort won’t match someone with the know-how, experience, and equipment needed to net you a thorough, high quality collection of photos. Most pro photographers will even include editing in their fee, leaving you with listing-ready images that are sure to impress.