If you enjoy manufacturing candles, you probably make as many as possible. I didn’t want candle making because of how dull all the jars I had to use were, and that got me thinking about if I might construct a fun candle mold similar to the one I had for producing silicone stress balls.
It turns out that you can, and it’s extremely simple to produce. I’ll show you how to manufacture molds out of whatever you can find around the house. You can also use this to make soap or candy molds; simply use food-safe silicone to build your candy or chocolate mold.
Additionally, you can consider exploring the option of custom-made molds, which can be tailored to your specific needs and requirements. These molds are crafted to precision, ensuring the highest quality in your final products. Whether you’re looking to replicate intricate sculptures or unique design elements, custom-made molds provide a level of detail and customization that sets your creations apart from the rest.
HOW TO USE CANDLE MOLDS
Supplies Needed
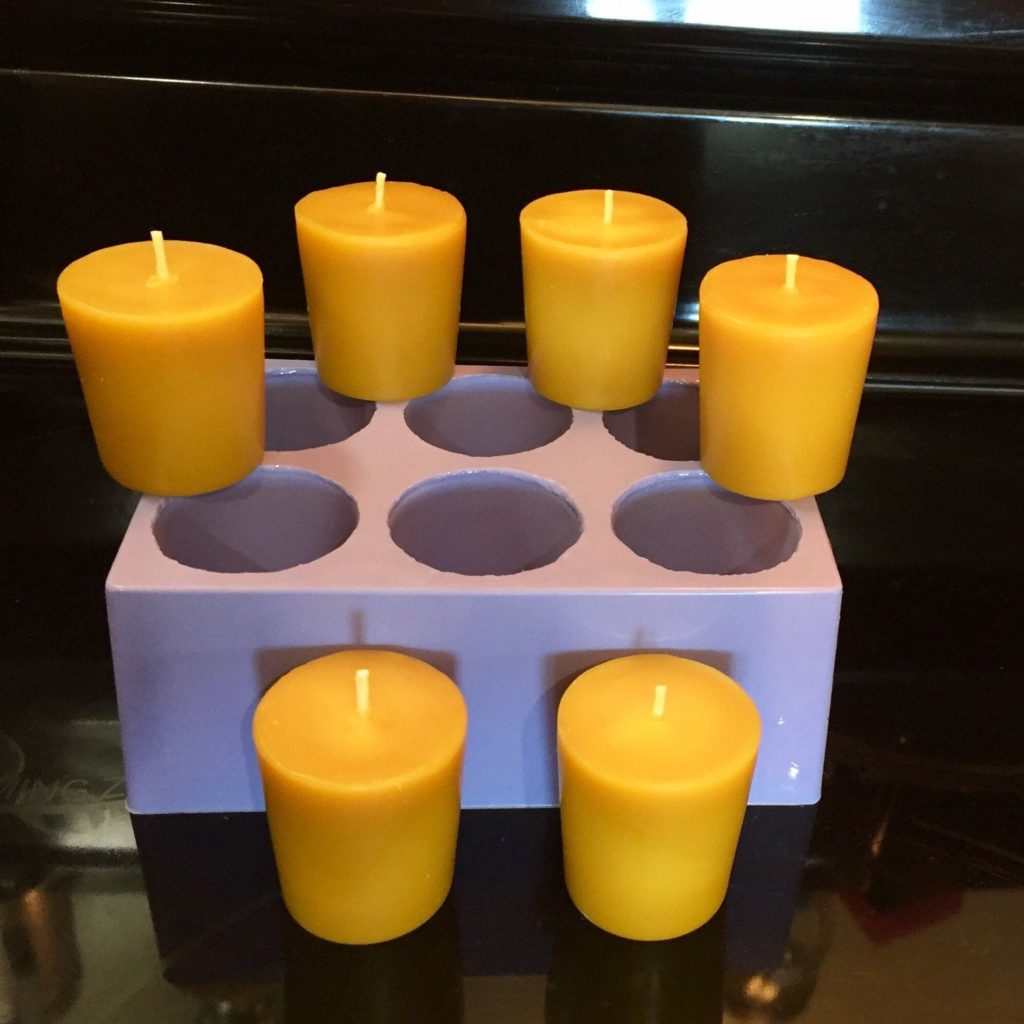
- Mixture for silicone molding
- Something you wish to turn into a candle molds
- A container that is bigger than your product
- Popsicle sticks
- Toothpicks
- To fill gaps, use non-sulfur clay
- Mixing vessels
- Digital scale
- Utility Knife
- Wax
- Wicks

Step 1. Choose and prepare your moldable object
Choose your item and prepare it. The technique I’m linking to utilizes a cut-down rubber piggy bank. Check that your object is clean and that any gaps are closed with clay if it is hollow. You may even make your own out of clay if you choose.
Step 2. Choose and ready your container and object
You want a container large enough to hold your object without it contacting the container’s edges or bottom. Make certain that it is also clean. Make a structure out of Popsicle sticks and toothpicks or something similar to keep your object above the bottom of your jar.
Step 3. Get your silicone ready
You should measure and mix your silicone according to the packaging instructions. Make sure to fully mix everything, and don’t add too many bubbles while you’re doing it. These bubbles may appear in your mold.
Step 4. Fill your mold
You can ensure that your object does not float away by holding it down. Then, gently pour in your silicone until it thoroughly covers the object.
Step 5. Allow it to sit overnight
Allow your mold to sit overnight before attempting to unmold it. If it hasn’t been set yet, give it a few more hours.
Step 6. Take your thing away
Remove your final mold from the container with care. Then, slowly slice it down the side to extract your object using your knife. Make a large enough hole at the top to allow you to draw your wick through as well as pour in your soy wax.
Pro-tip: Take care not to scratch the container. When it’s ready to pour your wax, you’ll place your mold back in this container to prevent leaks. Try to maintain your slice down the mold neat so that no wax escapes and ruins the appearance of your candle.
Step 7. Melt your wax and ready your wick
Your mold is now complete and ready for usage. Trim your wick and wrap it across a Popsicle stick to do so. Re-insert the mold into the container to keep it together. Melt your wax as normal, and add any colors or smells you like. Scented candle soy wax is also available in the market which creates a relaxing and cozy atmosphere in the home.
Step 8. Pour your candle and leave it aside to dry
If you don’t have a pouring vessel, place your wax in one and adequately fill your mold. Avoid bubbles since they will not quickly rise to the top and will destroy the features of your mold. To avoid them, pour slowly. Carefully insert your wick and lay it aside to dry. After a few hours or a day, you should have a cooled candle.
Step 9. Take your candle out and trim the wick
Remove the candle from the mold with care and cut the wick to 1/4 inch. Your candle is now fully prepared to use. Make careful you catch the wax by burning it on anything.
Pro-tip: Now is the moment to notice any flaws you made in the mold, such as bubbles. If you are dissatisfied with the outcome, you may always try again.

At the end
I hope you were able to get a good outcome due to this instruction. I enjoy manufacturing creative candles with silicone molds since they can be reused, allowing me to produce my favorite forms as many times as I wish. You may manufacture as many molds as you like as long as you have silicone. Don’t be scared to create shapes for any holiday or season that you like.
HOW TO CLEAN CANDLE MOLDS
Equipment you’ll need for this procedure:
- Oven
- Cookie sheet
- Paper towel
- Potholders, oven mitts, or a big kitchen towel
- Sink
- Hot water
- Dish soap
- Washcloth
- Rubber gloves
Sometimes wax is left behind in the mold after the candle is extracted during the candle-making procedure. The wax accumulation influences the following batch of candles by altering their shape and color consistency.
Furthermore, additional candles may be more challenging to remove. Remove any residual wax before reusing it to preserve molds in good working order. You can utilize it for many years to come if properly cleaned. (Sources: https://thewaxcandles.com/)
Metal Candle Molds
Step 1
Preheat the oven to the lowest possible temperature, such as 150 to 170 degrees Fahrenheit. Use a temperature of no more than 170 degrees Fahrenheit.
Step 2
Spread two layers of paper towels all over the surface of the cookie sheet. Thick and absorbing paper towels should be used.
Step 3
Place it on a baking sheet, open-end down. Leave enough space between them so that they do not touch.
Step 4
Bake, the candle molds for 15 minutes or until the wax begins to melt. Take them out of the oven.
Step 5
Using the oven mitt, potholder, or thick cloth, hold one mold at a time. On the other hand, wipe away the melted wax with paper towels. Avoid coming into touch with the hot metal mold.
Step 6
Allow it to cool. Stack them together only after they have completely cooled. If piled while still heated, they may cling together.
Plastic and Silicone Candle Molds
Fill the sink halfway with hot water and lather up the dish soap until the water is pretty sudsy. Make the water as hot as your hands can stand it to soften the wax. Place the molds in a sink full of water and soak till the wax melts.
However, waiting too long can cause the water to cool too quickly, causing the wax to re-harden. Wipe clean each mold with the wash towel while wearing rubber gloves to remove the softened wax. If certain spots are still excessively waxy, scrape them off with a blunt knife and soak again.
When required, add more hot water, but avoid damaging or nicking the mold’s surface. You may alternatively soak a mold in a pan of hot water, but the wax will leave residue on the inside of the pan.