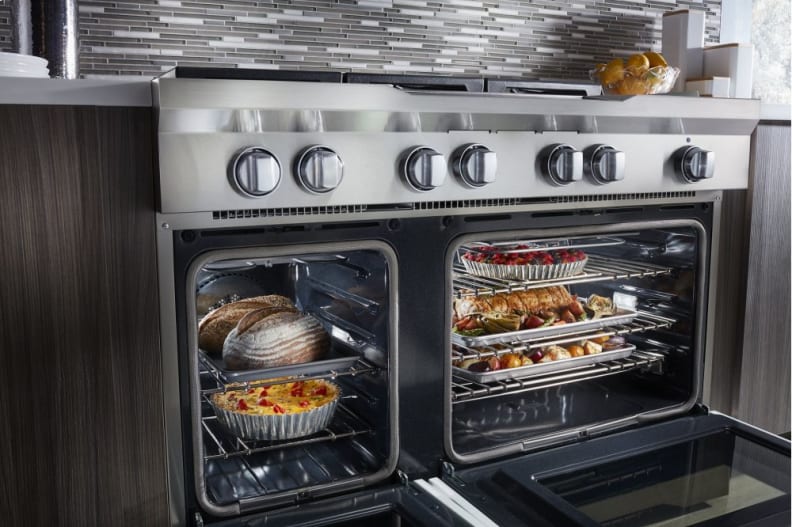
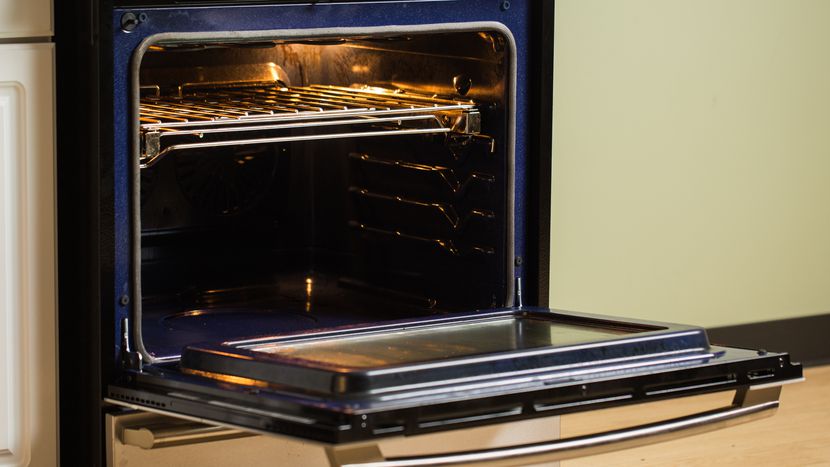
Electric ovens are sophisticated machines that have become an essential part of our kitchens. These machines come with several spare parts that can malfunction and result in a range that does not heat, or the temperature control does not produce the expected results. In this article, let’s quickly understand how you can fix your electric oven in different scenarios. After analyzing the problem, if it is not fixable then you can buy new oven for your kitchen. They will guide you to purchase the best oven.
Before you sit down to fix your oven, check your owner’s manual to ensure that the stove is not under warranty. In that case, it will be best to call a company technician to help you. If the contract is over, you can try to fix the oven yourself with some basic instructions listed here. For more help, visit appliancerepair.net.
Identifying the Problem
A repair can happen only after you have discovered the problem. So, you will have first to inspect the oven. If your oven is not heating at all, chances are there is a blown a fuse or the electric cord has burned. It may also be caused by an issue in the selector switch or the circuit breaker. You will also need to check the heating element to ensure it is getting power. Let’s understand how your DIY your electric oven when it is not heating at all.
Tools Needed for Electric Oven Repair
- Wrenches
- Screwdriver
- Nut driver
- Safety goggles
- Oven thermometer
- Multimeter
- Rubber gloves
Testing the Elements
- To begin with, switch off and unplug your oven.
- Now, turn the oven around and remove the element by removing the nuts and screws one by one.
- While you are at it, carefully unscrew the support brackets and pull the element forward to expose the wiring.
- Now, with a tester or a screwdriver, remove all the wires attached to the element terminals. Be careful not to bend the airports and also hold the cables so that they do not fall back.
- Once the element is entirely free, remove it from the oven and place it aside.
- Now, you have to check the wire terminals for burns. If a wire looks black or the exterior shows the sign of melting, you must replace it.
- You will have to check every wire that was attached to the elements.
- The next step is to check the terminals. You will need a multimeter for this step.
- Set your multimeter to RX1 and touch the probes at the end of the terminals. If your meter shows continuity, your airports are good. If it doesn’t, you will have to replace them.
- Now, we will check the grounding—touch one probe on the terminal and the other element. If the needle moves, your oven has a grounding problem. To fix this issue, you will have to replace the part.
- While you work in the element, ensure that they are of the same size as the old ones and have the resistance recommended by the oven manufacturer.
Fixing most of the oven problems takes less than 30 minutes if you understand the basics of electricity, wiring, and simple electric parts. If you haven’t fixed any electric appliance before and do not understand the wire colors and other essential information, you must get help from an expert. You can also learn the basics from someone and try the DIY next time your oven refuses to heat.