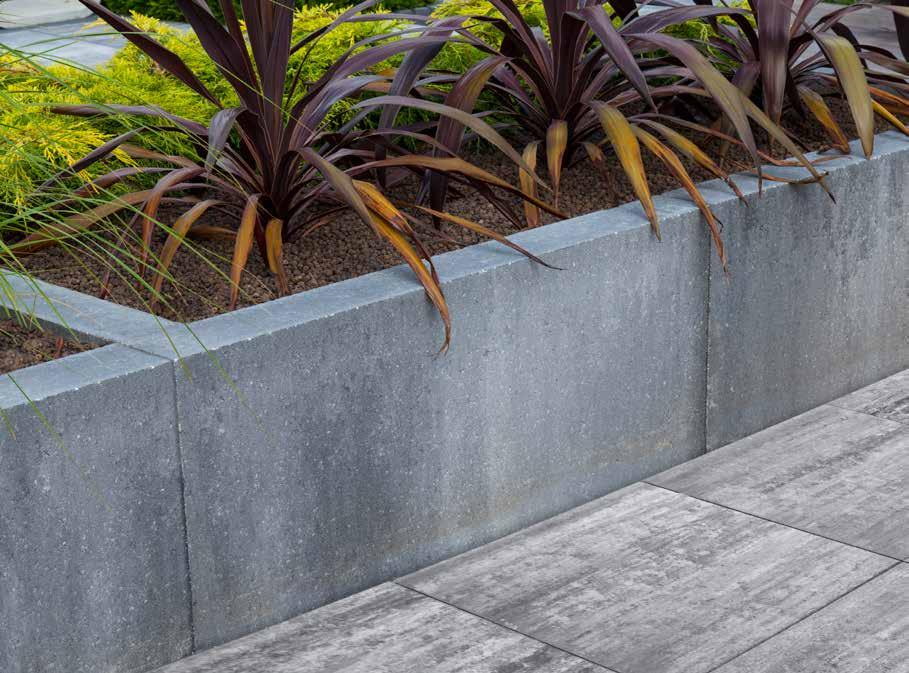
Concrete planters can beautify any garden, yard, or balcony, but if not waterproofed and protected properly, they can deteriorate over time and begin to leak. For experienced plant lovers and gardeners, this is the worst nightmare.
Waterproofing your planter boxes will not only maximize their lifespan and preserve their aesthetical value, but it will also ensure your plants remain healthy. How so? Waterproofing planters will prevent alkaline salts from leaking into the soil, which can stunt the growth and health of some plants.
Therefore, knowing how to waterproof effectively can save you time, money, and frustration. Let’s dive in.
Easy Steps for Waterproofing Your Planters
Here are some easy-to-follow steps on how to waterproof your planter boxes efficiently:
Thoroughly Clean the Planter Box
The first thing you want to do is to make sure you vigorously clean your planter box inside and out. Here’s how:
- Remove all plants and soil from the box
- Wash the planters out and leave them to dry.
- Get rid of any additional dirt and efflorescence (white residue you can notice on the unsealed planters, which appears after the soil comes through the box due to the minerals you can find in the soil)

Seal the Planter Boxes
The next thing you would want to do is inspect your planters for any cracks, defects, or damages. Repair any damages so that the surface of the base and sides of your planters is firm and robust.
After that, make sure to seal the planters on all joints and place a waterproof bandage so that you can apply your waterproofing membrane correctly. Note that your sealant should be compatible with the membrane you will use.
Prime Your Planters
Once you are done sealing the planter, you can apply the manufacturer’s specific primer. This step is optional as in most cases primer isn’t required.
Still, priming your concrete planter boxes would reduce the probability of dust, pin-holing, porosity, and moisture accumulation which can cause the creation of membrane blisters and damages. Let it dry.
Apply Two Coats of Waterproof Membrane
The application of the waterproofing membrane, for example, Sikalastic 2320 NS, should be done in two layers. You can either spray or roller-brush the first coat of your material onto the surface and let it dry. The time will vary depending on the membrane composition, temperature, and/or weather.
Once dried, you should apply the second coat to the walls in the same manner and let it dry for 10-14 days so your planters are fully ready.
Install Protection Board/Drainage Cell System
After the second coat is fully dried out, it’s time to move on to assembling the protection board or the drainage cell system. This way, you will ensure any excess water leaks out of the planter effectively. It’s essential to note that traps and builders’ plastic aren’t always the best drainage method, it’s always better to consult a professional when coming up with ideas.
You Are Ready to Go
Once you finish cleaning, repairing, and waterproofing your planters you’re set to move on to the final step – adding soil, seeds, and seedlings, and starting your garden. Protecting your planter boxes like this will ensure you grow beautiful and fertile plants.