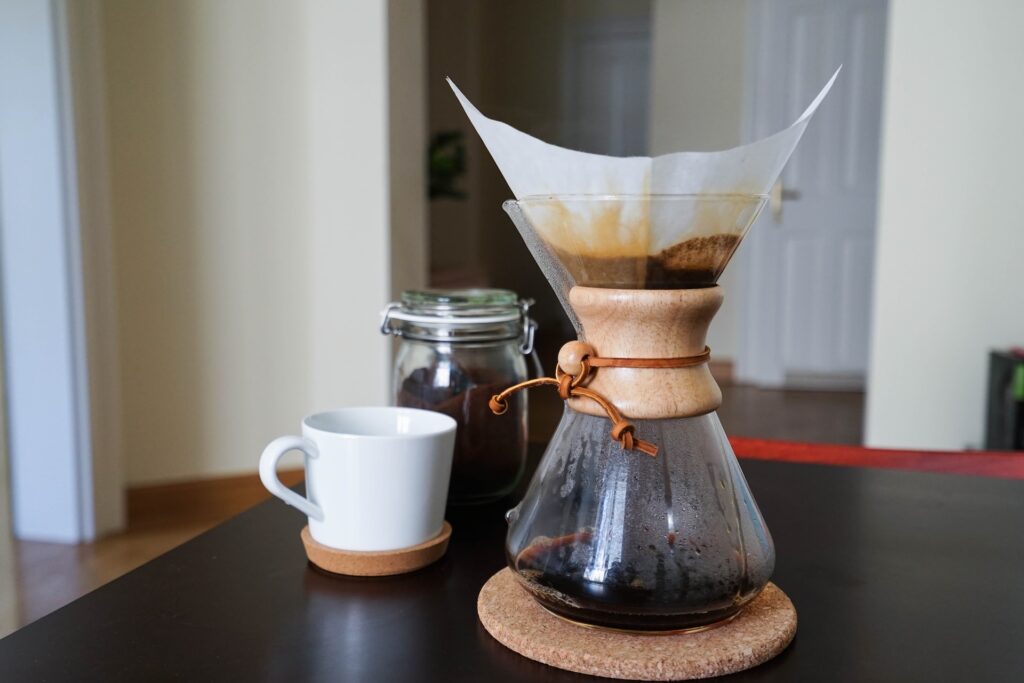
Plunger coffee is one of the easiest ways to make freshly brewed coffee at home. The plunger system filters out sediment, which means that you don’t need a French press or any other kind of special equipment. You also don’t need to know how much coffee is in your cup—just use the ratio of one tablespoon per six ounces of water and you’ll get delicious results every time!
Do not let the coffee grounds and water sit for more than five minutes.
It is recommended that you do not let your brewed coffee sit for more than five minutes, as this will allow for too much of the oxygen in the air to enter into contact with your freshly brewed beverage. Oxygen exposure causes oxidation and will result in a stale taste when drinking it later on.
So, how long is too long? If after five minutes you taste-test your brew, then find that it has gone sour or bitter, then chances are good that it has been sitting out too long before being consumed.
Use the right ratio of coffee grounds to water.
The ratio of coffee grounds to water should be about 1:15. For every cup of coffee, you should use 15 grams of coffee grounds. If you are using filter paper, use about two tablespoons of coffee grounds.
Remember that the better-quality beans you use, the better your coffee will taste.
There are many factors that affect the quality of your brew. One of the most important is the beans themselves. Freshly roasted, freshly ground and fresh coffee beans are essential to making great coffee.
The best way to ensure that you’re getting high-quality beans is by buying them from a local roaster who can tell you when they were roasted, as well as where they came from (ideally local). If possible, look for organic or Fair Trade-certified options. Both certification programs require farmers to use sustainable practices in growing their crops so that they don’t harm the environment or nearby communities. Shade-grown coffees also tend to have better flavour profiles than sun-dried ones because they grow under trees instead of in direct sunlight
Use water that has been filtered and freshly boiled.
The water you use to make your plunger coffee is very important. If the water isn’t filtered and freshly boiled, it can affect the taste of your coffee. Filtered water will remove chlorine and other chemicals from tap water, which makes for a better brew. Boiling water also removes bacteria that might be present in unfiltered tap water (though boiling doesn’t kill everything).

Filtered cold or room-temperature bottled spring water is ideal because it has been filtered but hasn’t been heated up by sitting on an open shelf at the grocery store or gas station for days at a time as hot bottled spring waters can do. If you don’t have access to filtered cold bottled spring waters locally then consider buying from some online retailers who ship directly from their own warehouse instead of third-party sellers. Who may not know how long they’ve let their products sit around before selling them off as “new” supplies in bulk orders only once every few months?
Grind your beans as close to brewing time as possible.
The first step to brewing a great cup of coffee is to grind your beans just before brewing. The fresher the grind, the better it will taste. To get a consistent grind and maximum flavour, we recommend using a burr grinder rather than one that uses blades (like most automatic drip machines). Burr grinders produce more consistent results because they’re slower, so they give each grain time to break down into smaller pieces before moving on to break up another bean’s shell or hard skin.
To get an even consistency in your grounds, we recommend grinding them as close to brewing time as possible–no more than 15 minutes beforehand–and only enough for one cup at a time (about 1 tablespoon per 6 ounces).
Clean your plunger regularly
Cleaning your plunger is essential to ensure that it works properly and that you don’t end up with a chalky-tasting cup of coffee.
The next step is to remove the plunger head from its base and give it a thorough rinse under warm water. Then use an old toothbrush or cleaning brush to scrub away any residue from inside the filter basket, which may have built up over time. Then, wipe down all surfaces of both pieces with a damp cloth before putting them back together again so they’re ready for another brew.
Turn off the heat before plunging and allow your coffee to rest
The next step is to turn off the heat before you plunge your coffee. This will allow it to rest for a few minutes, which helps bring out more flavour in your brew. You’ll also be able to notice how much better your coffee tastes compared with other methods when you do this!
Finally, once you’ve taken all these steps and made yourself some delicious plunger coffee at home (or wherever), don’t forget that there’s one last thing you need: patience! It takes time for plunger brews to develop their full flavour–so if your brew tastes dull or bland after plunging it straight away, give it another minute or two before drinking up!
Conclusion
If you’re looking for a way to make great-tasting coffee at home, then plunger coffee is definitely the way to go. It’s easy and inexpensive, plus it gives you control over all the important factors involved in brewing your own cup (such as the quality of beans used). If you follow these tips and keep practising with different types of beans until you find what works best for your tastes, then there’s no doubt that soon enough all your friends will be asking where they can get some plunger brews too!


