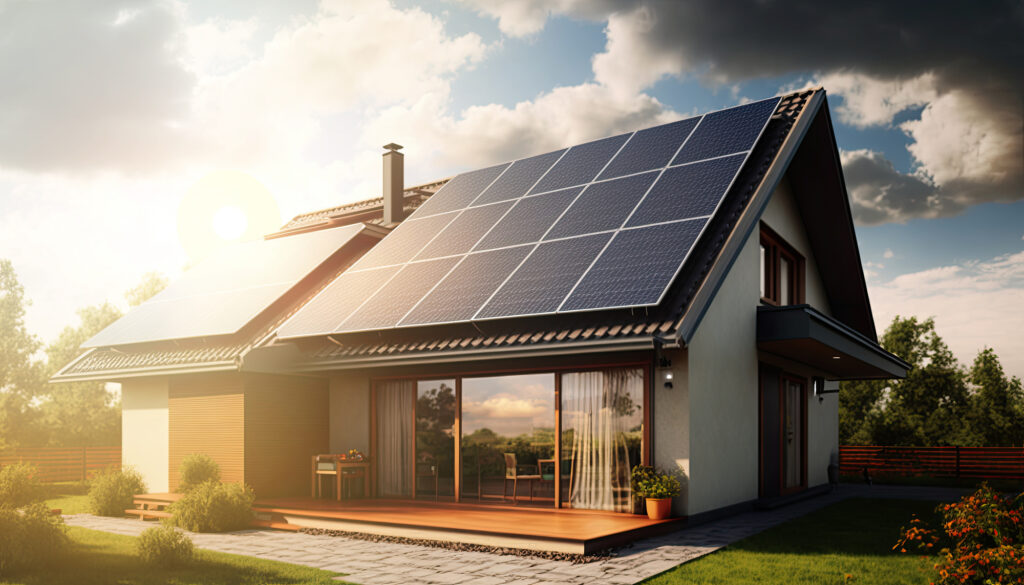
Switching to solar energy can be a wise investment for homeowners and businesses alike. Not only does it provide clean, renewable energy, but it can also significantly reduce electricity bills over time. However, before making the switch, it is important to conduct thorough research to understand the costs, benefits, and potential challenges of installing solar panels.
Factors such as the orientation and slope of the roof, shading from nearby trees or buildings, and local regulations and incentives can impact the effectiveness and cost of a solar installation. It is also important to choose a reputable and experienced solar installer who can provide guidance and support throughout the process.
You may also visit reputable websites like https://impactenergy.net/home-solar-installation-castle-rock-colorado/ provide you with a quote for the installation, source the best materials, and install the system correctly. These are essential steps to successfully transition to solar energy and enjoy the benefits of a more sustainable and cost-effective energy source.
If you’d like to know the step-by-step process—before, during, and after—solar energy installation, below is your guide!
Before Installation: Research And Planning
It’s important that you do some investigations before beginning a solar installation project. Here are the steps involved in the pre-installation phase.
Step 1: Research Local Laws And Regulations
Before starting any installation works, check with your local government about regulations regarding such installations, especially in residential areas. These are usually from relevant departments like zoning boards or health department offices.
Find out what kind of incentives are available in terms of tax credits or rebates. These incentives range from tax credits to grants or even subsidized loans. They could help offset costs associated with purchasing materials needed for the job.
There are several federal and state-level incentives available for renewable energy projects such as solar installations. For example, the federal government offers a tax credit of up to 26% of the total cost of a solar installation for residential and commercial properties. Many states also offer additional incentives, such as cash rebates, property tax exemptions, or sales tax exemptions. Additionally, some utility companies offer incentives to customers who install solar panels or other renewable energy systems, such as net metering programs that allow customers to sell excess energy back to the grid.
It is important to research and understand the different incentives available in your area before starting a renewable energy project. Some incentives may have specific requirements or deadlines, so it is important to stay informed and take advantage of them while they are available. By leveraging these incentives, homeowners and businesses can reduce the upfront costs of a renewable energy project and enjoy long-term cost savings and environmental benefits.
Step 2: Obtain Permits And Other Necessary Documentation
Before proceeding with installation, apply for all necessary permits from your local government or utility companies. This may include submitting an application or drawing up plans of where equipment will be located. You may also need to provide evidence that you have permission from all parties involved if there are multiple owners.
Some states also have specific requirements for contractors who install such systems. However, many others don’t require additional documentation outside of basic liability policies held by those performing the job.
It’s best to check what these requirements entail beforehand to avoid delays during installation. Failure to do so could also result in fines and other penalties being applied against you. Similarly, be sure to look into what type of insurance coverage is required by law when working on a solar energy system.
Step 3: Explore The Warranty And Insurance Coverage Options
With the documentation step complete, explore the warranty and insurance available with the products you purchase. Warranties usually cover defects from manufacturing processes, whereas insurance policies typically provide financial protection against theft or natural disasters.
Always consider both types when investing in solar energy systems since these will ultimately save money long-term. You’ll also have peace of mind if something goes wrong with your system.
Step 4: Assess Your Roof’s Condition
It’s essential to test existing roofs when planning to install new photovoltaic (PV) panels. For this step, a qualified professional must inspect both the inside and the outside of the roof. This includes checking structural integrity underneath shingles or tiles to determine if any repairs are needed. This helps prevent further damage over time due to insufficient preparation.
Step 5: Select Components And Materials
You’ll also need to choose components carefully for optimal results. Research what type of system best suits your needs, the number of solar panels needed, and any budget constraints. This will help narrow down which companies or professionals you’ll need to hire for the job later on. Budgeting will also clarify how much money needs to be allocated toward these materials and labor.
This step also entails selecting high-quality PV modules which can withstand extreme weather conditions. They have to work well in strong winds, intense heat and other conditions without degrading over time. Wiring components also need to be capable of carrying current at desired voltage levels until they reach the battery bank.
You can also consider investing extra money into properly mounting hardware to ensure panels stay in place. They’ll remain securely planted even when strong winds are present or any other environmental factors which could damage them.
The steps above provide a good framework for initiating the solar power installation process. With this understanding, you can ensure that all aspects are addressed appropriately and no vital component is overlooked.

During Installation: Ensuring Quality And Efficiency
Once you’ve completed the pre-installation steps, it’s time to get your systems up and running on your property or site. Here are the two important steps to consider during this stage.
Step 1: Find The Right Professional
To begin, research companies that offer professional services related to solar power installation. These include experienced electricians and qualified engineers who assess how much power you need based on your usage patterns.
Choose ones that are highly recommended before deciding which one should do work on your property.
Step 2: Get Ready For Installation Day
For the installation day, make sure all obstacles around where panels will be placed have been cleared out, and the area is ready for the installation crew. In addition, the electrical wiring system in the house should be able to handle a solar power system. This may require upgrades or rewiring of certain components.
You may also need to install other components depending on the type of system you choose (grid-tied versus off-grid). These include an inverter or a charge controller. Ensure all components have been set up correctly according to manufacturer guidelines for them to function optimally together.
Once installation begins, manage your expectations about when the project will be completed. It’s very helpful to have a realistic vision to avoid being caught off-guard by expenses and other related issues.
With some research and planning, getting everything in order during solar array installation is easy. This will ensure that when professionals arrive on site, all they need do is work their magic.
After Installation: Maintaining The System
The after phase of preparing for solar energy installation is a vital stage that ensures your system always runs efficiently. After installing your solar array, the following are some essential steps you need to take.
Step 1: Test Your System Regularly
Testing your system’s output frequently helps maintain its functionality over time. It allows any irregularities in production or structure to be identified before they become more serious. Using tools like multimeters or similar devices, you can check how much electricity each panel produces. This also gives you insight into which components are working properly and which ones may need professional attention.
Step 2: Track Performance Data Closely
It is also good practice to keep track of records during these tests. Tracking data helps you understand what’s happening behind the scenes, which can help answer questions about your system’s overall performance and improve it in the long run. You get comparisons between different readings taken at various intervals throughout a system’s lifespan.
This information helps you make educated decisions. For example, you can calculate how much you are saving by using solar. Does the installed system benefit you, or may you benefit from a more improved system? You can also identify areas where improvements could be made to increase the efficiency of your setup.
Step 3: Clean The Panels Periodically
The next step involves keeping your solar panels clean and free from dirt, dust, bird droppings, or other debris. This helps maintain their optimal performance levels year-round. They can absorb more sunlight than they otherwise would if covered up in some way due to accumulated grime.
You can follow a regular cleaning schedule, depending on how often it rains or snows in your area. Cleaning each panel at least once per month is a good rule of thumb for maximum efficiency. Always use soft cloths with non-abrasive solutions when wiping off these units since harsh chemicals may cause even more damage.
Maintenance after a solar energy installation is an essential step that mustn’t be overlooked when considering this investment. With the outlined steps, you can guarantee that your setup will continue running efficiently and effectively over its lifetime.
Summary
Installing solar energy is a great way to reduce your carbon footprint and save money on electricity bills. Research and prepare before beginning the installation process, and everything will go according to plan. Quality performance will also be maintained afterward through regular maintenance practices. Make this exciting transition today and be part of the move towards a greener, eco-friendlier world.