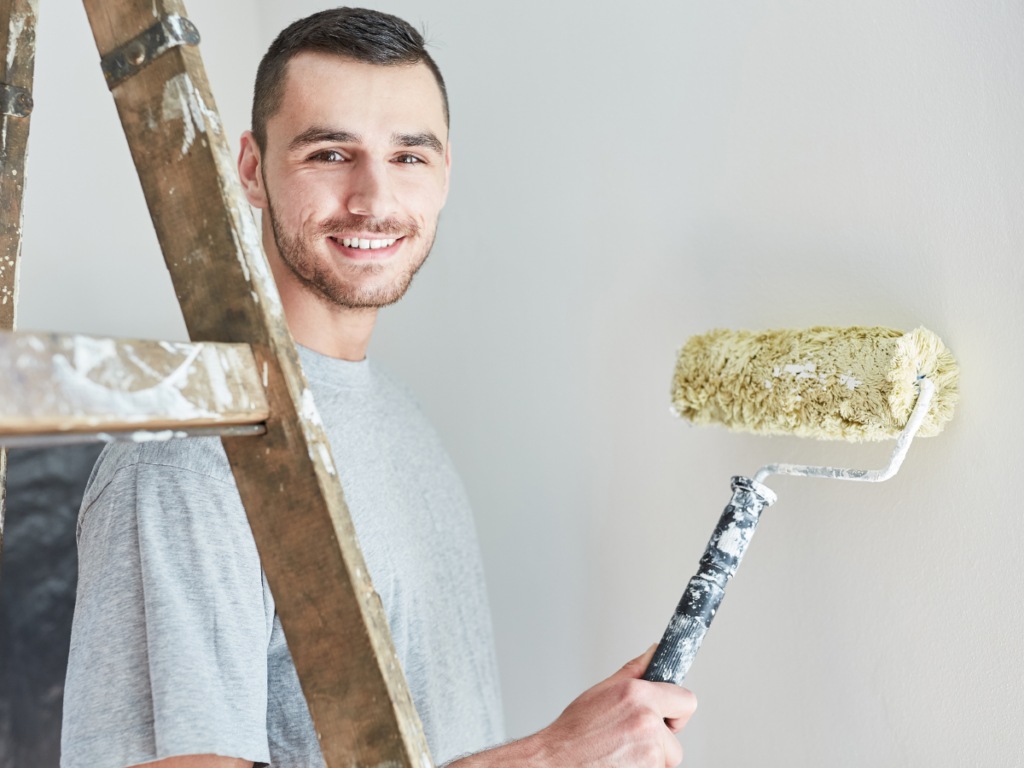
Many people think painting a room is as easy as dipping a paintbrush into a paint tray and then brushing the paint onto a wall. Unfortunately, painting a room is never this easy, and it is a complicated and time-consuming process.
Before painting, there is an extensive preparation process that you should complete as this will make the painting job a lot easier and save you time and money. When you make the proper preparations, you can paint a room knowing that the chances of a costly mistake are considerably less, you will get the desired result, and you will save time and money.
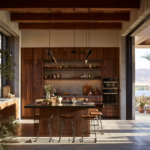
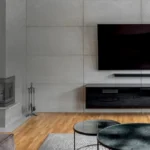
Painting a room can profoundly affect the mood and atmosphere that it presents. Here are some tips from professional painters in Sarasota, FL, to help you properly prepare before painting a room.
Prepare the room.
Removing all the furniture and other items from the room before commencing painting is only the start of the preparation process. There are many other things you need to do, including cleaning the wall before applying paint.
Cleaning the wall before painting is often overlooked, but it is an essential part of the process. Over time, dirt and grime become lodged in your walls, and if you fail to remove them before painting, they can spoil the look of the paint job and stop the paint from sticking to the wall surface.
Always clean the walls before painting and fill in the cracks and holes. This way, you will avoid streaks, bumps, bubbles, and uneven color spread and the paint job will maintain a nice appearance for a longer period.
Learn about color psychology and how to test paint colors.
One of the most critical parts of the room painting preparation process is choosing the paint color. Choosing a paint color may seem easy, but the opposite is true. The label on the paint can only give you a rough guideline, and it cannot show you what particular color of paint will look like on the walls.
You can get a more accurate idea of what a particular paint color will look like on your walls by testing it beforehand. Test the paint by applying a small amount to a hard surface before purchasing it.
You should also know about color psychology before commencing to paint. Colors can have particular effects on the viewer, and it is crucial to understand these effects as they will determine the feeling a room portrays.
Testing the paint color and understanding color psychology are crucial parts of the room painting preparation process.

Select the best finish.
The most important step in room painting preparation is choosing the right finish. Each finish has its own pros and cons. Here are some common finishes to give you an idea of the various types.
Chalky – is one of the most sought-after wall finishes. Chalky paints are mineral-based paints containing fewer volatile organic compounds and delivering a soft matte finish. If you want to create a rustic appearance on your walls, chalky paints are a great option.
Matte – is another popular finish. Matte paint hides wall imperfections and flaws better than other finishes because it is non-reflective. Matte paints are commonly used to paint bedrooms, dining rooms, and lounge rooms. Matte paints are also often the paint of choice for ceilings and remodeling work.
Eggshell – Another finish that you might consider is called eggshell. This paint is named eggshell because it has a finish that looks like eggshells. This finish is popular because it is more durable than a matte finish and can be easily washed.
Glossy – If your wall is perfectly smooth, you can choose a glossy finish. This finish is shiny. Glossy paints are bump and scratch resistant, more durable, and easier to clean.
Calculate the required amount of paint.
The cost of painting a room is another thing to consider. Calculating the wall area will help you estimate the amount of paint required to paint your room. This prevents you from buying too much paint and saves you money.
Use a primer.
Always remember to use a primer. Primer paint is an essential part of the room painting preparation process. As the name suggests, a primer paint primes the surface for the overlay paint. By using primer paint, you can ensure the overlay paint adheres well to the surface of your walls. Primer paint is necessary if you want a perfect finish.
Make sure to prepare brushes and rollers.
One of the most common questions asked by non-professional painters
is, “How long does it take to paint a room?” The answer to this question is it all depends on the size of the room and the type of equipment used to paint it.
Brushes and rollers are the most common tools used for painting. Most of the wall’s surface is painted using rollers because rollers use less paint and spread the paint more evenly and quickly. Painters will use paintbrushes to reach areas where rollers cannot reach, such as the corners and edges of walls.
A tip: Remember to paint the areas that require painting with a brush first. You can then use the roller to soften any brush marks and give you a smooth finish.
Key Takeaway
Preparation is a critical part of any painting job. The time you spend carefully planning out your painting project before getting started will be well worth it when you see the results. Choose the color and finish that would best suit your room design and lifestyle. Determine how much paint you will need for the project. For professional-looking results, prime your walls before applying paint. Use brushes for corners, and rollers for large areas.