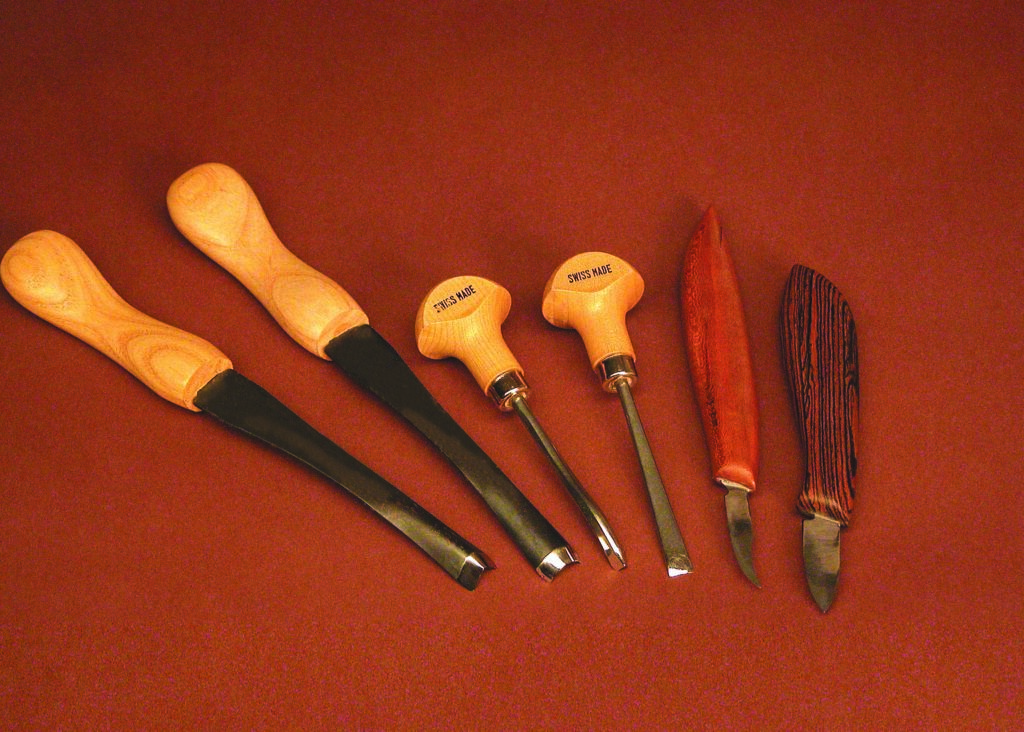
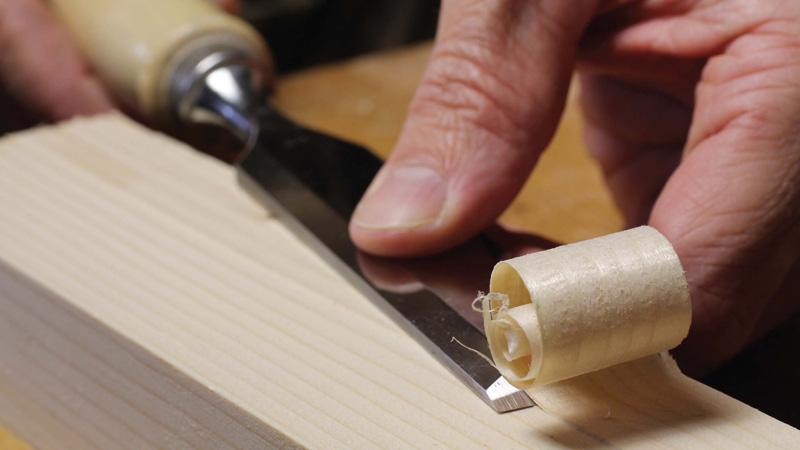
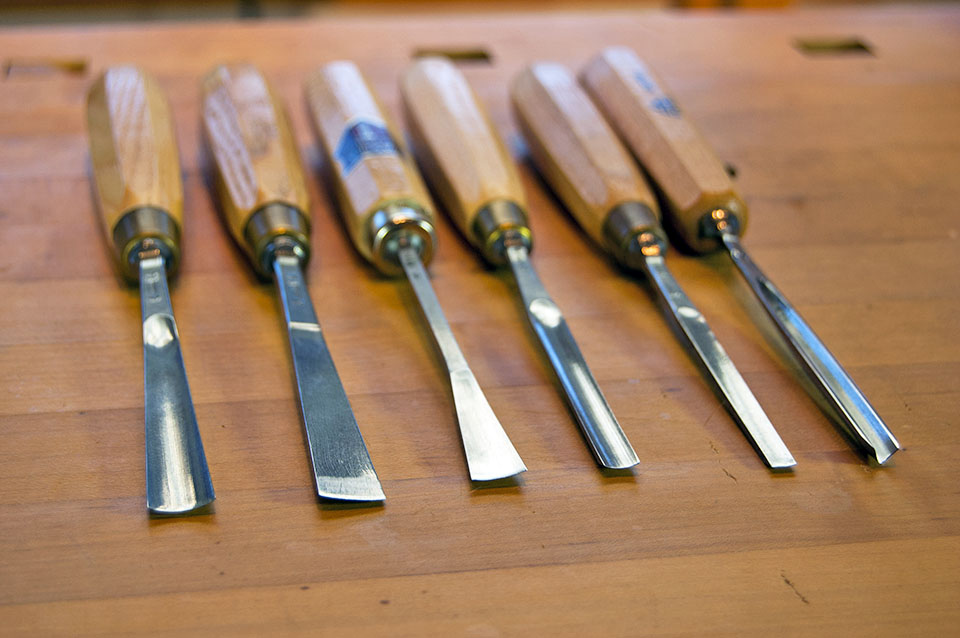
Using a chisel, you can easily cut through wood, stone, or metal within minutes. What’s the magic behind this power? Of-course the sharpness! But unfortunately, the sharp blade can become dull over time. And that’s when the real trouble begins!
If you have an unused chisel, you should make those chisels worthy again by sharpening them. No one can do the best on the first try but if you practice then you will be able to easily sharpen your chisels.
That’s why today we will talk about How to sharpen a wood chisel set with a stone. We are going to share the elaborate step-by-step guide to making the whole task easier for you.
How to sharpen a wood chisel set with a stone- detailed guide
Chisels might be only for prying open cans of paint for some. But in reality, a wood chisel set is an useful tool in different ways. Having a sharp chisel invariably trumps having a costly chisel.
No matter the technique you are using while sharpening the chisel, you should get comfortable with it. You may think that a specific guide is needed to do this. But actually, you can sharpen your chisel without using a honing guide.
Here we are going to look at the method of sharpening wood chisels without any honing guide. Here’s how to sharpen your wood chisel using stone:
Step 1- stones sharpening
To get your chisel sharp, you can either use a water stone or even an oil stone. You should have three stones, of 240 grit, of about 1000 grit, and the last one of about 3000 grit stone.
There are available combination stones that contain two grits in a single stone, you can buy those to proceed as well. Your grit starting point relies on how poor your blade is.

Level them on a flattening stone if you have sharpened other things on a stone already, otherwise, they will evolve an unfilled area that will later affect the blade.
And this will restrict you from having your accurate grind angle. Try scrubbing the stones in a circular motion over your stone.
In the case of water stones, soak those for some time. If you are using oil stones then use some oil on your stone and you can spray soap water over the diamond stones.
Tip: as the stones are slippery, use an anti-slip mat or a dedicated holder to keep those safe.
Step 2- work on the chisel’s back
At first, start working on the chisel’s back using the first small stone. It is better if you mark it using any marker to identify the high and the low areas after the procedure of grinding. It will make your work easier.
Keep the blade flat across the stone for the highest flexibility and move it in a back and forth motion. If you are doing this with a water stone then you have to add some additional when your stone gets dry.
Wherever you have marks after the first step, are where the low spot is. Keep grinding down until the marks are on the tip and all the sides are removed. It is okay to have a low spot in the center but be careful about any high spot there.
Keep working on 1000 grit and 3000 grit. If you have followed until now, your work is mostly done.
Step-3- alignment
Turn your chisel and align it with a sharpening stone. Then you have to position your blade at a 25-30° angle from the stone surface. You have to move it forward gently. The alignment process will help you with your work a lot.
The motion of it is necessary to create a slope after a certain period. It lifts the tip and helps the sharpening process It is completely natural and won’t cause any problem. Now you need to move your chisel to gain the 25-30° angle.

Keep repeating this motion until you ground every area of the bade successfully. Keep working using the 1000 and 3000 grit and do not forget to remove marks from the last passes.
Step 4- Polish- your work is done!
The last and final job is to polish it. You can take the help of a strop for some additional sharpness. To polish the chisel, you need to use polishing paste over it.
Push the beveled side of your blade hardly down at a 25° angle and then you have to draw it back again about ten times.
After making the metal crystal clear at the tip, move the flat side downwards. Now your work is complete and your chisel is sharp like new!
Closing words
Yes, the process is that simple! So now you know how to sharpen a wood chisel set with a stone. If you follow our step-by-step guidelines properly, there shouldn’t be any problem. But if you still find it troublesome, you can try another way by using some specific tool instead of a stone.
Also, if you are unable to meet the steps, you can look for expert help. But there is no need to throw the chisel away if it’s dull because there are always sharpening solutions available. Follow the process entirely, and thank us later! Good luck!


