Did you know the U.S. wastewater infrastructure boasts over 800,000 miles of public sewers? They then connect to over 500,000 miles of private sewer laterals (PSLs). They work together to bring plumbing waste from properties to wastewater treatment facilities.
Thanks to those pipes, all the wastewater you produce can leave your home. That includes the water you use to shower, flush the toilet, clean the dishes, and wash your laundry.
Unfortunately, a grease-clogged pipe can hinder that process. The longer it stays blocked, the bigger the clog can get. This can lead to a burst pipe or wastewater backing up the drain.
You likely have a clogged pipe if you have a sink that takes forever to drain or a toilet that doesn’t flush well.
But don’t worry; we’re here to help you fix it. Read on for practical tips on dealing with such a plumbing problem.
Determine the Pipe Material
Since grease melts, you might feel tempted to pour boiling water into a clogged pipe. While doing this may be okay for metal pipes, it’s not as safe for plastic ones.
If you’re unsure about the material of your clogged pipe, you can do a visual inspection. For example, if it’s a clogged kitchen sink, check the inside of the cabinet underneath it. Many sink drains have exposed drain pipes behind cabinet doors.
For hidden pipes, such as those for floor drains, you can use your home’s construction date as a basis. According to Advanced Plumbing Technology, many houses built before 1975 used cast iron. So if your home fits the bill and you’re sure it hasn’t had a pipe replacement job, you likely have CI pipes.
Use the Correct Plunger
If you only have one grease-clogged pipe, try fixing it with a plunger first. However, you must use the correct type, which depends on the problematic fixture. This DIY trick is also best for minor or relatively new issues (e.g., a slowly but still draining sink).
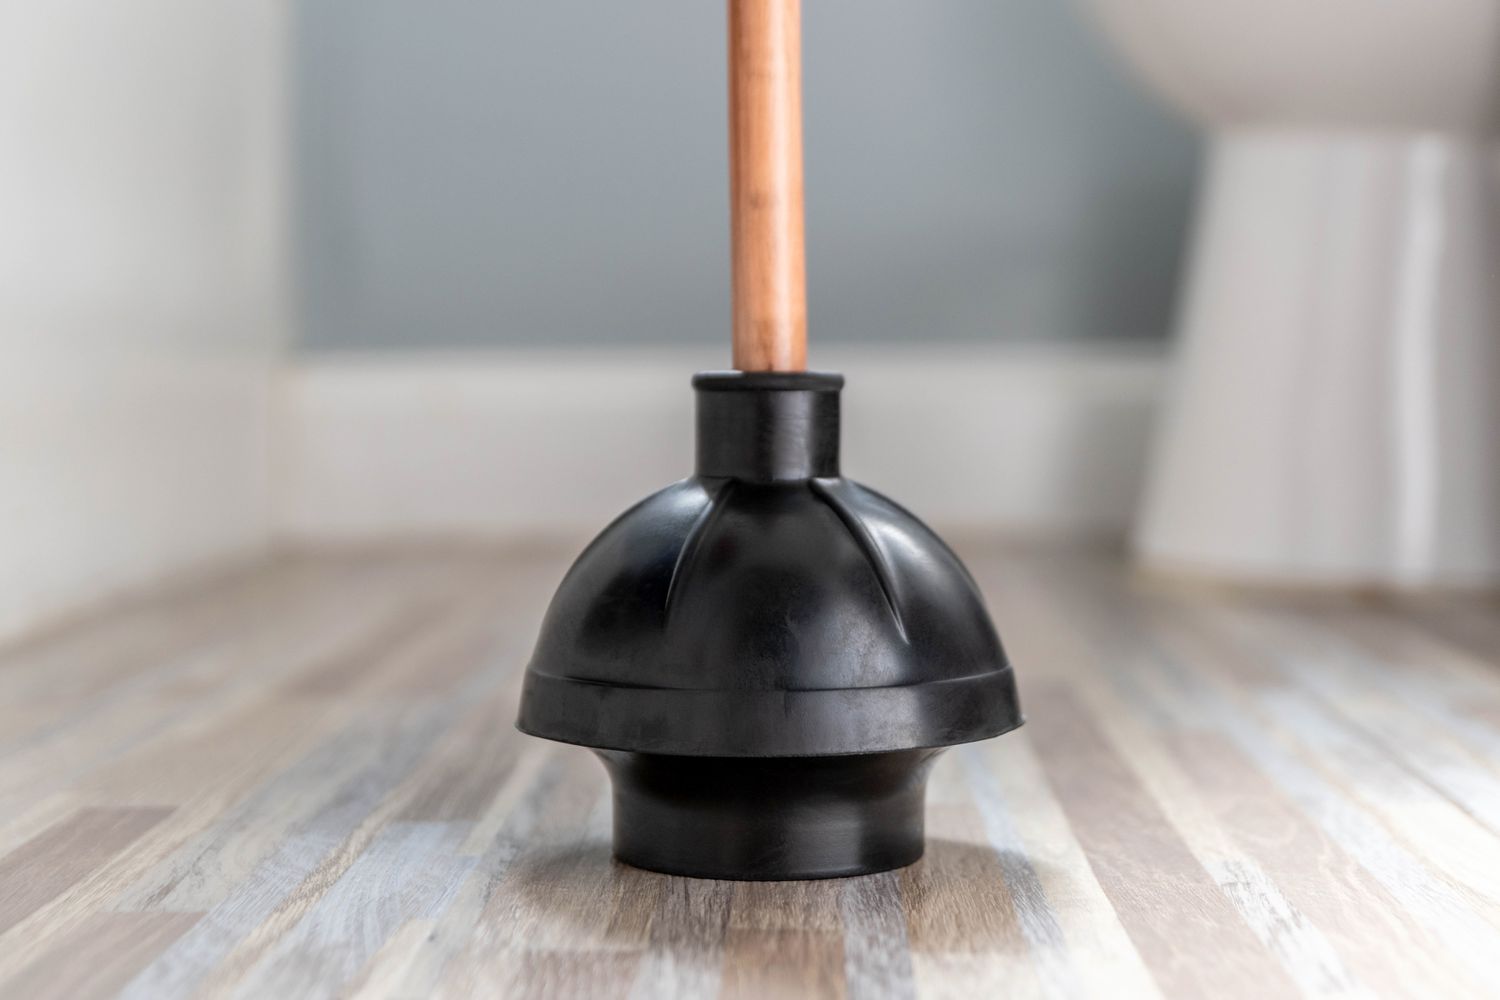
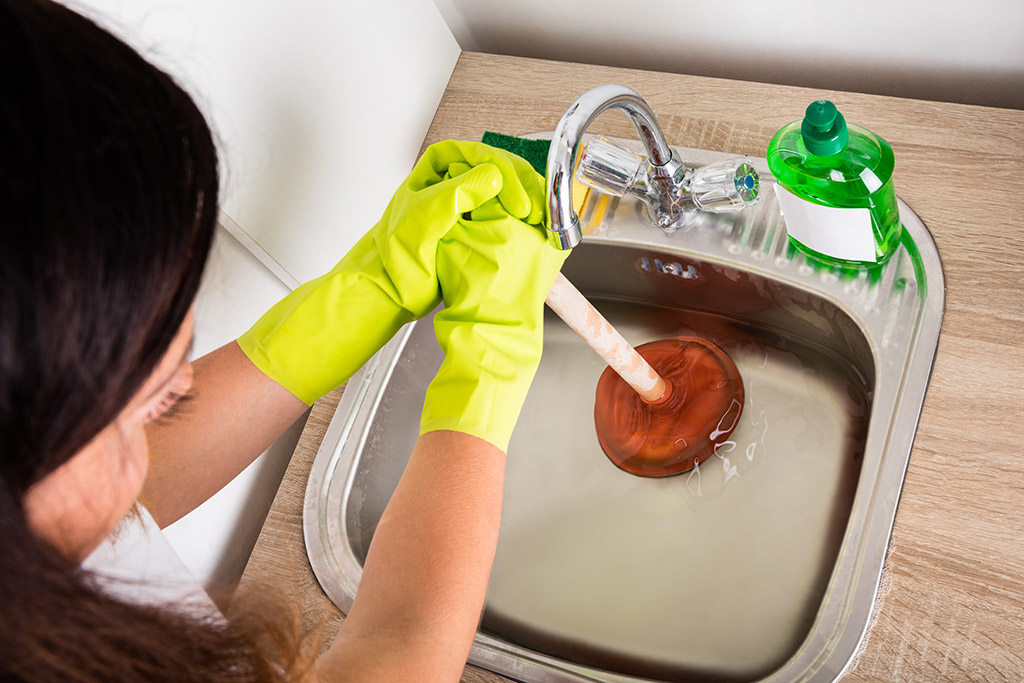
For kitchen sinks and shower or bath drains, use a standard cup plunger, which often has a red cup. If the clog is in a toilet, use a flange plunger with an inner cup designed to fit a toilet bowl opening.
Before you begin plunging away, wear gloves, a face mask, and clothes you don’t mind getting dirty. The last thing you want is direct exposure to sewage, which may contain over 100 pathogens.
How to Use a Standard Plunger
Position the standard plunger’s cup directly over the problematic drain. There should be enough water covering the cup to create a seal.
Next, give the plunger’s handle a gentle push. This releases air from inside the cup, resulting in a seal.
Once you have a seal, push with more force, but don’t overdo it, as this can knock the cup out of its position. If this happens, you’ll likely have dirty, germy water all over you.
Give the plunger 15 to 20 thrusts after the initial push. After this, remove it and see if the water goes down smoothly this time. If it does, congratulations, as you’ve cleared the clog.
Correct Use of a Flange Plunger
A flange plunger looks similar to a standard one but has a larger cup. Inside is an inner cup, the flange, which you must extend before placing it in the toilet bowl.
Insert the flange into the hole at the bottom of the toilet bowl. This creates a tighter seal than a standard plunger.
After 15 to 20 thrusts, remove the flange plunger carefully. Observe the water in the toilet; you’re likely successful if it recedes. However, double-check with a quick flush to see if you indeed resolved the issue.

Try Enzymatic Cleaners
Enzymatic cleaners contain enzymes, bacteria that break down molecules in organic matter. These non-chemical ingredients are safe for most pipe materials, including plastic and metal. Just ensure you follow the directions in the packaging to a T.
The enzymes in drain pipe cleaning solutions eat away natural materials. These include grease from food or vegetable and animal fats used in soaps.
Enzymatic cleaners are safer than chemical cleaners but take longer to work. The bacteria in them need time to eat at the blockage (about six hours or more) to break it down. Once the clog deteriorates enough, the water should flow through the pipe again.
Snake the Clog Away
A plumber’s snake is a slender, flexible auger (a spiral-shaped tool) used to dislodge clogs. The auger drills into materials, including clumps of grease, to dislodge them. You can get one from a home improvement or hardware store.
To use a plumber’s snake, insert the end of its metal cable into the drain with the grease-clogged pipe. Be especially careful when doing this to a toilet; it can damage porcelain if misused.
Next, slowly crank the snake’s handle to feed the line into the pipe. Keep doing this until you feel resistance, indicating you’ve reached the clog. As soon as this happens, retract the cable carefully until its end comes out of the opening.
If you were successful, you might see a clump of grease hanging to the tool’s metal tip. The snake may have also dislodged enough of the clog to let water flow through the pipe again. You can repeat the steps to be sure there’s no more resistance.
Run the tap or flush the toilet to test your work. If either works as it should, then you did a successful job.
Know When to Call the Pros
If none of the above DIY hacks work, it may indicate the problematic pipe has multiple clogs. You may also be looking at a collapsed or severely damaged pipe. In this case, it’s time to call plumbing repair specialists.
You should also contact a licensed plumber for help if you have more than one non-working pipe. An example is if several sinks and toilets take forever to drain or flush. This may signal a problem with your main drain or PLS that warrants professional repairs.
Fix Your Grease-Clogged Pipe Today
Even if you only have one grease-clogged pipe, please avoid pouring boiling water into it. Instead, try fixing it with a plunger, an enzymatic cleaner, or a plumber’s snake. If these don’t work, your next best bet is to seek professional help.
Once you get your issue resolved, never pour fats, oil, and grease (FOG) into your drains or toilets again. They may be liquid now but will soon become massive clogs once they solidify.
To learn more hacks on keeping your home in top condition, check out our home improvement archive!


