Maybe you have left-over plastic pipes from your most recent home renovation. Or perhaps you have used plastic pipes you wish to breathe new life into and turn into something new.
It could also be that you just enjoy the challenge of making something unexpected from ordinarily dreary utilitarian materials.
Whatever reason drives you, this guide will help you use PVC plastic pipes in your next DIY home improvement project.
Plastic Pipe Basics
Before proceeding with any DIY project involving plastic pipes, you must understand two things about plastic pipes.
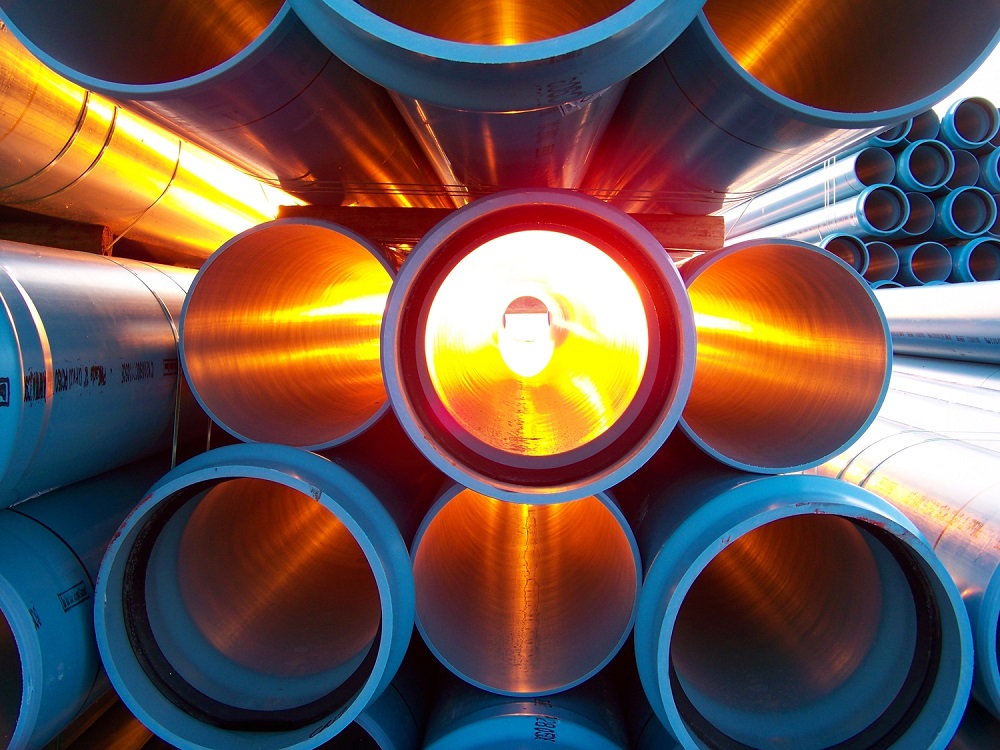
First, there are many types of plastic pipes. The most common, however, is PVC, which stands for polyvinyl chloride.
Generally speaking, this is the most affordable type of plastic pipe (although there are expensive PVC pipe variants). It is also most likely to be the type of plastic pipe you will use on your DIY projects.
PVC pipes have diameter sizes that range from 1/8 of an inch to 24 inches. Of course, you can just use the size of pipe you prefer or what’s needed for your DIY project.
That’s it. Now you can start learning about how to prepare PVC pipes.
Cutting PVC Pipes
What is the best tool for cutting PVC pipes? You guessed it! It’s a plastic pipe cutter. Use the rotating pipe cutter to cut smaller pipes and the ratcheting pipe cutter to cut bigger pipes.
A plastic pipe cutter looks like a plier at first glance. Grasp the pipe by the business end, squeeze the handles, and that should do the job. Just note, however, that plastic pipe cutters have a size limit.
If you are cutting a pipe bigger than your plastic pipe cutter can handle, you can use a regular hacksaw instead. Hacksaws do not cut as cleanly as pipe cutters, but they will do in a pinch.
After cutting a pipe with a hacksaw, use a deburring tool. Doing so will deburr the inside and outside of the pipe and ensure no rough and raised edges remain.
If you don’t have a deburring tool, use a sharp knife. It will take more effort, but it should do the job.
Painting PVC Pipes
PVC pipes (and indeed many plastic pipes) have low surface energy. That means that if you were to paint them without first preparing them, you would waste your paint.
For best results, start with white-colored PVC pipes. They will take to color paint better than colored pipes.
But if you are upcycling a pipe, you might have no choice but to paint the pipe white first before painting it in your preferred color.
1. Treat
If you are upcycling a used pipe for your project, you may have to contend with mildew. Before you proceed, you may need to treat the pipe with household bleach.
Mix 1 part bleach to 3 parts water, then use it to wash the surface of the pipe.
To kill mildew inside the pipe, you may continuously swish bleach solution inside the pipe. Treat the mildewed portions repeatedly for at least 20 minutes.
Once that’s done, let the pipe dry. But do not dry the pipe under direct sunlight because sunlight is known to decrease plastic pipe’s impact resistance.
To illustrate, a pipe with a weakened impact resistance might break easily upon the sudden application of immense force, such as from a hard kick or something heavy falling on it.
2. Sand
To prepare a piece of plastic pipe for painting, scratch off the PVC’s glassy layer using 200-300 grit sandpaper. Carefully and evenly sand off every inch of the outside surface of the pipe.
Sanding removes the sheen and turns the plastic pipe matte. This should also remove dirt and dead mildew from used (but treated) pipes.
3. Use acetone
After sanding the pipe, wet a soft clean cloth with acetone and wipe dust and any remaining wax off the PVC. Acetone will also make the pipe more porous, which will make the paint adhere to it better.
4. Prime
Next, prime the surface of the PVC pipe with a latex primer. Such primer is usually marked universal or stain blocker. To be sure that the primer you’re buying can be used on PVC pipes, check the product information on the packaging.
The primer will improve the paint grip on the surface of the PVC. After applying primer on the PVC pipe, leave it out to air-dry. Again, do not leave the pipe to dry under direct sunlight.

5. Apply the first coat of paint
Apply the first coat of paint using whatever paint color you like.
Paint color choice will largely depend on what your project is. If you’re making storage racks for your kitchen, for instance, then choose a color that complements your kitchen.
Remember, however, to use the same color paint as your second coat. In other words, use the same paint for your first and second coats.
If you use a dark-colored PVC pipe, however, you may have to use white paint first. After that, apply two more coats of paint in your preferred color.
What type of paint should you use? Use exterior acrylic latex paint. You may spray it on, or you may use a brush.
After the first coat, let the PVC pipe air-dry.
6. Apply the second coat of paint
Now apply a thicker layer of the same paint you used in your first coat. Make sure to apply the paint evenly all over the PVC pipe. Leave to air-dry.
If you prepared your PVC pipe with white paint in the previous step, this step serves as your first coat of paint. After that, you will need to air-dry the pipe and apply another coat.
Joining Pipes to Pipe Fittings
When you need to join two pipes or seal them shut, you will use pipe fittings. Adaptors, couplings, bushings, elbows, nipples, tees, crosses, flanges, caps, and plugs are the most common pipe fittings available.
Primer and Cement
Whichever pipe fitting you are using, you will need a PVC primer and solvent cement for a watertight seal.
1. Apply primer
First, apply the PVC pipe primer on the interior of the fitting (or pipe) that will go outside. Apply the same primer on the exterior of the pipe (or fitting) that will get inserted into the fitting (or pipe).
Apply the primer only on the joint or where the pipe and fitting will join, perhaps with a bit of allowance, especially on the inside pipe.
2. Apply solvent
After applying the primer, spread solvent cement or pipe adhesive over the primer on both the fitting and the pipe. Repeat to apply a second coat.
3. Join the pipe and the fitting
Now, insert the pipe to the fitting. Give it a quarter turn, and hold it in place for at least 30 seconds.
And on to Your PVC Plastic Pipe DIY Project
PVC plastic pipes are a relatively cheap, ubiquitous material, but they have potential beyond plumbing.
Use PVC pipes to create a DIY bike rack, an aquaponics plant stand, tubular shelving, napkin rings, table centerpieces, a kitchen rack, a shoe rack, a multilevel towel rack, and many more.
Now that you know how to prep, cut, paint, and join PVC plastic pipes to fittings and other pipes, you can do whatever PVC DIY project you want. The possibilities are endless!


