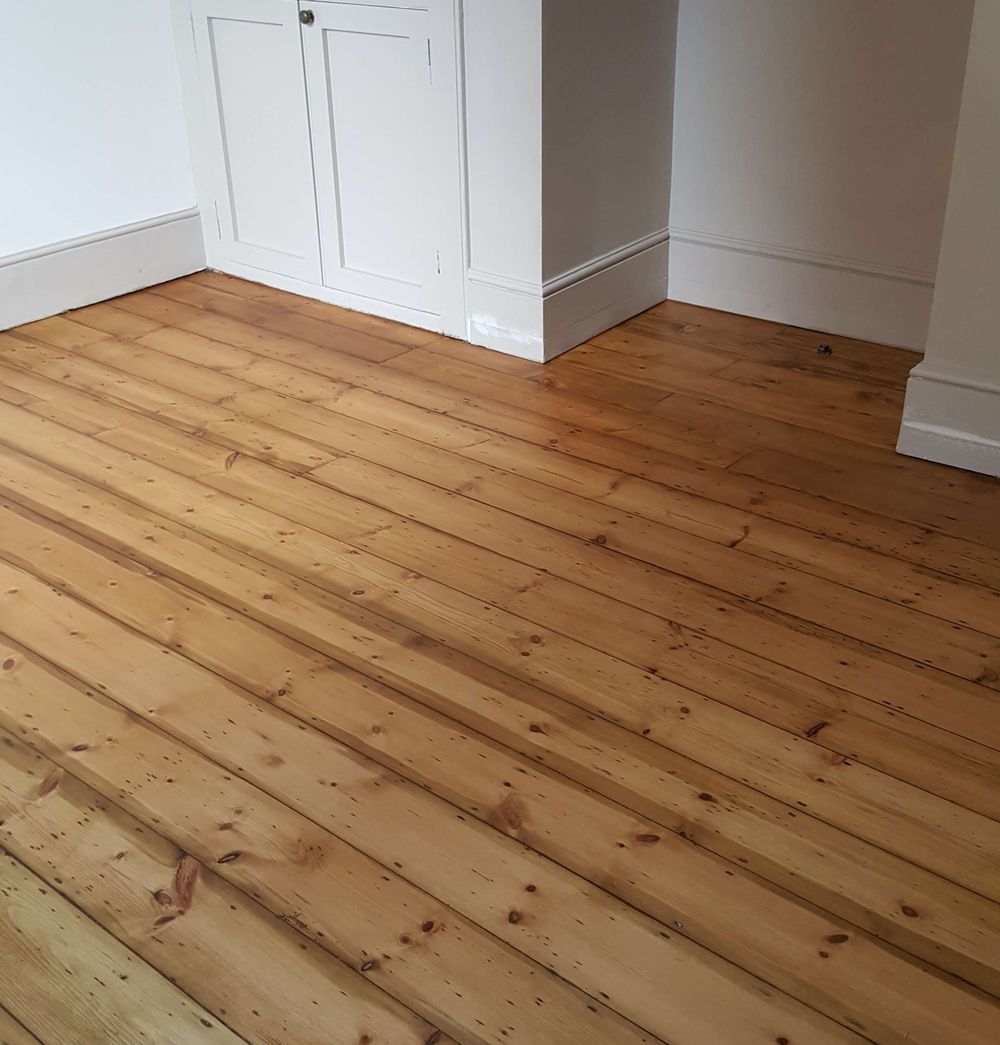
Wood finishing is easy and fun.
However, you should not rush through finishing up a piece of wood or furniture before you preparation.
With that being said, how will you ensure you get a smooth finish before, during, and after staining?
In this read, we shall look at how to prepare for the woof finish.
Sanding Preparation
We can’t stress enough the importance of sanding.
However, before you start sanding, you should ensure that all the surfaces are clean and free from all oils and dirt.
Sanding preparation is carried out with progressively finer grits.
It would be best if you did not begin sanding unfinished wood with very fine sandpaper. Orbital sanders are maneuverable and lightweight,perfect for sanding on hardwoods.
You can check out https://www.cozydownhome.com/best-random-orbital-sander for the best orbital finishing sander.

For plywood sheets, a belt sander is the best option, while a sanding block is best for Hand-sanding.
For a smooth and uniform finish, you should sand in the direction of the grain and not against the grain.
The higher the number of sand granules on the sandpaper grit, the finer the grade, while the lower the number, the course the sandpaper. Medium grits such as #150 and #120 are effective for removing scratches or old finish. Fine grits such as #220 are often used for final light sanding when preparing for the wood finish. For the best result, start with a 120 grit, then 150 and then 220.
Wood Filler
Softwood often contains blemishes that will appear through the finish. Apply wood filler in the defects, edges and spread it in the voids. Leave it to dry, and then sand it to smoothness.
Wipe the Dirt
Wood dust formed during smoothing normally cause hitches if they are not eliminated from the surface before staining.
So, you need usesticky cheesecloth or a tack cloth to wipe the dirt; brushes and dry rags are not efficient in removing dust.
Fold the tack cloth and wipe across the wood to remove the dirt, and as each side becomes saturated with dust, you should refold the fabric for a new surface.
Tack cloths are cheap, or you can also make your own by soaking a piece of cheesecloth in a small amount of tung oil.
While at it, understand that sanding releases airborne molecules hence it’s good to wear a particle mask when working on your wood.
Check the Surface Scratches andMark Them
Once you’vecleaned the wood, the next step is to check for scratches.
If you skip this step, you will probably find more scratches after you have already applied the finish, and it will present a lot more work to remove them and repeat the staining.
To check for scratches, hood the wood at your eye level between a light source and yourself.
Move the wood while tilting where you will see a shiny spot as the light glares off the wood surface.

The glare will make it possible to identify the scratches and if there’re, mark them and sand them with 220 grit.
Use APre-Stain If Required
A pre-stain is necessary if your wood contains hard and soft spots. This is because these kinds of woods may soak up stain at different rates resulting in uneven stain coloring or blotchy looking surfaces.
Pre-Stain acts as a sealer coat and it makes the wood less porous and evens the rate of absorption along the entire surface.
You will only need to apply it to the wood surface and leave it to dry properly before you apply the stain coat. However, if your wood has no hard or soft spots or you don’t mind a little variation, you don’t need the pre-stain.
Conclusion
These are the tips for preparing your wood surface for the finish. Always having the product in mind and following these instructions will ensure you finish your wood excellently.


