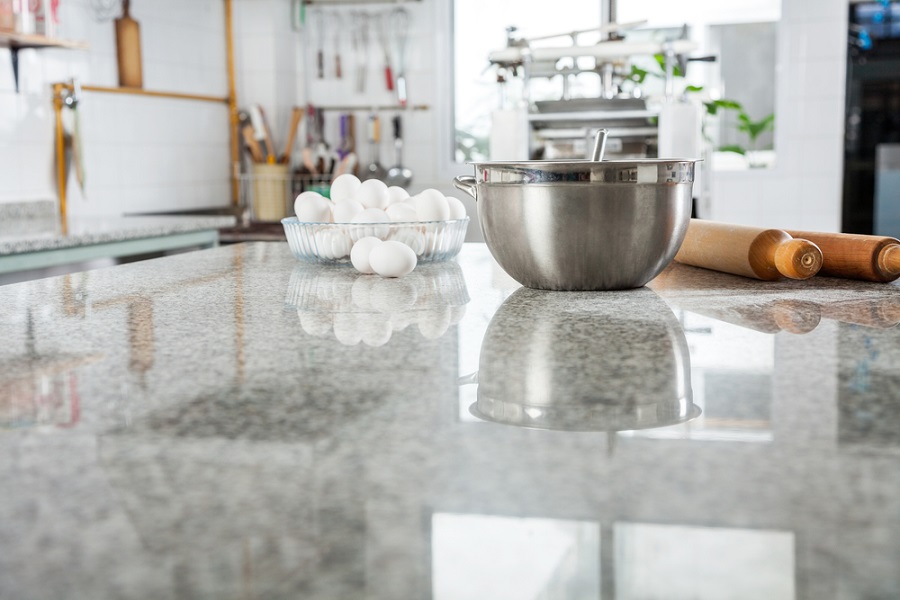
Epoxy is a new countertop option that many people are using in their homes and outdoor kitchens. It is a great material for countertops due to its durability and the high gloss of its finish. It can hold up to years of use as long as you care for it properly, and the glossy finish is really gorgeous in any setting.
If you have been thinking about adding an epoxy countertops to your home, this is a great time to do so! There are many skilled installers out there who can create this kind of counter in your kitchen, bathroom, or other rooms in your house that need fresh workspaces.
It is possible for you to pour your own epoxy counter as well. If you have been thinking about undertaking this project yourself, this page will get you started! If you want to learn more about pouring an epoxy counter, read on!
What is Epoxy?
Epoxy is actually a refinishing product that is used to cover other counter materials to create a high gloss surface that is more durable. You can cover laminate, wood, concrete, or ceramic with epoxy to create a long-lasting countertop with a beautiful shine that will hold up for years to come.
Epoxy is poured over the other material and allowed to set up. It can be a very messy installation process as the epoxy itself comes in a box or a bottle that is then applied according to the manufacturer’s instructions.
Epoxy products always combine resin and hardener products to create the trademark shine that is associated with these types of counters. Always make sure to read all of the instructions for the epoxy that you have purchased before you begin the installation process.

What Tools Will You Need?
- Brushes
- Drill
- Orbital Sander
- Trim Router
- 6 in paint roller
- Oscillating tool
Materials Required
- 80 and 220 grit sanding sponge
- 4 one-quart cups
- Painter’s tape
- Plastic sheet
- Spray bottle
- Two 2-gallon buckets
- Rubbing alcohol
- Two paddle mixers
- Wiping cloths
How to Pour an Epoxy Counter
The process of an epoxy counter installation can be messy and there are some steps that you must always follow to make sure that the end result is as shiny and level as you expected it would be.
Rout Your Corners
Applying epoxy to edges that have not been smoothed will result in a pour that is not smooth and could have bubbles included in it. You will need to make sure that any edges that you are pouring over are smooth.
Fill In Gaps and Seams
Fill in all gaps and seams with an all-purpose body filler. This also includes seams at miters, inside of corners at the front edge, and the gap from where the backsplash used to connect to the counters. It will harden quickly, and you can smooth any burred edges that are left readily.
Sand It Smooth
Smooth any high spots in your filler work with a paint scraper. You will then want to use your 60-grit sandpaper to smooth all surfaces that have required filler. Make sure to sand your rounded corners as well. This will make the epoxy bond better with the counter surface.
Mask Things Off
Epoxy is messy to apply. You will need to tape plastic over the cabinets, the dishwasher and the floors. Make sure that you cover any surfaces that you do not want epoxy to end up on.
For the sink opening, you will need to tape plastic to the underside of the counter to catch the epoxy as it is poured. You should also put cardboard under the counters to collect any drips that might miss the plastic.
Prepare Your Materials
As soon as you apply the primer coat to the counters, you will need to move fast. Make sure that your materials are ready before you do that first step. Prepare everything that you will need and have it to hand so that you don’t have to stop along the way to find products or mix something.
Applying Primer
Use the paint roller to apply the primer. You will want to pour the two-part primer into a small bucket and then roll it from there onto the counters. If you can see any of the older counter showing through, prime these areas again.
Premix Epoxy
Your primer needs an hour to become tacky. You can mix your epoxy as you get close to the endpoint of the primer’s setting up period. If you are using a metallic powder to create swirls in the mix, stir these up as well in a separate cup. You will have 15 minutes or less to work with the epoxy from here.

Pour on Base Coat
Make sure your epoxy is mixed completely so there are no lumps or dry spots in the bucket. Pour into a second bucket and stir again. Make your first pour of the epoxy down the center of the counter then spread evenly with a roller. Spread to the edges but don’t push the excess puddle off the counter at this point.
The layer should be 1/8 in thick across the entire counter. If you are adding highlights, do so at this point by pouring over the counter in swirls or thin lines to make veins that look like marble. Use a paintbrush to drag over the stripes to spread them out and make them look more natural.
Spray on Alcohol
Spritz the counter with rubbing alcohol and metallic powder solution. This makes for a natural sparkle that looks like natural stone.
Scrape Drips and Fill Divots
Fill in any divots you see in the countertop surface with leftover epoxy and scrape off the drips that are coming over the edges of the counter surface. Use a stir stick for your scraping process.
You can remove any dust or debris that have invaded the counters with tweezers or a toothpick.
You Have Poured a Beautiful New Epoxy Counter
There is finish work that needs to be done from here, but these are the basic steps needed to pour an epoxy counter. You will already be able to see how beautiful your counters will turn out, and you will be so glad that you made the choice to add an epoxy counter to your home!