Antique mirror backsplashes have gained immense popularity for their timeless beauty and unique character. These captivating design elements not only add a touch of elegance but also infuse a sense of history into modern interiors. Whether you’re a DIY enthusiast or looking to hire a professional, learning how to install antique mirror backsplash can help you achieve a stunning aesthetic transformation.
In this comprehensive guide, we’ll walk you through the steps to successfully install an antique mirror backsplash, using high-quality antiqued mirror tiles in Los Angeles.
Step 1: Gather Your Materials
Before diving into the installation process, make sure you have all the necessary materials and tools on hand. You’ll need:
- High-quality antiqued mirror tiles in Los Angeles
- Measuring tape
- Level
- Adhesive (mirror adhesive or construction adhesive)
- Notched trowel
- Grout
- Spacers
- Soft cloth
- Tile cutter or glass cutter (if needed)
Step 2: Measure and Plan
Start by measuring the area where you intend to install the antique mirror backsplash. Accurate measurements are crucial for ensuring a seamless installation. Mark the centerline and use a level to ensure it’s perfectly straight. Plan the layout of the tiles, considering the placement of outlets, switches, and any other obstacles.
Step 3: Apply Adhesive
Apply a layer of adhesive to the back of the first antiqued mirror tile using a notched trowel. Make sure to spread the adhesive evenly, leaving no gaps. Press the tile onto the wall, starting from the centerline and working outward. Insert spacers between tiles to maintain consistent gaps.
Step 4: Cutting Tiles
In some cases, you may need to cut tiles to fit around corners or edges. Use a tile cutter or glass cutter to carefully trim the tiles to the desired size. Always wear protective eyewear when cutting glass.
Step 5: Grouting
Once the adhesive has dried and the tiles are securely in place, it’s time to apply grout. Choose a grout color that complements the antique mirror tiles. Apply the grout using a rubber float, pressing it into the gaps between the tiles at a 45-degree angle. Wipe off excess grout with a damp sponge before it dries.
Step 6: Cleaning
After the grout has dried, use a soft cloth to buff the tiles and remove any grout haze or residue. This will help reveal the true beauty of the antique mirror glass.
Step 7: Finishing Touches
Inspect the installed antique mirror backsplash for any uneven tiles or visible imperfections. Make any necessary adjustments before the adhesive fully sets. Once you’re satisfied with the installation, allow it to cure according to the manufacturer’s instructions.
Step 8: Maintenance
To keep your antique mirror backsplash looking its best, clean it regularly with a soft, damp cloth. Avoid using harsh chemicals or abrasive materials that could damage the mirror’s surface.

Benefits of Antique Mirror Backsplashes:
Antique mirror backsplashes offer more than just aesthetic appeal. They come with a range of benefits that enhance both the visual and functional aspects of your living space.
1. Timeless Elegance:
Antique mirror backsplashes exude a timeless elegance that complements various interior styles. Their weathered appearance and vintage charm make them a versatile choice for both traditional and modern settings.
2. Illusion of Space:
The reflective properties of antique mirror glass can create an illusion of space, making even small kitchens or bathrooms feel larger and more open. This is particularly beneficial for urban dwellings with limited square footage.
- Unique Aesthetic:
Each antique mirror tile boasts its own unique patterns and character, adding a touch of individuality to your space. No two tiles are exactly alike, contributing to an authentic and eclectic atmosphere.
4. Light Enhancement:
Antique mirror backsplashes can amplify natural and artificial light, brightening up dimly lit areas. This is especially advantageous for areas where additional lighting may be a challenge.
5. Easy Maintenance:
Contrary to common belief, antique mirror backsplashes are relatively easy to maintain. Regular dusting and occasional gentle cleaning with a damp cloth are usually sufficient to keep their allure intact.
Choosing the Right Location:
While antique mirror backsplashes can enhance various spaces, choosing the right location is key to maximizing their impact.
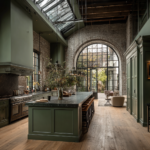
1. Kitchen Backsplash:
The kitchen is a popular choice for installing antique mirror backsplashes. They not only protect the wall from cooking splatters but also add a touch of glamour to the heart of the home.
2. Bathroom Accents:
Antique mirror backsplashes can be used as accents in bathrooms, providing a touch of luxury to vanities or bathtub surroundings.
3. Fireplace Surrounds:
Enhance the focal point of your living room by using antique mirror tiles to surround your fireplace. The reflective surfaces will create a mesmerizing play of light.
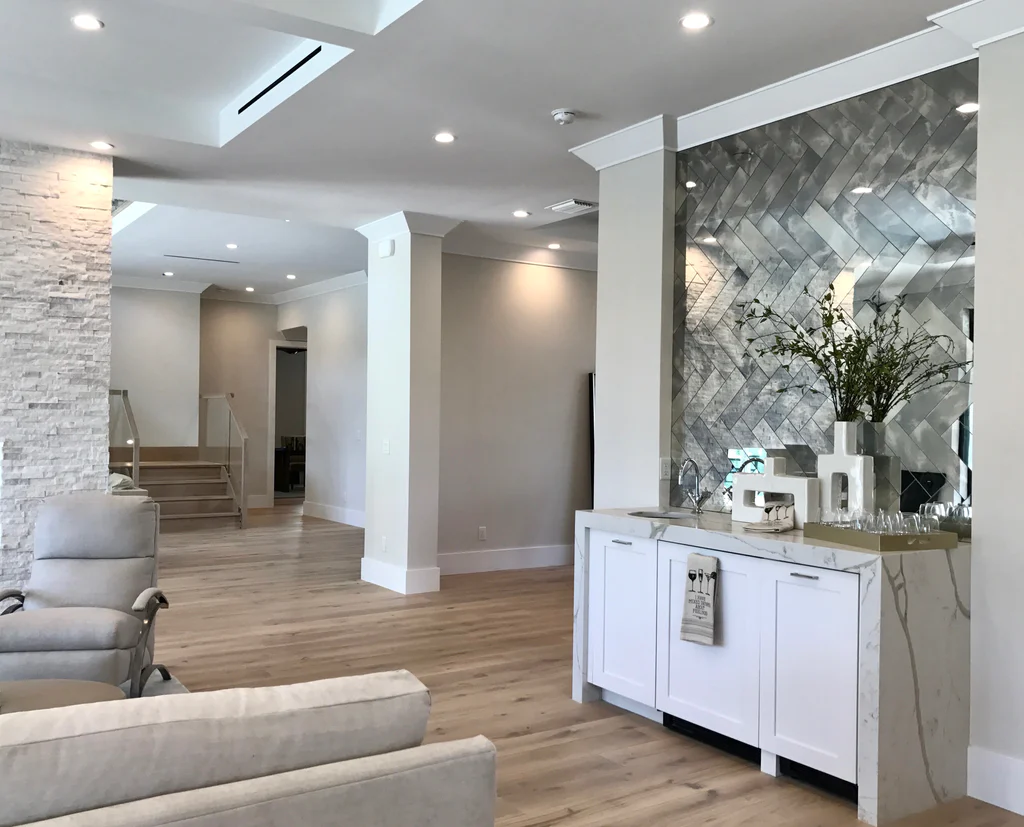
4. Bar or Wine Cellar:
For those who enjoy entertaining, an antique mirror backsplash in a bar area or wine cellar can create a sophisticated ambiance.
Conclusion:
Installing an antique mirror backsplash can add a touch of sophistication and history to your space. By following these step-by-step instructions and using antique mirror glass in Los Angeles, California, you can create a visually stunning focal point that reflects your unique style.
Remember, attention to detail and patience are key to achieving a flawless installation. Enjoy the elegance and charm that an antique mirror backsplash brings to your home for years to come.