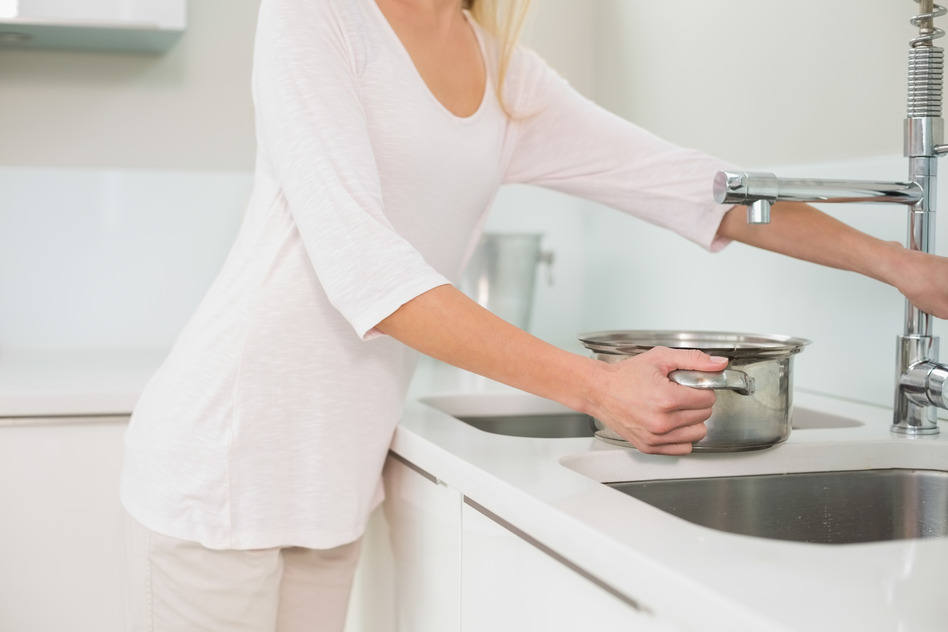
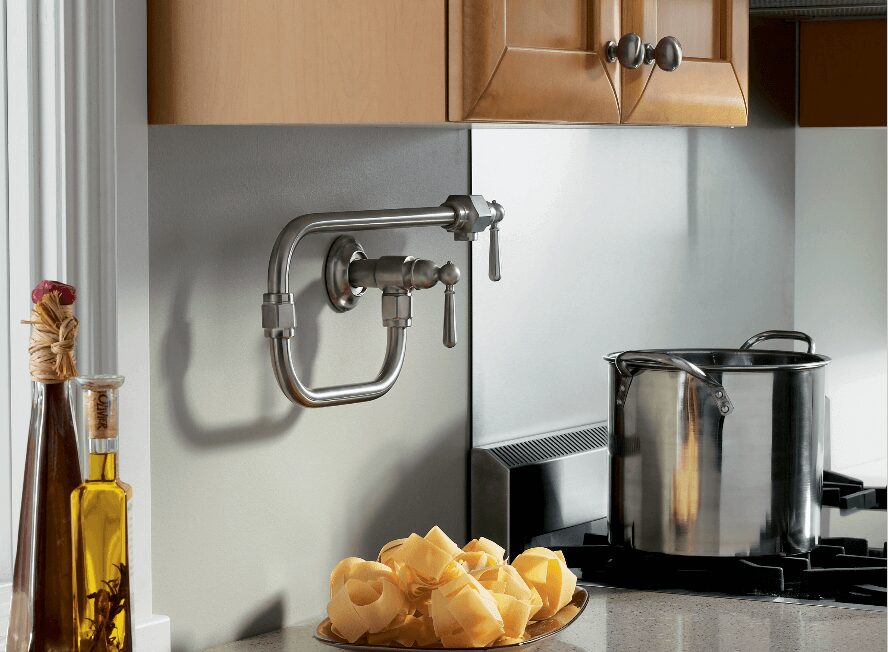
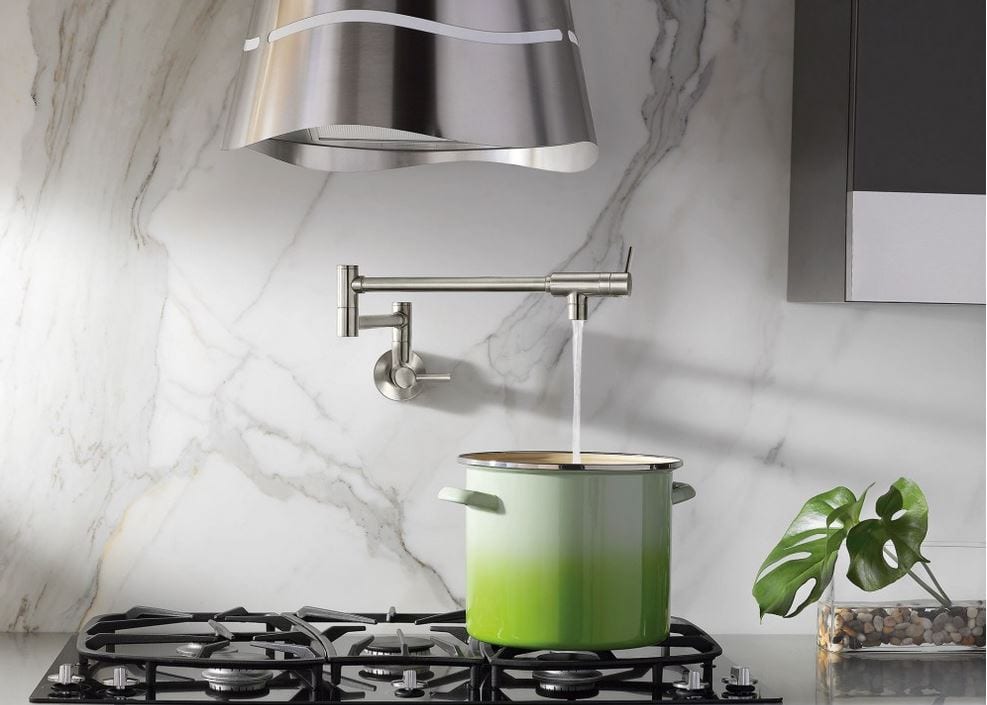
If you want to improve your kitchen, it may be a great idea to add some practical yet trendy features into the space. One of these trends is having a pot filler attached to an existing wall. Essentially, a pot filler refers to a wall-mounted faucet that’s designed to provide you with an adequate supply of water in a certain area other than the sink.
That being said, it’s important to have a pot filler mounted on your kitchen wall. Generally, installing a pot filler in an existing wall is not a difficult task. However, a pot filler that stays upper the stoves, helps a lot in several ways. If you choose one for you, you don’t have to carry water from the sink to the stove, saving you time and energy in the long run. It also helps to pour every kind of pot. Boiling water, making tea, are easy with a pot filler. Single valve pot fillers are easy to install.
Moreover, using a pot filler on the kitchen wall is much easier and convenient. All you have to do is grab the faucet’s long arm from the wall to access running water and fill up a pot on the stove. Once you’re done, you just need to put it back on the wall.
Another benefit of installing a pot filler faucet is that it’s easy for multi-tasking. While the kettle is filling up with water, you can do other things like preparing some ingredients or deciding what to cook. With all these things in mind, there’s no question why having a pot filler is important.
Now, if you want to install a pot filler faucet in your kitchen wall, you need to follow a few steps. In this guide, we’re going to discuss those steps.
So, let’s dive in!
Step 1: The first move is making a plan. You can find a lot of instruction videos on the internet, they may show you steps, but when you’re working on your own. You have to make a plan for yourself. Write your plan down if needed.
Step 2: Get your water line to the location you want to mount the faucet at. Get down and find out your water supply line. This is more of a plumbing process. So, if you’re afraid, get the help of an plumbing professional services. But if you choose to do it, then you have to use a hose or a pipe.
Bring the waterline up to the wall. Drill a hole where your pot filler is going to come out. You can choose whether you’re setting it in the middle of the stove or on the side. It’s up to you.
Step 3: Attach a threaded pipe to your water line hose or pipe. The maximum size of this pipe is 2 and a half-inch. When attaching use sealant paste to make sure there isn’t any leak.
Step 4: Install the mounting plate. Take the mounting plate and mark where you need to put in the screws. Drill holes according to the measurement of the screws.
After that, place the mounting plate along with the mounting gasket and tighten the screws.
Step 5: Now, set up the pot filler. Attach it with the threaded pipe that you installed. To keep your thread leak-free and durable, use sealant paste. Don’t over tighten the pot filler. This will damage the thread. Use your common sense and make sure where the end of the thread is.
Don’t put extra pressure. It’ll damage the thread and this will cause leaks and drips.
Step 6: Build your drywall and make everything look good when you’re totally done with everything. Enjoy your pot filler.
Indeed, installing a pot filler has many steps to consider. But although you can do the installation by yourself, it may be best to consider hiring a professional plumbing service. A good plumber has the experience and skills required for mounting a pot wall on the wall in a couple of hours. They also have the necessary tools and equipment that help them connect the fittings to the supply pipe.
However, if you still decide to work on the said plumbing project by yourself, it would also make sense to become familiar with the things you should or shouldn’t do.
Cautions:
- Shut off the water line before start working.
- If you’re plumbing, then don’t forget to shut off the electric line.
- Use one valve pot filler if you’re installing it yourself.
- Make sure the water supply line is filtered as you’ll be using it for cooking.
- When tightening threads, don’t put extra pressure.
- Keep it high if you use larger pots for cooking.
Conclusion
So, this how you can install a pot filler in an existing wall. In this short guide, we tried to share the steps of installing a wall mounting faucet. We covered the main things of the faucet installation. If you have any questions or queries, feel free to leave a comment.