A leaky roof can cause a lot of damage if left unattended. Water can seep into your home and cause mold, rot, and other issues that can be expensive and time-consuming to fix. Fortunately, fixing a leaky roof is not as complicated as it may seem. With the right tools and some basic knowledge, you can fix a leaky roof in just a few simple steps. In this article, we’ll walk you through the process of fixing a leaky roof in 5 simple steps.
Step 1: Identify the Leak
The first step in fixing a leaky roof is to identify the location of the leak. Water can enter your home through a variety of paths, so it’s important to thoroughly inspect your roof to find the source of the leak.
One way to find a leak is to look for visible signs of water damage, such as discoloration on your ceiling or walls. You can also check your attic for signs of water intrusion, such as damp insulation or water stains on the ceiling.
Another way to identify a leak is to inspect your roof for damaged or missing shingles. Damaged or missing shingles can allow water to seep into your home, so it’s important to replace them as soon as possible.
Finally, if you’re having trouble locating the leak, you can use a hose to simulate rainfall and locate the leak. Simply have someone spray water on your roof while you’re inside your home, and look for any signs of water intrusion.

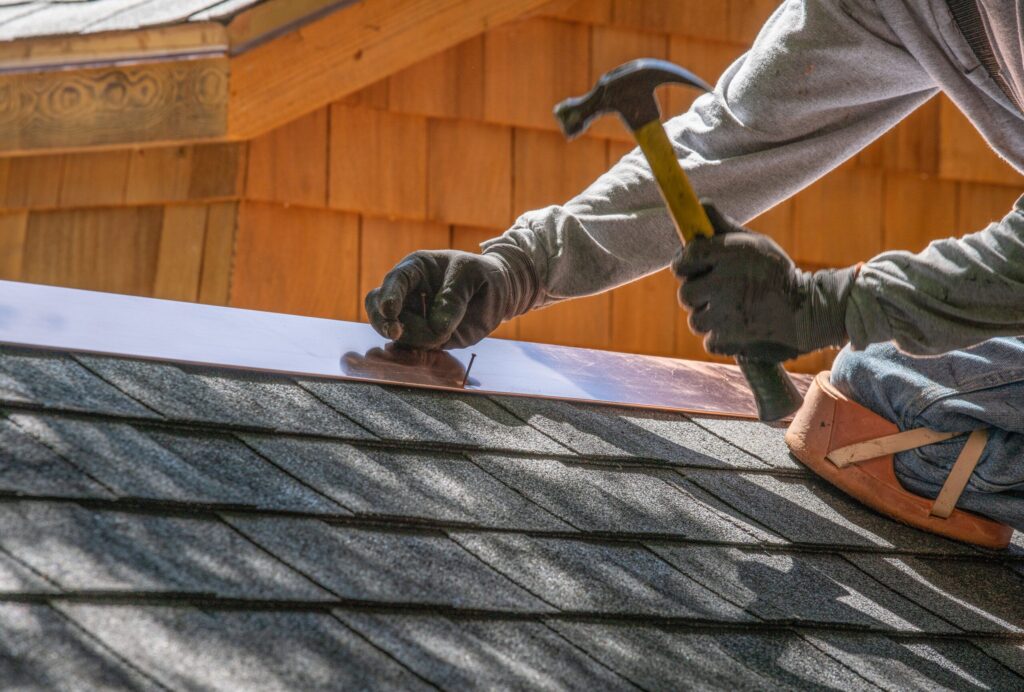
Step 2: Prepare the Roof for Repair
Once you’ve identified the location of the leak, it’s time to prepare your roof for repair. This involves roof cleaning the area around the leak, removing any damaged shingles, and smoothing out any curled or buckled shingles.
Start by cleaning the area around the leak. This will help ensure that the repair is successful and that the roofing cement adheres properly. Use a stiff-bristled brush to remove any dirt or debris, and then wipe the area clean with a damp cloth.
Next, remove any damaged shingles. Use a pry bar to lift the shingle above the damaged area, and then remove any nails that are holding it in place. Once the damaged shingle has been removed, smooth out any curled or buckled shingles that are around the area.
Finally, replace any missing or damaged shingles. Cut a new shingle to size, and then slide it into place under the shingle above it. Secure the new shingle in place with roofing nails, and then seal the edges with roofing cement.
Step 3: Apply Roofing Cement
The next step in fixing a leaky roof is to apply roofing cement to the damaged area. Roofing cement is a type of adhesive that is used to seal leaks and prevent water from entering your home.
To apply roofing cement, start by mixing the cement according to the manufacturer’s instructions. Once the cement is mixed, use a trowel to apply it to the damaged area. Be sure to spread the cement evenly, and use a putty knife to smooth out the cement.
Step 4: Install a Leak Barrier
Once the roofing cement has been applied, it’s time to install a leak barrier. A leak barrier is a type of waterproof membrane that is placed under your shingles to help prevent leaks.
To install a leak barrier, start by cutting a piece of the barrier to size. Then, slide the barrier under the shingles above the damaged area. Finally, apply roofing cement over the leak barrier to ensure that it stays in place.
Step 5: Test for Leaks
The final step in fixing a leaky roof is to test for leaks. This involves simulating rainfall to ensure that the repair is successful and that water is no longer entering your home.
To test for leaks, you can either wait for the next rainfall or use a hose to simulate rainfall. If you choose to use a hose, have someone spray water on the repaired area while you’re inside your home, and look for any signs of water intrusion.
If you notice any signs of water intrusion, such as damp insulation or water stains on the ceiling, you may need to reapply the roofing cement or install additional leak barriers.
Preventing Leaks in the Future
Fixing a leaky roof is only part of the solution. To prevent leaks from occurring in the future, there are a few things you can do:
- Regularly inspect your roof for damage, and replace any damaged or missing shingles.
- Clean your gutters and downspouts regularly to ensure that water can flow freely away from your home.
- Trim any overhanging branches that could damage your roof during high winds or storms.
- Consider installing a roof ventilation system to help prevent moisture buildup.

By following these tips, you can help prevent leaks and ensure that your roof remains in good condition for years to come.
In conclusion, fixing a leaky roof is a relatively simple process that can be completed in just a few simple steps. By identifying the location of the leak, preparing your roof for repair, applying roofing cement and leak barrier, and checking for additional leaks, you can ensure that your home is protected from water damage. By following these tips for preventing leaks, you can prolong the life of your roof and save yourself time and money in the long run.


