Wallpaper installation is not complicated. Still, it is critical to learn how to hang them or risk redoing the work. Also, the inappropriate installation of wallpapers will make them unappealing. Therefore, it is always essential to have expert help with the tasks. However, we will help you learn about wallpaper installation to ensure you can do it yourself. The information will help you save money and still hang them like a professional.
What you will need
Before buying a hallway wallpaper, it is vital to have the measurements of the place you want to install them. It will ensure you do not run out of paper while not buying less than you need to cover the entire area. After purchasing the interior design items, you need to buy the necessary tools to use. The items include adhesive paste if the wallpaper does not have its own and a primer.
The Steps
The process is the same, whether 3D wallpaper or plain design. Below are the steps to follow;
Prepare the Wall
Wallpaper installation needs to be flawless, and it is best to remove any hangings or fixtures on the wall. In addition, you will need to fix any dents or holes on the wall for a smooth appearance once complete. You can use sandpaper to scrub the wall and make it smooth.
A wall primer helps with the installation and removing the wallpaper. Apply the product throughout the entire part you want to fix the wallpaper.

Apply the Adhesive
Unroll the wallpaper on a flat surface to apply the adhesive. You can use a paintbrush or roller to evenly distribute the paste and ensure you do a neat job. You will skip the step if the wallpaper you purchase has ts adhesive.
Map the Space
It would be best to consider the room’s layout when installing wallpaper. Mapping the room will assist you in getting an idea of where the rolls will fit. Start from one corner and use a pencil to mark the wallpaper edges. A single piece running from top to bottom of the wall can help you map the entire surface.
Hang the Wallpaper
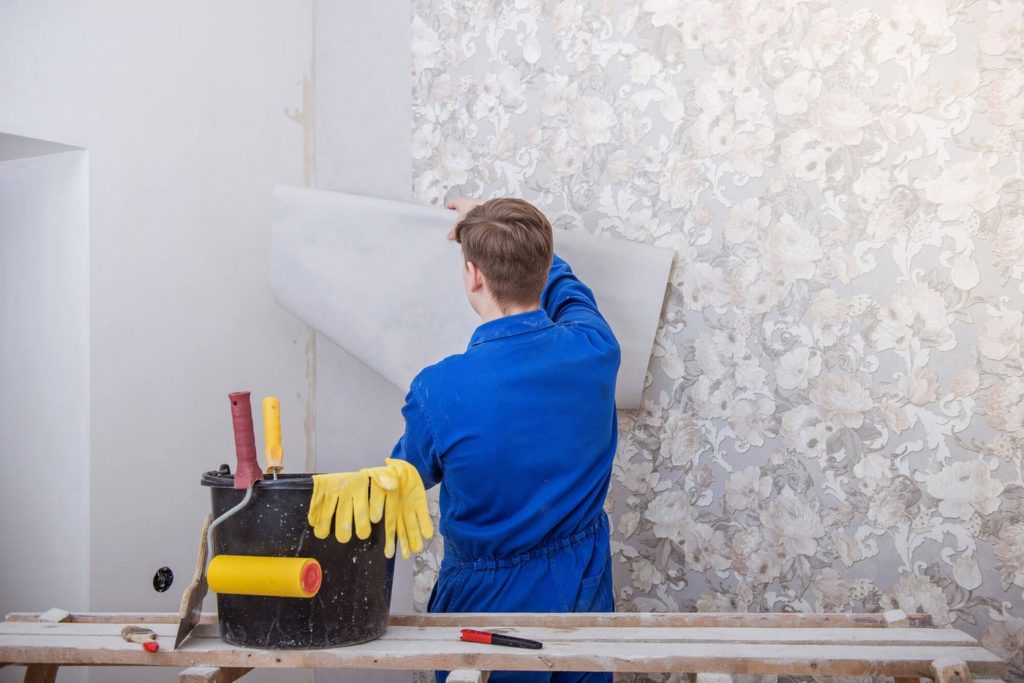
It is best to start from the entrance moving towards the end. However, where you start needs to be a straight line to avoid slanting. You can use a square meter to create a straight line if need be. Hang the first seam, and it will act as a basis for subsequent ones. Since you have marked the possible area where the wallpaper would lie, it will be easy to place the following seams.
You will need a squeegee or a piece of cloth to smoothen the wallpaper. Ensure the patterns are integrating well to create its flow. So, consider where to start the following piece for continuity. It is advisable to seam the corners and overlap the wallpaper to hang on the next wall.
Conclusion
The adhesive paste will likely appear on the wallpaper, especially where the seams join. You can clean the surface using a damp cloth to ensure the wallpaper is clean and appealing.


