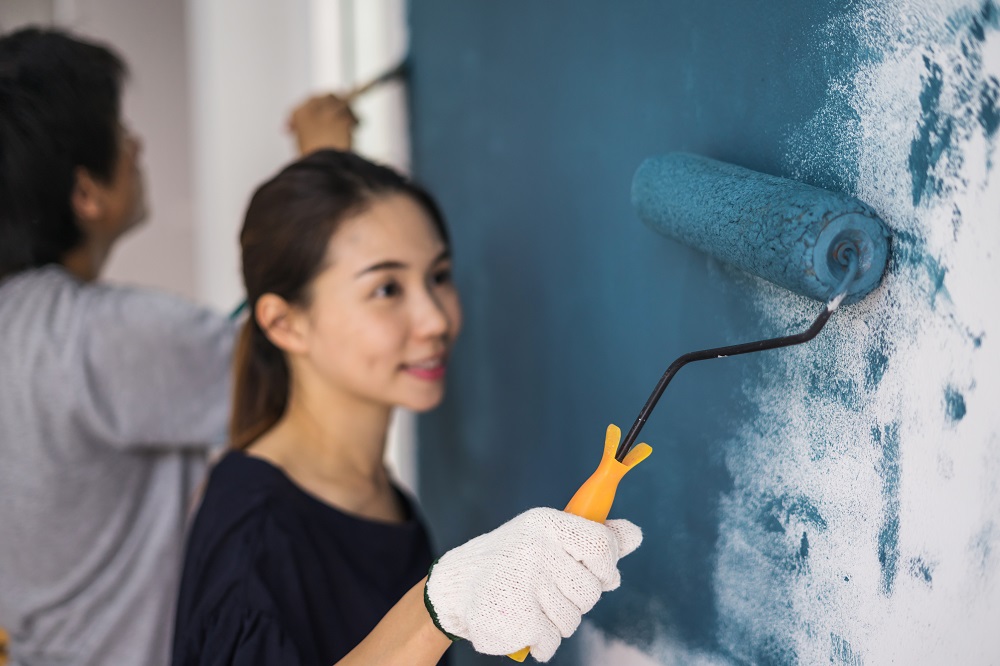
Painting your home exterior offers a lot of benefits. It increases the home value in the Australian market and slows down a house’s natural wear and tear. In addition, having a newly painted home exterior provides a relaxing feeling to homeowners. This way, the latter enjoy their stay at home more. Also, they’re said to be more confident to take visitors every time there’s a reason to celebrate and invite people over.
However, like any task at home, painting the home exterior may face some troubles. For one, these troubles are easily solved with some painting hacks. If you’re a property owner, here’s an article that could give ideas about the common painting problems. Read on the following tips and tricks.
1. Blistering
Generally, bubbles or blisters appear when a worker paints on a wet surface. This painting problem also shows up when painting a home interior with above-average humidity present in many areas like New South Wales. In addition, premature recoating may also cause bubbles to appear. Further, when the paints weren’t spread evenly, chances are bubbles will appear too.
Since moisture is the root cause of this problem, workers should ensure that the surfaces are completely dry before painting. The use of industrial fans and vents may also help speed up the drying process. This is ideal to do before recoating.
Lastly, to have even spread, estimate the paint correctly to be applied before painting the walls and other home interior portions heavily. You may contact professional painters Gosford-based for more tips and tricks.
2. Chalking
Painters should always consider the quality of their paints. Using paints with poor quality often results in chalky surfaces after the painted surface has dried up. Aside from this, ensure that pigments are properly mixed. Also, the paint to thinner ratio should follow the rule of thumb in thinning that is a 3:1 or 4:1.
Lastly, old paints that are typically covered with new paint usually result in chalking. Home painters could remove old paint with scraping, clean the surface before the paint re-application to prevent the said problem to occur.
3. Bleeding And Staining
Paint bleeds and stains refer to the appearance of old and darker shade even if it’s already covered with new paint. When this happens, the quick fix is to add the extra coating. In some cases, painters would choose paint colours that are closer to the old paint colour. It’s always necessary to pick the best paint colour in the living room and other parts of the home interior in dealing with this concern. This way, old paints are covered perfectly.
4. Cissing
Cissing or cratering is a problem characterized by the appearance of non-painted parts of a given surface. Commonly, the presence of an oily substance on the surface is the culprit. In some cases, an oiled or waxed brush may also cause this issue.
To address this, painters must use an adequately cleaned paintbrush. For best results, cleaning first the surfaces with a soap solution can do wonders. After that, wipe the surface with a cloth and let it dry before painting on it.

5. Foaming
Foaming effects are similar to bubbles and blisters. The difference is the size of the bubbles. They’re so tiny that you’ll be troubled with what caused them. Surprisingly, old roller brushes cause these problems. To fix foaming issues, workers need to clean the surface with a soap solution. In addition, avoid using roller brushes which have already been used so many times.
6. Cracking
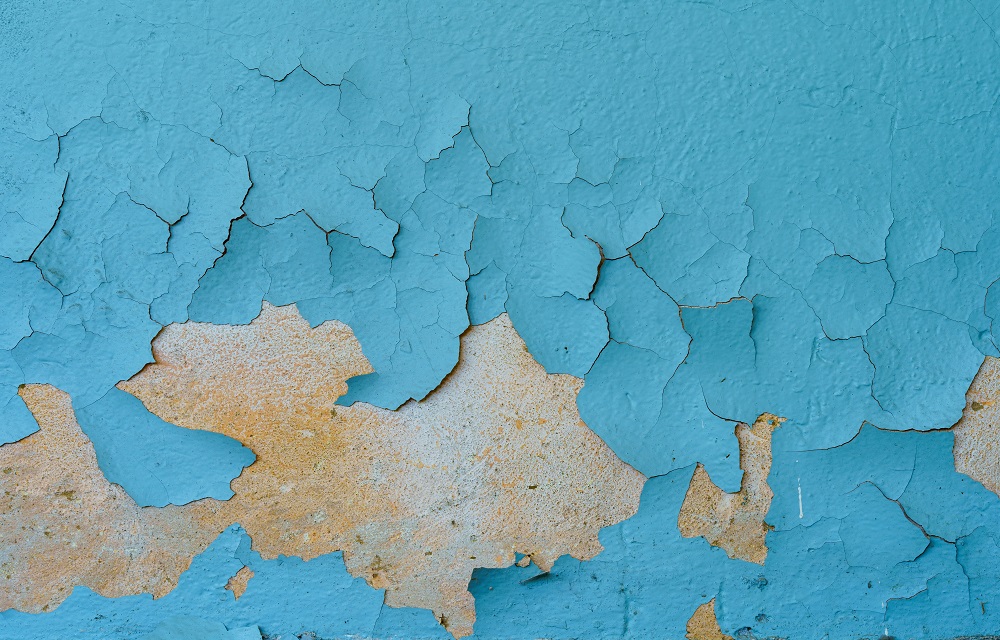
Cracking is a paint problem that happens when the dried paint cracks in large portions. Generally, this issue is caused by applying the second or third coating even if the first application is not yet fully dry. If the cracks can no longer be fixed, the best thing is to scrape all the applications in the floor and other interior portions. Then, start painting on the surfaces from scratch all over again.
7. Mould Growth
Mould usually grows in areas with high moisture and low ventilation. To prevent moulds from appearing in a home’s painted interior:
- Ensure all surfaces receive the right amount of ventilation and sunlight;
- When moulds have already grown, scrub them off immediately; and
- Clean the surfaces where moulds grew before applying the paint.
8. Yellowing
Yellow stains appear on surfaces with oil-based applications. In addition, painting with high-quality acrylic-based paint is an option to adjust the yellowed painting results. Another process to do is to give the painted surface enough sunlight to dry.
Wrapping Up
Aside from the aesthetic appeal, painting the home interior extends the lifespan of the surface’s materials. In addition, painting and repainting provide a better atmosphere to the homeowners. While painting the interior may seem like an easy task, it’s quite challenging to most homeowners because of the usual painting problems present.
If you’re a homeowner who wants to paint or repaint his home exterior, you may consider what you’ve got in this article. Think about the common painting solutions you’ve gained. Understand their causes. While each situation may differ in reality, always consider the solutions that could be done by yourself at home while employing materials widely available at home.


