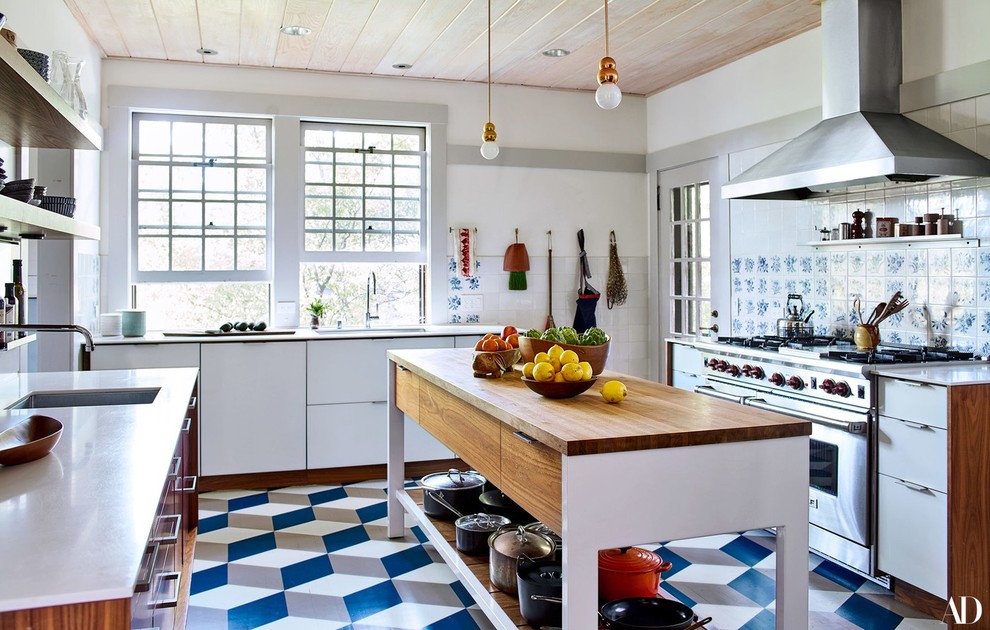
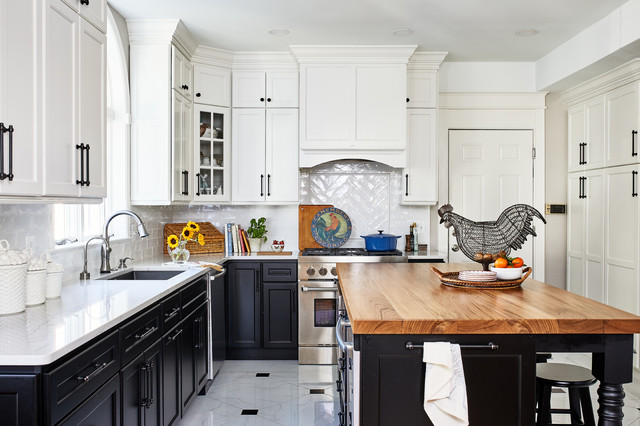
When you’re renovating your kitchen, taking pictures is a great way to document the progress, keep track of what needs to be done and showcase your amazing transformation. But taking good pictures can be challenging – especially if you’re not used to taking pictures in a kitchen setting.
Do you ever find yourself frustrated after taking pictures of your kitchen renovation project? Not only do you have to contend with poor lighting and a messy environment, but your pictures often come out blurry or poorly composed.
In this post, we provide you with seven tips that will help you take better pictures during your kitchen renovation project. From setting up your camera to editing your incredible shots, we’ve got you covered!
Use Natural Light Whenever Possible
When taking photographs in particular, try to use as much natural light as possible by opening windows if necessary. If you’re shooting during the daytime, open up all the blinds and curtains in your kitchen to let in as much light as possible. And if you’re shooting at night or in a room with limited windows, try using a lamp or other source of artificial light to brighten up the space.

Use a Tripod
If you’re really set on getting the best possible shots, invest in a tripod so that you can take long-exposure photographs without having to worry about your hands shaking. This will help keep your camera still while you snap away, ensuring that each image is crisp and clear. A tripod is especially useful for low-light situations or when shooting at night.
Find the Right Angle
Taking photos of your kitchen from the wrong angle can make even the most beautifully designed space look cluttered and small. To avoid this, it’s important to find the right angles to shoot from.
One great way to do this is by getting up high—either by standing on a stool or ladder, or by using your phone’s built-in selfie mode—and shooting down into the room. This will help show off all your kitchen’s best features and make it look its best.”
Invest in a Good Camera
Although most smartphones nowadays have pretty decent cameras built-in, for the best results possible it’s worth investing in an actual DSLR or mirrorless camera . Not only do these cameras typically take higher quality photographs, but they also offer more control over things like aperture, shutter speed, and ISO.” If you’re using an iPhone or iPad, the built-in Photos app has some fairly robust editing capabilities.
Choose Quality Over Quantity
As tempting as it may be to snap every detail during your kitchen renovation project, remember that not everything needs to be captured in an image. Shooting too many photos can actually impede progress because it becomes difficult to choose which photo to delegate or discard.
Keep things simple by shooting just enough good shots to capture the essence of what’s happening while still leaving plenty of room for edits down the road.
Get Creative With Lighting
No matter how well-lit your kitchen is usually supposed to be, odds are there’ll be times when natural light isn’t strong enough or bright enough.” When this happens, turn on some supplemental lights (like clip-on lamps) so that you can still take decent photographs without having shadows obscuring important details.”
Use Props Wisely
Props like tables, chairs, Plants (yes plants!), bowls of fruit or vegetables – anything that adds visual interest – can help make your photography more interesting and capture the essence of your renovation project better!
Take Pictures at Different Stages of the Process
Make sure to document each stage of the kitchen renovation project with photos, from gutting the space entirely to putting on the finishing touches. This way, you’ll be able to track your progress and see just how much things have changed over time!
Keep an Eye on the Background
In addition to making sure your props are well-chosen, you’ll also want to be mindful of what’s going on in the background of your shots. A busy or cluttered background can easily take away from whatever it is you’re trying to focus on in the foreground, so try and keep things as clean and simple as possible.”
Edit like a pro
Once you’ve taken all the photos you need, it’s time to start editing! Don’t worry, this doesn’t mean spending hours in front of a computer painstakingly making tiny adjustments – there are plenty of quick and easy ways to edit your photos so that they look their best.
One of the simplest things you can do is use a photo-editing app like VSCO or Snapseed to make basic adjustments like adjusting brightness, contrast, saturation, and sharpness. These apps also have filters that can completely transform the look of your photos.
If you’re not sure where to start, try using a few different filters on the same photo and see which one you like best! Once you’ve found a filter you like, stick with it for all of your photos to create a cohesive look. And if you’re on a computer, programs like Adobe Lightroom and Photoshop are excellent choices for more advanced edits.
Consider Hiring a Professional Photographer
For truly stunning kitchen renovation before and after photos, it may be worth hiring a professional photographer if you’re not tech savvy. This will ensure that every detail is captured perfectly and that your pictures turn out exactly how you want them to!

Share Your Photos!
After you’ve taken and edited all your photos, it’s time to share them with the world! Whether you post them on social media, add them to your interior design blog or website, or just send them to friends and family via email or text, sharing your kitchen photos is the best way to make sure they get seen by as many people as possible.
Conclusion
Now that you know more about what to do when taking pictures of your kitchen renovation project, hopefully, this will help you get better-quality results. By using the tips in this guide, we are confident that you not only take great photos but also increase the value of your home as well!


