Removing wallpaper can be a long and tedious process. It may seem like there is no way to make the experience easier, but what if we told you there is a way to ease the process? This article will help you identify the key steps you should take to make your wallpaper removal project successful so that you can call the right company for your painting project to take care of your interior walls. Or your could try peel and stick wallpaper from Wallpapermural.com as it is removable without damaging wall or surface paint.
Protect Your Space
If you plan to work on wallpaper removal in a specific room, you must protect your space. Cover all exposed surfaces with heavy-duty paper table covers before beginning the project. It’s also wise to lay down several drop cloths over the flooring in order to ensure safety when using chemical solutions meant for removing wallpaper. These products should always be handled carefully because they contain powerful ingredients meant for use in professional settings where proper safety measures have been implemented.
According to a Dallas wall removal company, preparation is key when working on an easy wallpaper removal process. By protecting your space and taking preventative measures, you can ensure that the project will be quick and painless.
Scrape The Wallpaper Off

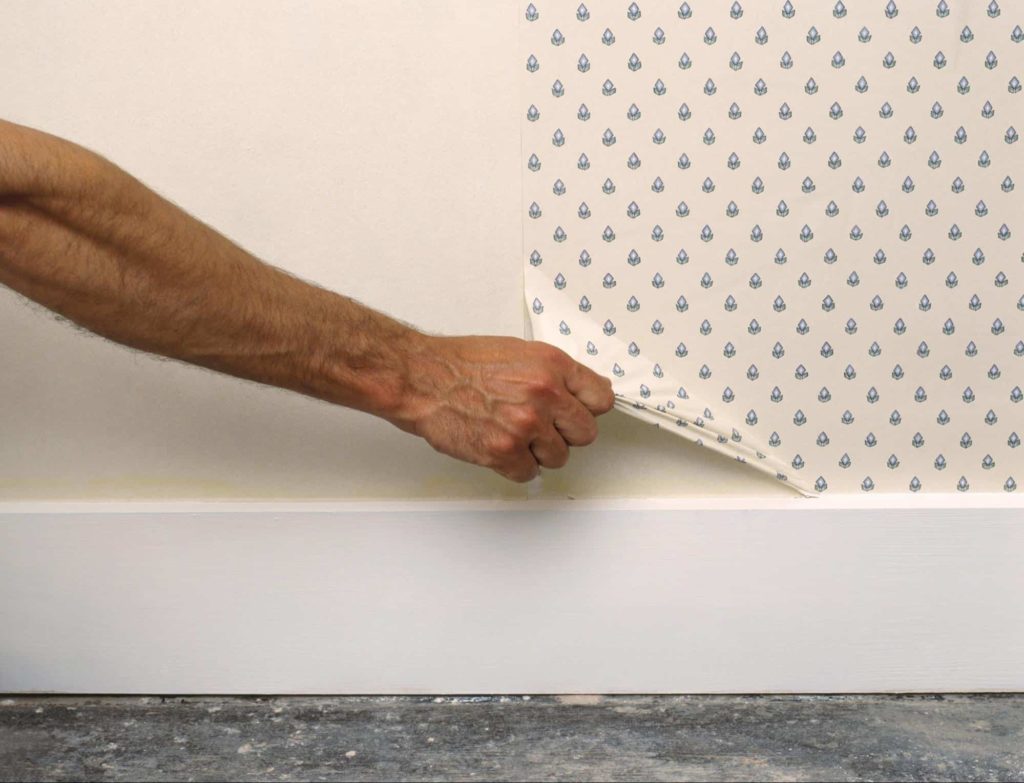
After you have removed all of the furniture and appliances from the room, it’s time to start peeling off the wallpaper. You can use a sharp utility knife or razor blade for this step because they will allow you to scrape paper right off of drywall without damaging it. In addition, ensure that you have several knives or blades on hand since dull tools make for an extremely difficult job when removing wallpaper from walls and other surfaces, especially if they aren’t sharpened properly before starting. It’s never fun having to stop mid-project because a blade is no longer cutting through paper cleanly.
Spray The Wall
Once all the wallpaper has been scraped off the walls and ceilings, it’s time to start removing the glue residue left behind by old papers. The best way is to use an adhesive remover spray or gel solution since they are less strenuous than other methods, such as manually scrubbing away at dried-out adhesives with steel wool pads. Remember not to attempt using any chemical cleaner without wearing protective gloves first, and be careful not to allow these substances to touch anything but wall surfaces.
After everything has been sprayed down, wait for several minutes so that the solution can do its job. Make sure to start this part of the process in a well-ventilated area because these chemicals tend to have strong odors and fumes associated with them.
Once the adhesive has softened up on surfaces, it’s time to scrape away at any leftover bits using your razor blade or utility knife tools once again.
Wash The Wall

Once all paper and glue residue has been removed, it’s time to wash the walls. Use a simple soap solution to get rid of any dirt or debris left behind by wallpaper removal products on surfaces. Do not use any oil-based soaps. This can cause new paint jobs applied over old layers of wall covering solutions to start peeling off at some point after application.
After you have washed down all areas that were impacted by adhesive sprays or chemicals, dry them thoroughly before moving on with the final part of the job mentioned below.
Smoothen The Wall
To get rid of any bumps or lumps left behind by old wallpaper adhesive, you need to smoothen the wall. Use a damp sponge to create an even layer of wall plaster over all surfaces. This will help prepare walls for painting and wallpaper adhesion purposes. It’s advisable to use new paint coatings since most paints tend to form uneven-looking finishes when applied over old layers that aren’t smoothened out first in the process of removing wallpaper. Once all areas have been smoothed out, allow walls to dry completely before moving on with other steps in this process, like painting or applying plaster for ceiling repair purposes.
By following the steps mentioned above, you’ll be able to complete your project within a few days instead of weeks or even months, depending on how big the project is.